
This post may contain affiliate links, view our disclosure policy.
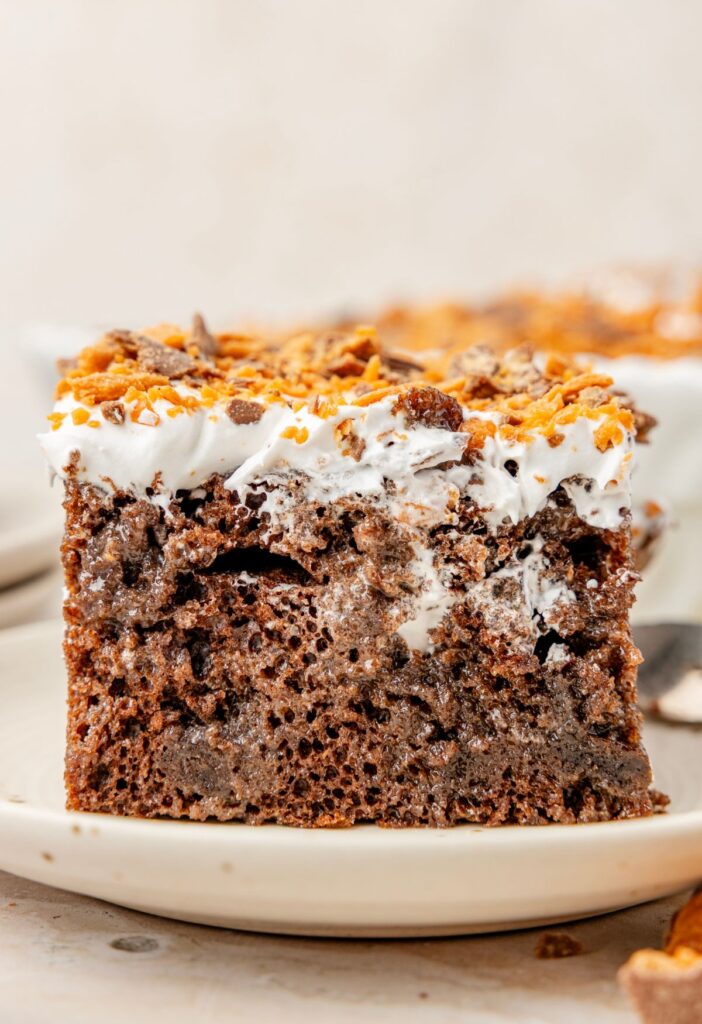
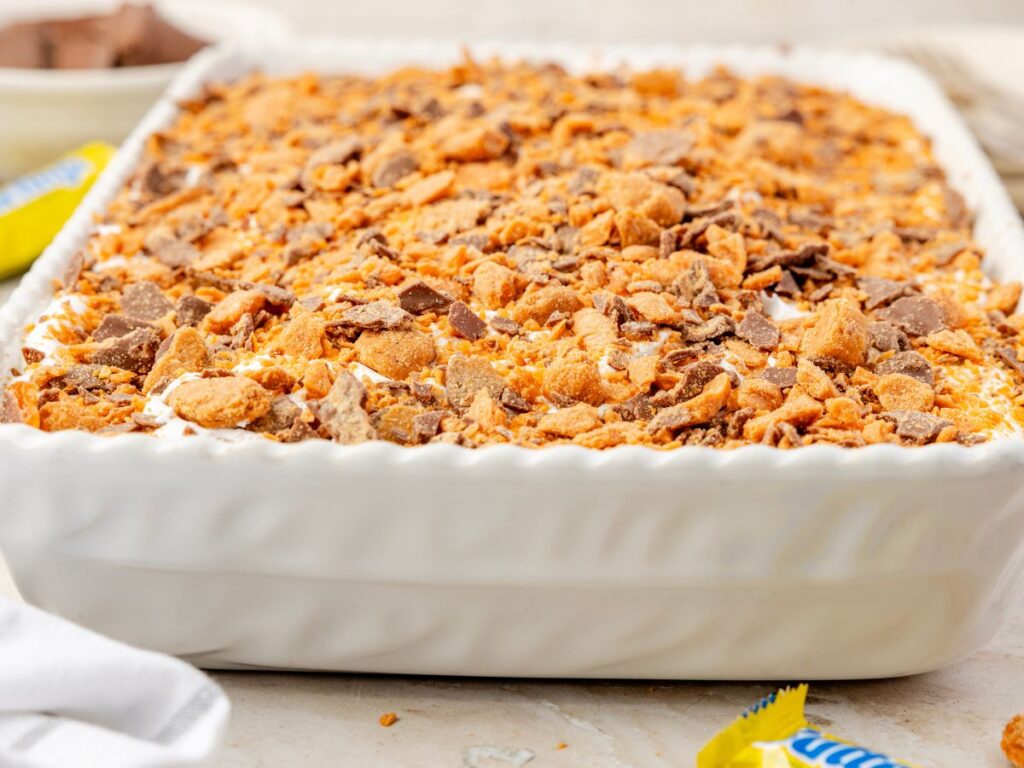
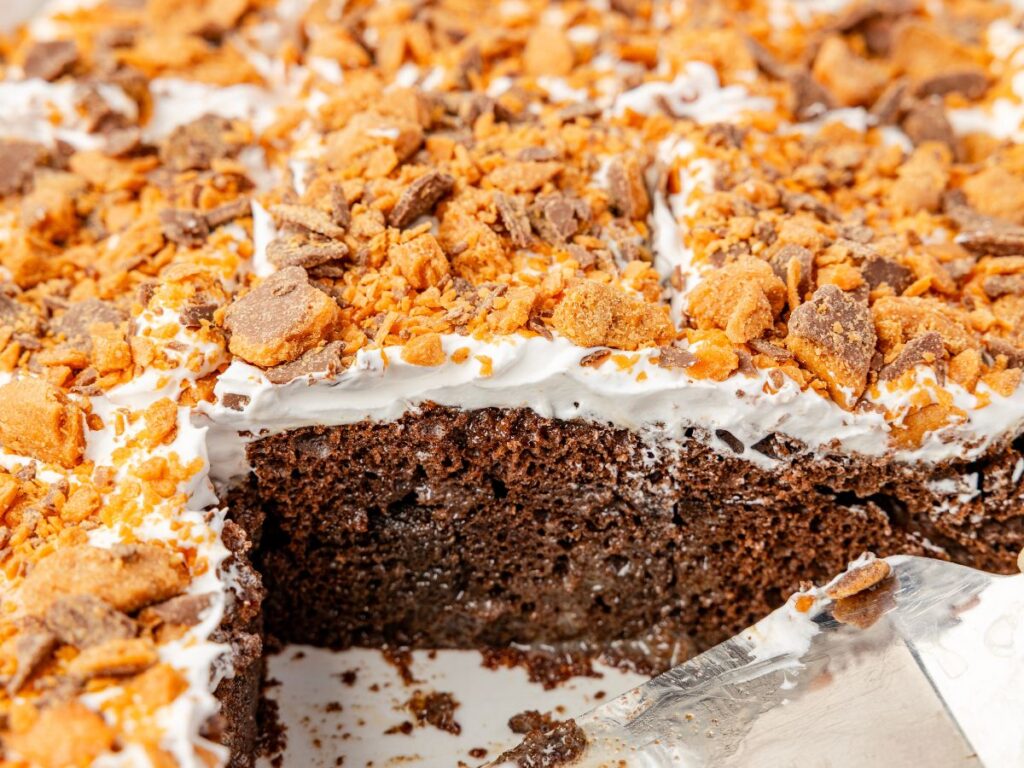
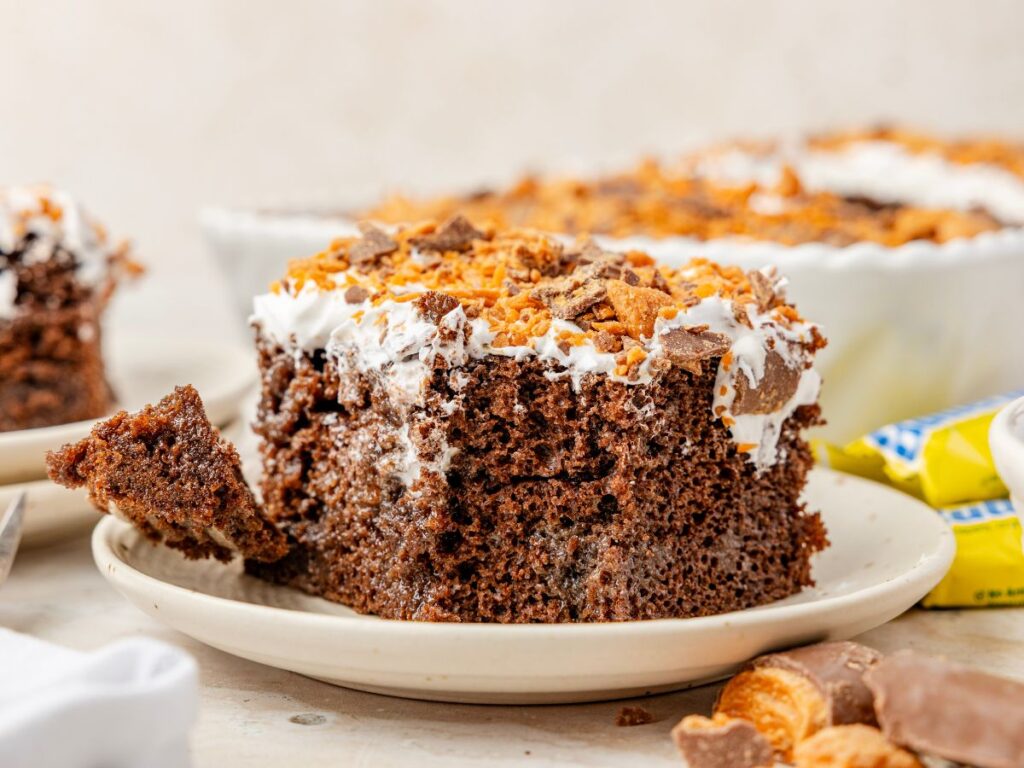
Butterfinger Cake is rich, gooey, and packed with layers of chocolate and caramel flavor. The easy cake soaks up sweetened condensed milk and caramel, making every bite moist and indulgent. Topped with a fluffy whipped topping and crunchy butterfinger bits.
Are you a Butterfinger fan? Be sure and try these other Butterfinger desserts and make Sugar Cookie Butterfinger Cookies or Peanut Butter Butterfinger Cookies.
Easy Butterfinger Cake Recipe
This easy butterfinger cake is loaded with rich chocolate, caramel, peanut butter, and butterfinger flavors – and it starts with a cake mix! Only 5 base ingredients plus the oil, water, and eggs called for on the back of the boxed cake mix. That’s it!
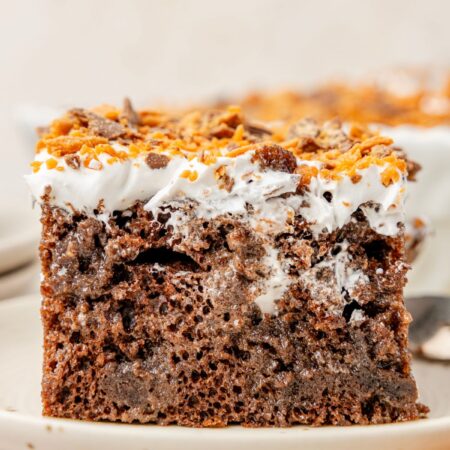
It starts with a moist chocolate cake, then it is poked with holes that are filled with sweetened condensed milk and gooey caramel, which helps the cake soak up all that goodness. Finished off with a simple whipped cream topping and of course, lots of crushed Butterfinger candy bars.
This cake mix recipe – a poke cake – is the perfect dessert to make ahead of time, which means, it’s a fun recipe to take to family gatherings, a family reunion, summer BBQs, or an easy dessert for the family. It transports really well too!
If you want a variation of this cake made with a golden yellow cake mix – be sure and try this Easy Butterfinger Poke Cake. Similar to this recipe but slightly different with different ingredients.
Why You’ll Love This Butterfinger Cake
- ❤︎ Easy dessert recipe that starts with a cake mix
- ❤︎ Perfect make-ahead dessert
- ❤︎ Rich chocolate, caramel, and peanut butter flavor
- ❤︎ Beginner-friendly recipe
- ❤︎ Loaded with crushed Butterfinger candy bars
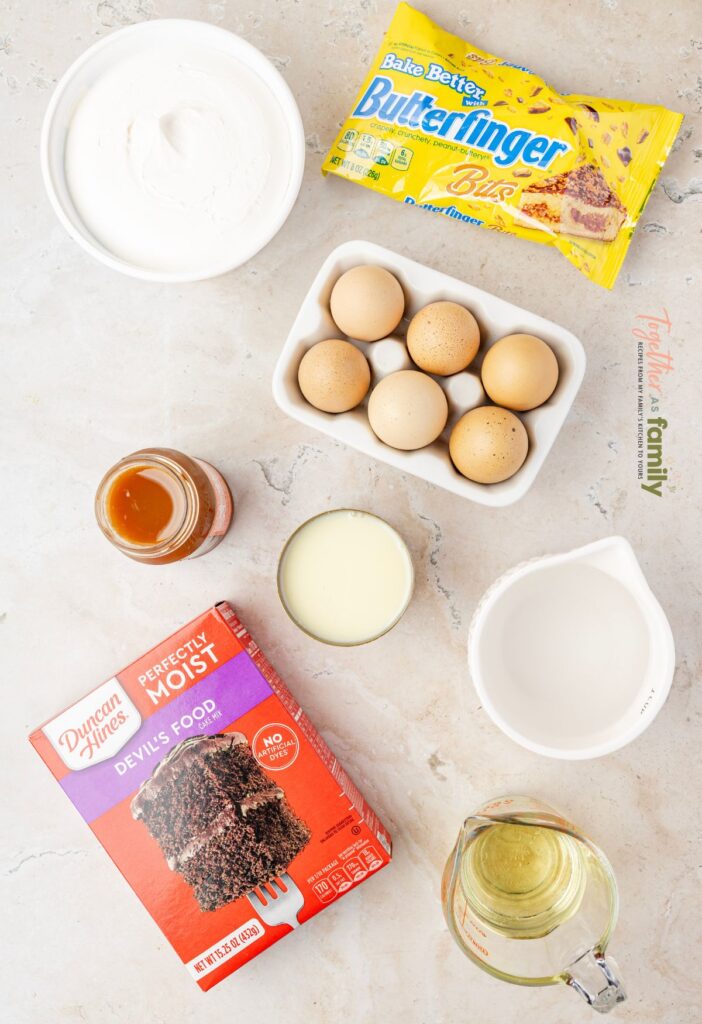
Simple Ingredients Needed
- Chocolate Cake Mix : You will also need the ingredients called for on the back of the box mix. It usually calls for eggs, oil, and water.
- Sweetened Condensed Milk
- Caramel Syrup or Caramel Sauce : This is the ice cream sundae topping that comes in a bottle or a glass jar.
- Cool Whip
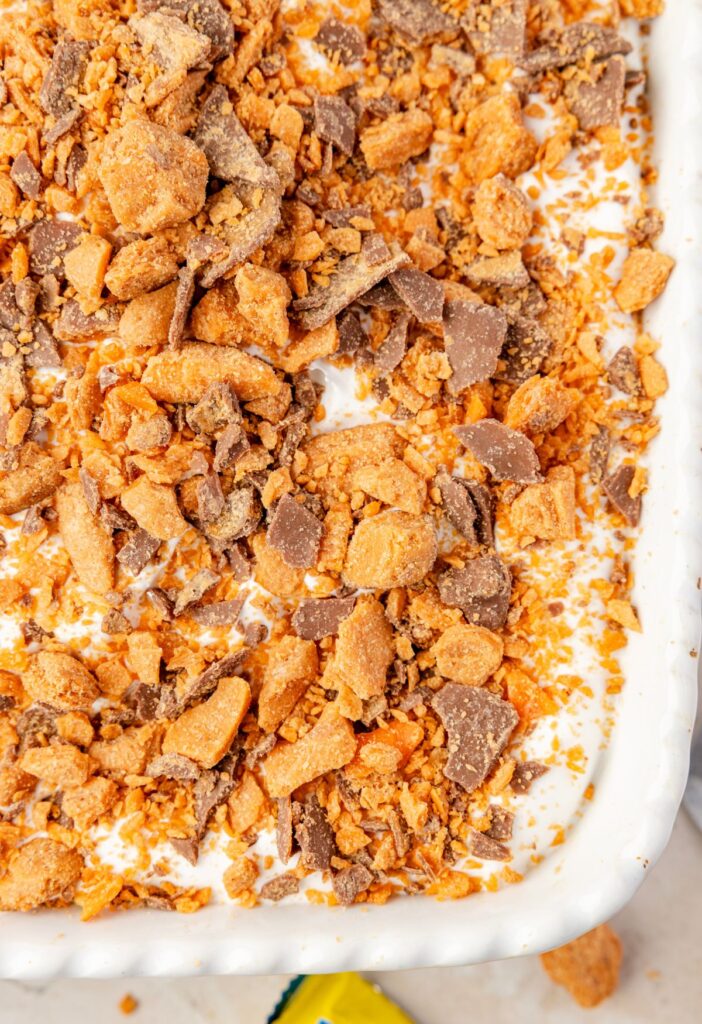
- Butterfinger Bars or Bag of Butterfingers Bits
How To Make Butterfinger Poke Cake Recipe (Printable Recipe Card)
Preheat the oven according to the temperature on the back of the boxed cake mix – usually 350°F is the standard oven time for them. Prepare a 9×13-inch cake pan by spraying it with nonstick spray.
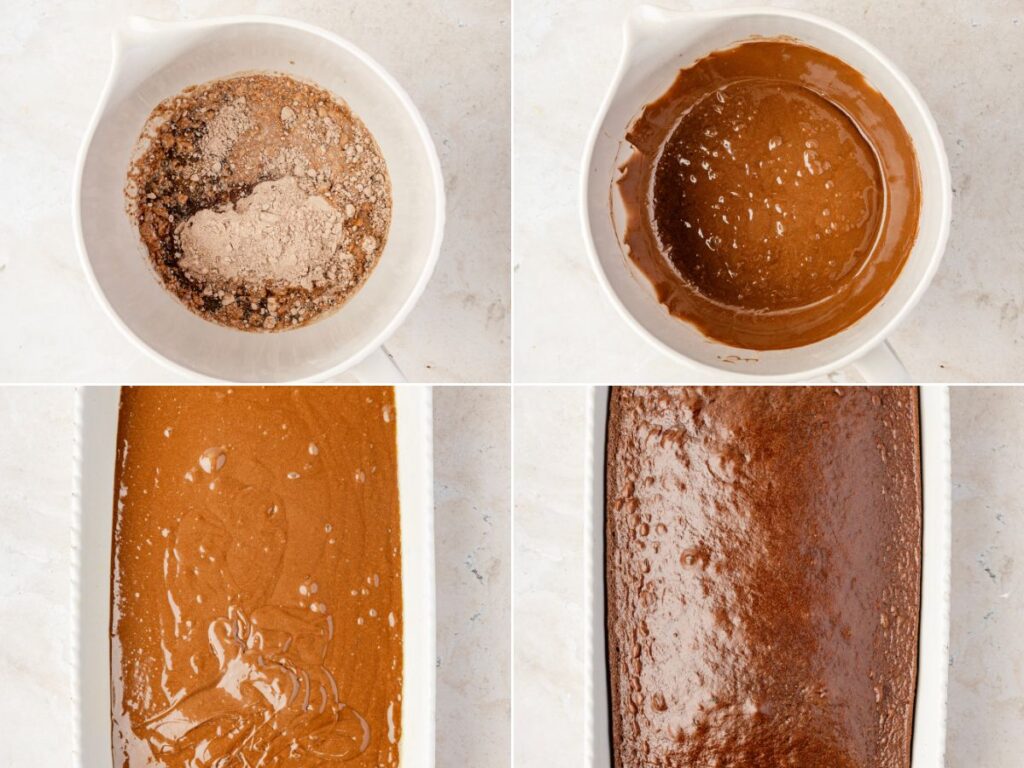
Prepare the chocolate cake mix according to the back of the box (usually calls for added ingredients such as water, oil, and eggs). Pour the chocolate cake batter into the prepared cake pan and bake according to the package directions.
Remove the cake from the oven and immediately poke holes all over the top of the cake in even rows (without poking all the way to the bottom of the pan) to ensure the entire cake is ‘poked’. I prefer using something smaller for this recipe such as a fork or chopsticks, but you can also use the end of the handle of a wooden spoon to poke larger holes in the cake.
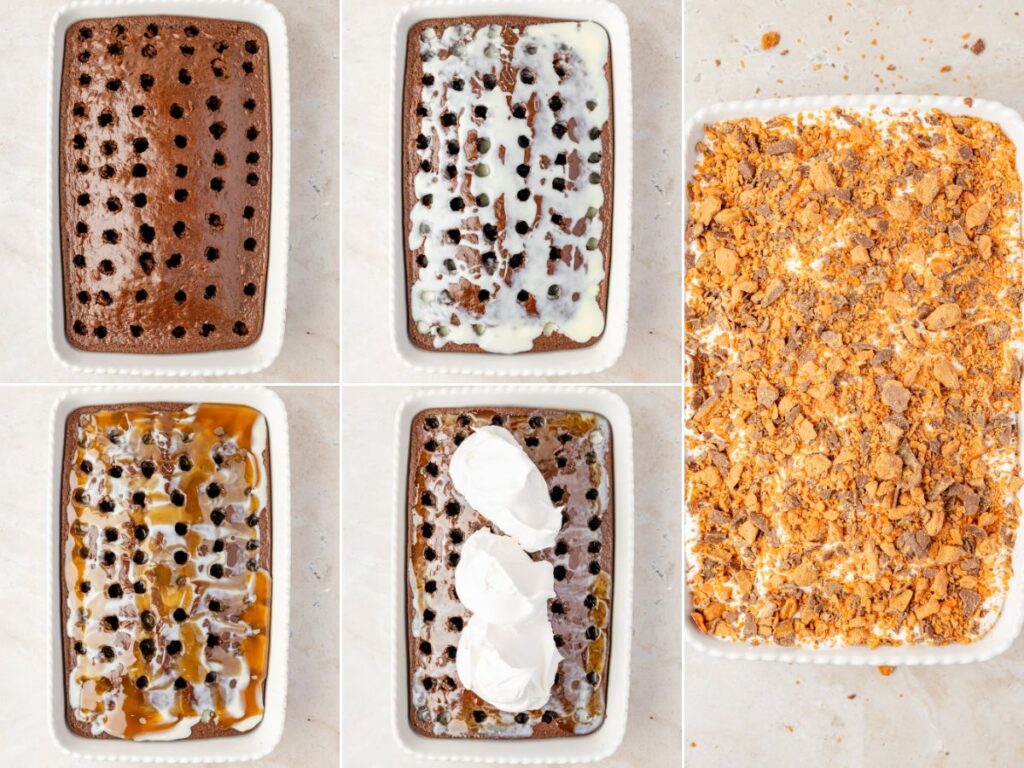
Pour the sweetened condensed milk and caramel sauce over the holes, ensuring they are filled evenly. Any leftovers just spread on top of the cake and let it soak in.
Let the cake cool to room temperature, about 30 minutes to 1 hour, and then cover the cake pan with a lid and refrigerate for at least 2-6 hours to cool completely and chill.
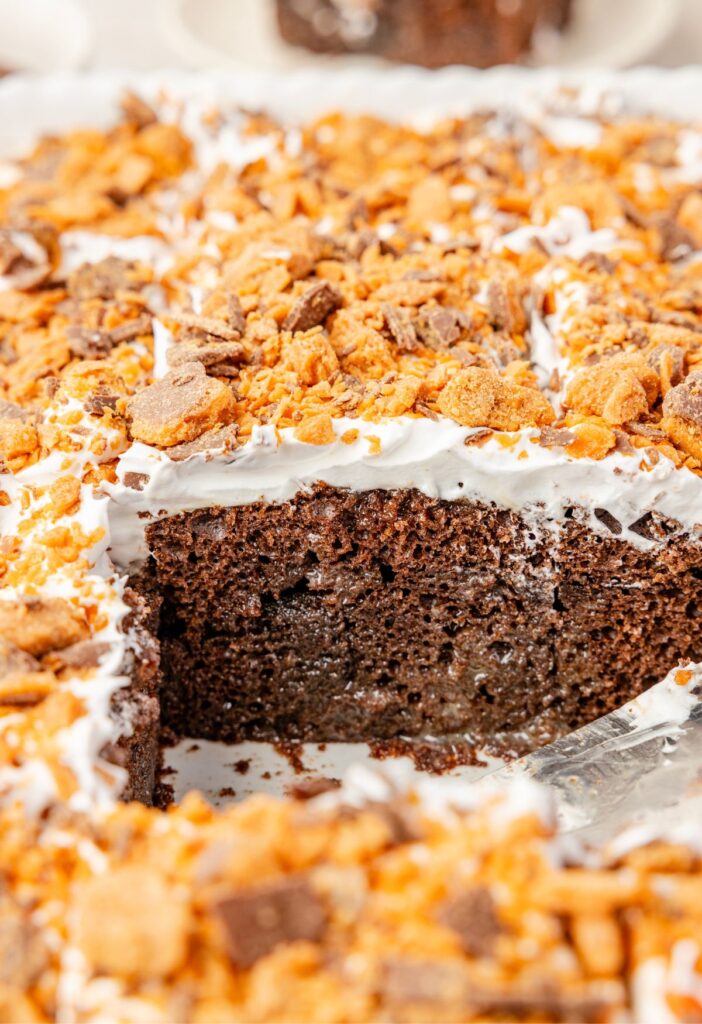
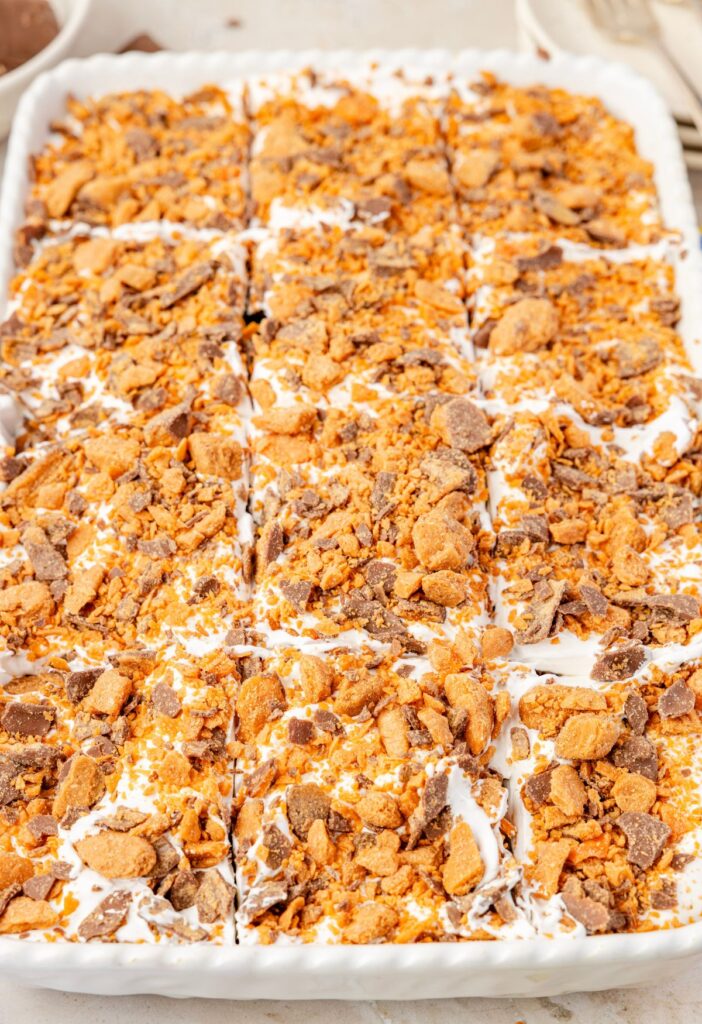
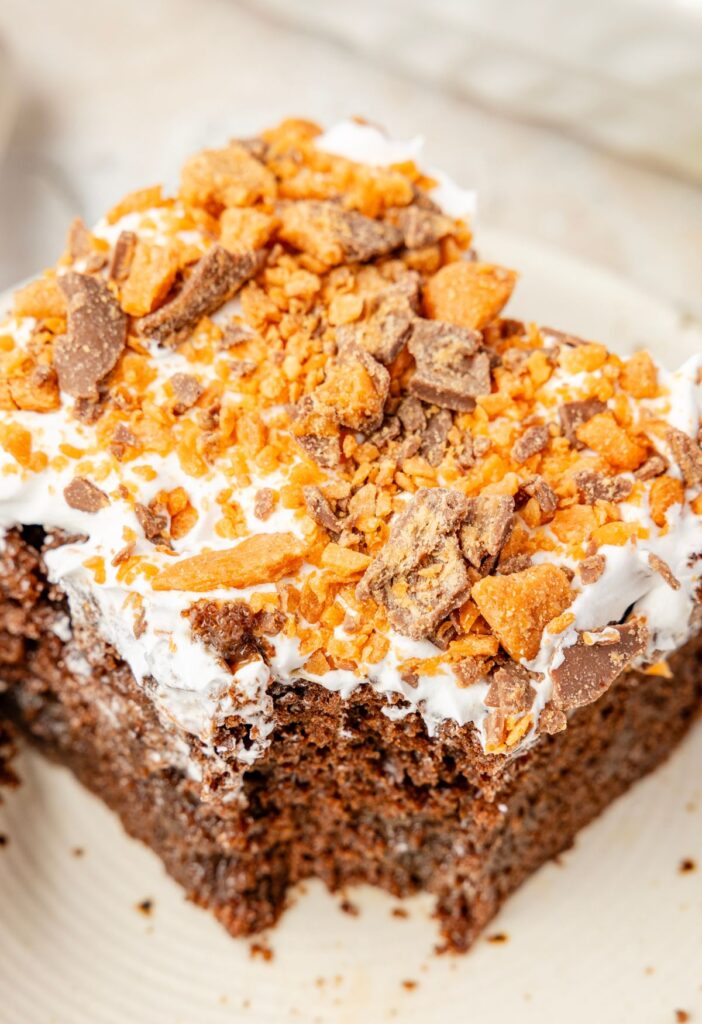
Spread the Cool Whip over top of the cake and then sprinkle the chopped butterfinger candy bars (or bag of butterfinger bits) over top. Cut into slices, serve, and enjoy!
How To Store Leftovers
Butterfinger cake should be stored covered, in the refrigerator, for up to 3-4 days. You can leave the cake inside the cake pan covered, or remove individual slices to an airtight container for storage. Serve the cake chilled from the fridge. The cool whip topping and crushed butterfinger candies hold up well in the fridge.
I don’t recommend freezing this cake as the Cool Whip will lose some of it’s stability and take on a looser texture and consistency once frozen and thawed.
Pro Tips From The Test Kitchen
- I normally can’t find the butterfinger bits at my grocery store (they will be in the chocolate chip aisle) so I always buy the checkout-stand sized candy bars and chop those up with a knife and cutting board. You can add as much, or as little, chopped butterfingers as wanted on top of the cake. An 8 ounce bag of butterfingers bits is equal to about 1 cup of chopped butterfingers candy bars.
- This poke cake is extra moist but not soggy. The cake does a really good job and soaking up the moisture (instead of just being soggy) as long as you pour the sweetened condensed milk and caramel sauce, over the poked cake while it’s still warm.
- I prefer smaller, thinner poked holes when using things like sweetened condensed milk and caramel sauce. I use a fork to poke holes all over the top of the cake, or chopsticks would also work well. If you want larger, normal poked holes then use the end of a wooden spoon to poke holes in even rows.
- It’s also really important that you don’t poke too many holes in the cake or else the cake will fall apart when slicing and serving. Even if using a fork or chopsticks for smaller holes, you still want to leave about 1/2-inch between each poked hole area.
- To increase the butterfinger flavor try adding some chopped butterfingers into the cake batter before pouring it into the cake pan. I do this all the time! My family loves the crunchy chunks of butterfinger inside the cake.
- When poking holes, do not push all the way down to the pan, or else the added ingredients will set up underneath the cake rather than in the cake.
- The taste of the cake improves, and gets so much better, with a longer chill time. This allows time for the flavors to blend and allows for a chilled cake. Once I poke the holes and fill them, I like to refrigerate the cake for 6 hours. So I make it the morning of and let it refrigerate during the day.
- If you want to use homemade whipped cream in place of the Cool Whip – add 1½ cups of heavy whipped cream and ⅓ cup powdered sugar into a large mixing bowl. Use a stand mixer or electric mixer to beat on medium-high speed until stiff peaks form. Use this in place of the tub of Cool Whip. I find that making my own whipped cream, make the cake taste less sweet, which we prefer so I usually make my own whipped cream.

More Poke Cake Recipes
- Lemon Poke Cake
- Peppermint Poke Cake
- Hawaiian Poke Cake
- Oreo Poke Cake
- Orange Crush Poke Cake
- S’mores Poke Cake
- German Chocolate Poke Cake
- Hot Chocolate Poke Cake
- Easy Snickers Poke Cake
- Easy Cherry Poke Cake
- Banana Pudding Poke Cake
- Strawberry Jello Poke Cake
- Hostess Snoballs Poke Cake Recipe (with a Cake Mix)
- Easy Boston Cream Poke Cake Recipe

EASY Butterfinger Cake
Equipment
Ingredients
- 1 box (15.25 oz) chocolate cake mix (plus the ingredients called for on the box)
- 1 can (14 oz) sweetened condensed milk
- 1 jar (12.25 oz) caramel topping
- 8 ounces Cool Whip thawed
- 1 bag (8 oz) Butterfinger Bits (or 1 cup chopped Butterfinger chocolate bars)
Instructions
- Preheat the oven according to the temperature on the back of the boxed cake mix – usually 350°F is the standard oven time. Prepare a 9×13-inch cake pan by spraying it with nonstick spray.
- Prepare the chocolate cake mix according to the back of the box (usually calls for added ingredients such as water, oil, and eggs). Pour the chocolate cake batter into the prepared cake pan and bake according to the package directions.1 box (15.25 oz) chocolate cake mix
- Remove the cake from the oven and immediately poke holes all over the top of the cake in even rows (without poking all the way to the bottom of the pan) to ensure the entire cake is 'poked'.I prefer using something smaller for this recipe such as chopsticks, but you can also use the end of the handle of a wooden spoon to poke larger holes in the cake.
- Pour the sweetened condensed milk and caramel topping over the holes, ensuring they are filled evenly. Any leftovers just spread on top of the cake and let it soak in.1 can (14 oz) sweetened condensed milk, 1 jar (12.25 oz) caramel topping
- Let the cake cool closer to room temperature (about 30 minutes) and then cover the cake pan with a lid and refrigerate for at least 2-6 hours to cool completely and chill.
- Spread the Cool Whip over top of the cake and then sprinkle the chopped butterfinger candy bars (or bag of butterfinger bits) over top. Cut into slices, serve, and enjoy!8 ounces Cool Whip, 1 bag (8 oz) Butterfinger Bits
Notes
- I normally can’t find the butterfinger bits at my grocery store (they will be in the chocolate chip aisle) so I always buy the checkout-stand sized candy bars and chop those up with a knife and cutting board. You can add as much, or as little, chopped butterfingers as wanted on top of the cake. An 8 ounce bag of butterfingers bits is equal to about 1 cup of chopped butterfingers candy bars.
- This poke cake is extra moist but not soggy. The cake does a really good job and soaking up the moisture (instead of just being soggy) as long as you pour the sweetened condensed milk and caramel sauce, over the poked cake while it’s still warm.
- I prefer smaller, thinner poked holes when using things like sweetened condensed milk and caramel sauce. I use a fork to poke holes all over the top of the cake, or chopsticks would also work well. If you want larger, normal poked holes then use the end of a wooden spoon to poke holes in even rows.
- It’s also really important that you don’t poke too many holes in the cake or else the cake will fall apart when slicing and serving. Even if using a fork or chopsticks for smaller holes, you still want to leave about 1/2-inch between each poked hole area.
- To increase the butterfinger flavor try adding some chopped butterfingers into the cake batter before pouring it into the cake pan. I do this all the time! My family loves the crunchy chunks of butterfinger inside the cake.
- When poking holes, do not push all the way down to the pan, or else the added ingredients will set up underneath the cake rather than in the cake.
- The taste of the cake improves, and gets so much better, with a longer chill time. This allows time for the flavors to blend and allows for a chilled cake. Once I poke the holes and fill them, I like to refrigerate the cake for 6 hours. So I make it the morning of and let it refrigerate during the day.
- If you want to use homemade whipped cream in place of the Cool Whip – add 1½ cups of heavy whipped cream and ⅓ cup powdered sugar into a large mixing bowl. Use a stand mixer or electric mixer to beat on medium-high speed until stiff peaks form. Use this in place of the tub of Cool Whip. I find that making my own whipped cream, make the cake taste less sweet, which we prefer so I usually make my own whipped cream.
Did You Make This Recipe?
I’d love to see it! You can share it with me on @togetherasfamilyblog and follow on Pinterest @together-as-family-blog-recipes or Facebook @togetherasfamilyblog for more!


Did you love this recipe?
Make sure to comment below so we can chat about it! Or follow on your favorite social network for even more family recipes.