
This post may contain affiliate links, view our disclosure policy.
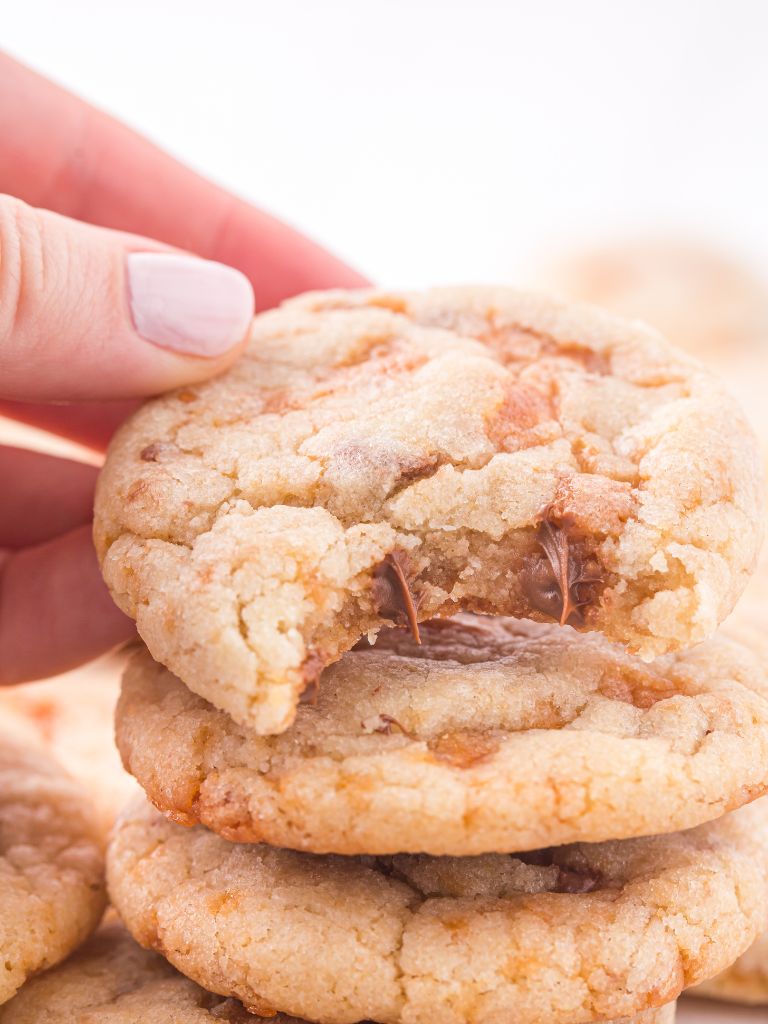
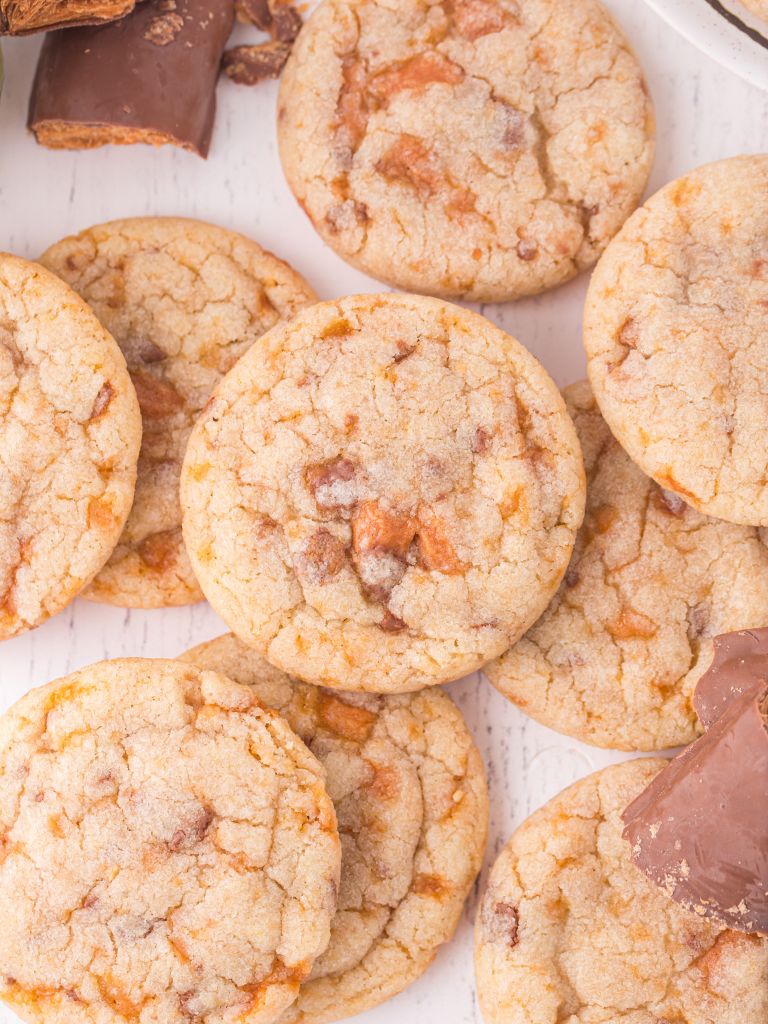
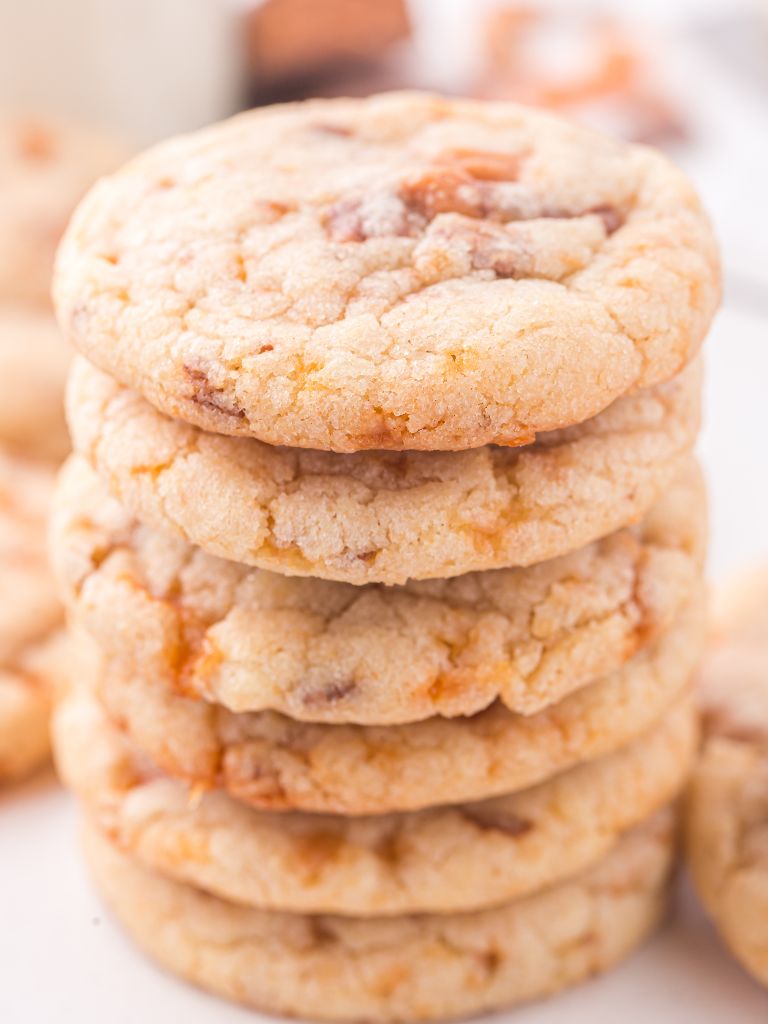
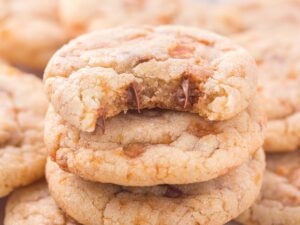
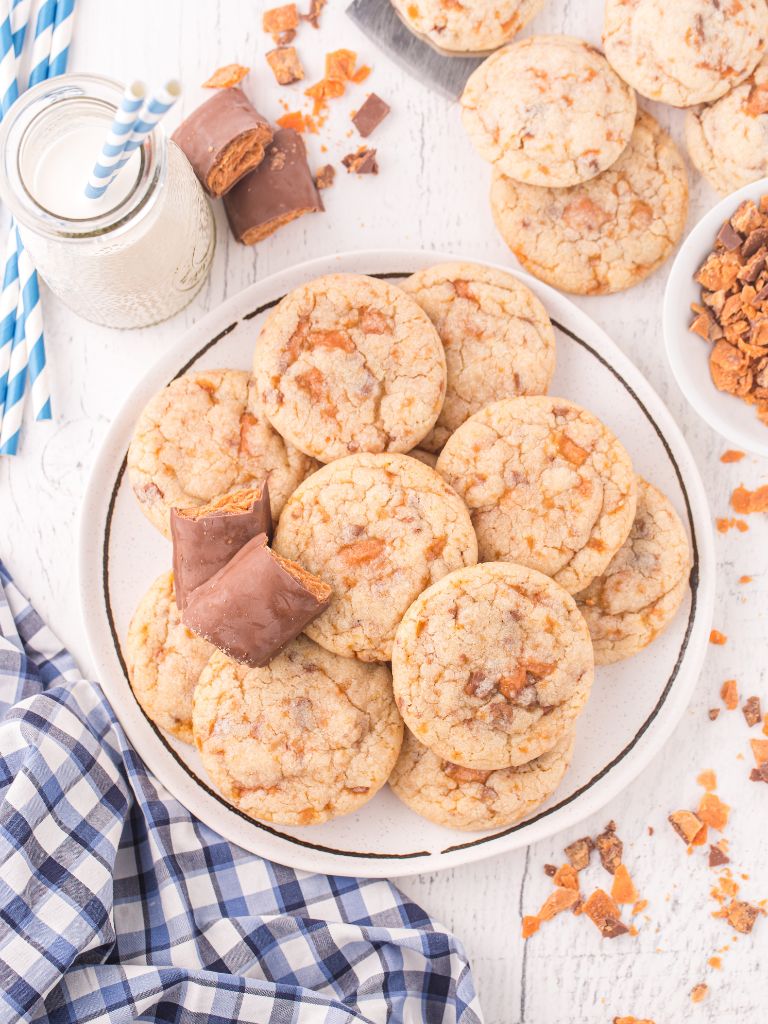
Easy Butterfinger Cookies combine the irresistible combination of sweet sugar cookie and crunchy Butterfinger candy. You only need 5 ingredients and it starts with a sugar cookie mix! Soft-baked sugar cookies loaded with crunchy bits of the classic candy bar with peanut butter + chocolate. You’re going to love this quick & easy cookie recipe!
For a peanut butter based cookie loaded with Butterfinger candy be sure and also make my Peanut Butter Butterfinger Cookies.

Easy Butterfinger Cookies with a Sugar Cookie Mix
These easy butterfinger sugar cookies start with a sugar cookie mix. Simple to prepare with only 5 ingredients and one of those is a store-bought sugar cookie mix. No need to measure out all the flour, sugars, salt, and leavening agents. Simply dump in the sugar cookie mix + a few other ingredients and you’re good to go.
We love anytime cookies are stuffed with candy. These Reese’s Stuffed Monster Cookies each have a peanut butter cup surprise in the center. Or try these Cookies n’ Cream Oreo Brownies that are ‘frosted’ with melted cookies & cream Hershey’s chocolate bars. These Candy Bar Brownies are homemade brownies with chunks of assorted candy bars through out.
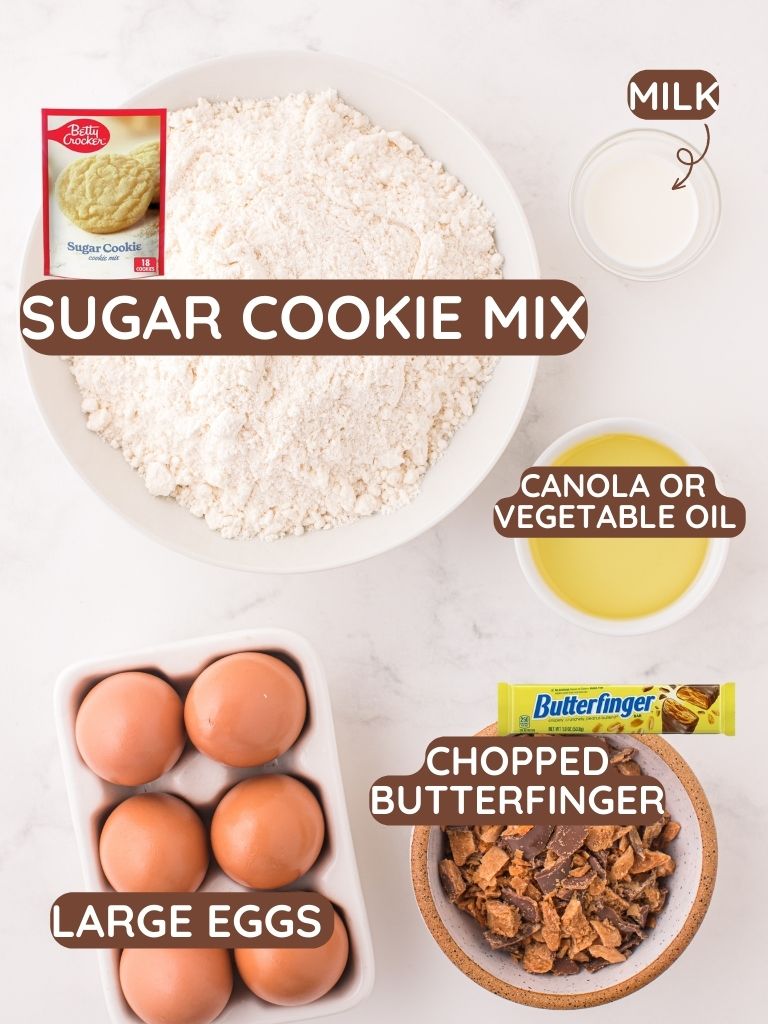
Ingredients Needed
- Sugar Cookie Mix : You will find this in the baking aisle at the grocery store. This is not the refrigerated log of sugar cookie dough but rather the bag of dry sugar cookie mix.
- Vegetable or Canola Oil : It’s best to use a neutral oil like vegetable or canola. You can use any melted oil like coconut oil, avocado oil, or light tasting olive oil but just know that it could impact the taste of the cookie.
- Milk : Any milk will work like 1%, 2%, or whole milk. I would not recommend using anything higher in fat because it may be too thick which won’t provide the moisture needed for the cookie dough to come together.
- Large Egg
- Chopped Butterfinger Candy : You can buy this in ‘butterfinger bits’ in the baking aisle by the chocolate chips if wanted. I recommend buying a Butterfinger candy bar and then roughly chopping it. I think it tastes better when chopped from a whole candy bar, rather than the already chopped bits in the bag.
Step-by-Step Instructions for How to Make Butterfinger Sugar Cookies
This recipe couldn’t be easier to make! Read the simple step-by-step instructions for making these cookies. Be sure and read to the bottom of the page where there is a detailed recipe card, a printable option, and a pin it button so you can save this easy cookie recipe for later.
- Prep : Preheat the oven to 350 degrees F. Line a cookie sheet(s) with parchment paper. Set aside for later.
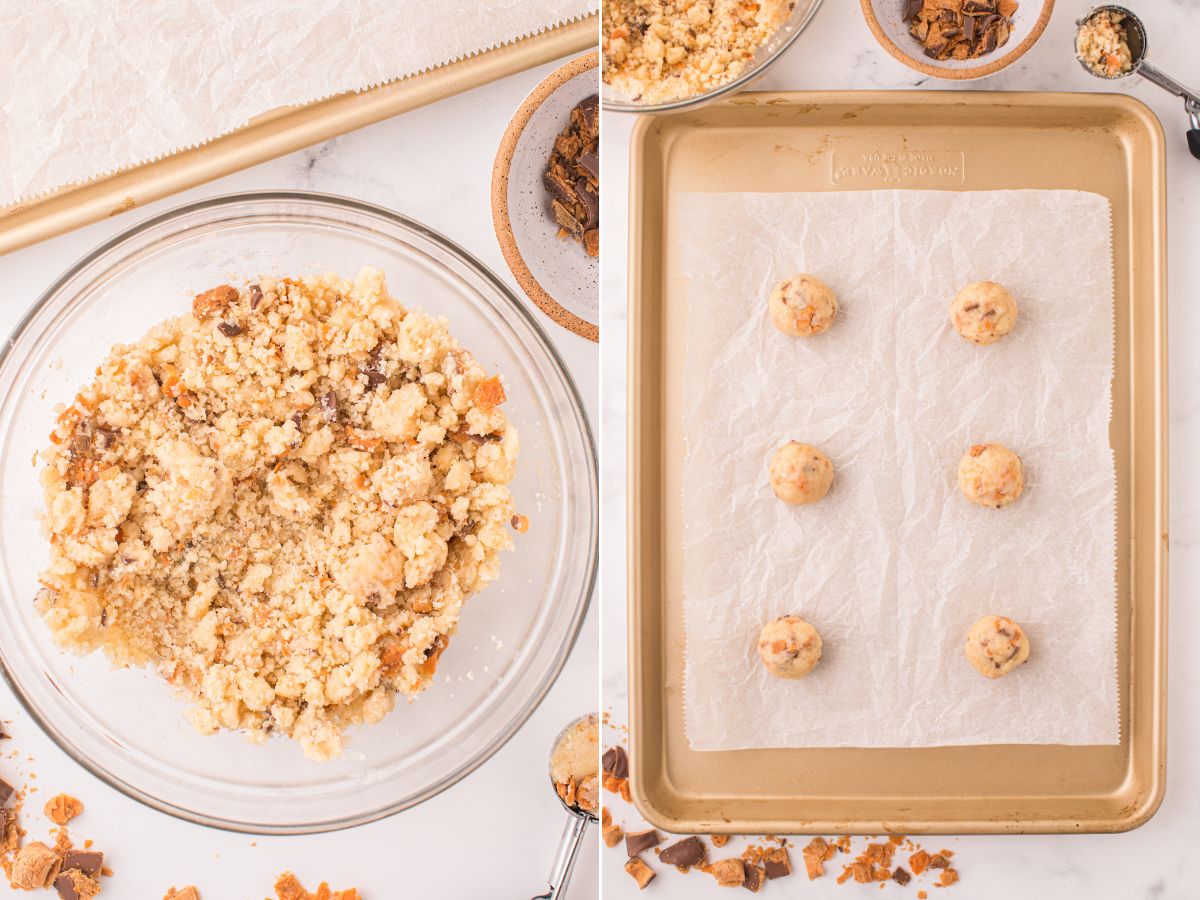
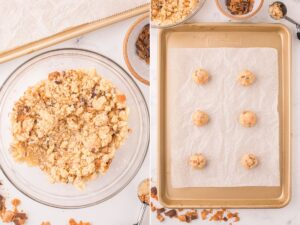
- Make the Cookie Dough : Combine the dry sugar cookie mix, oil, milk, and egg into a mixing bowl. Beat on low to medium speed until a soft dough forms. You may have to get in there with your hands to get the dough to come together well. With the blender, it will look crumbly but once you get in there with your hands it should be a soft dough that forms together. Stir in the chopped Butterfinger pieces.
- Scoop Cookie Balls : Using a 1.5 tablespoon cookie scoop (or measuring spoon) scoop out the cookie dough and roll it into a ball. Place the dough balls 1-inch apart on the prepared baking sheets.
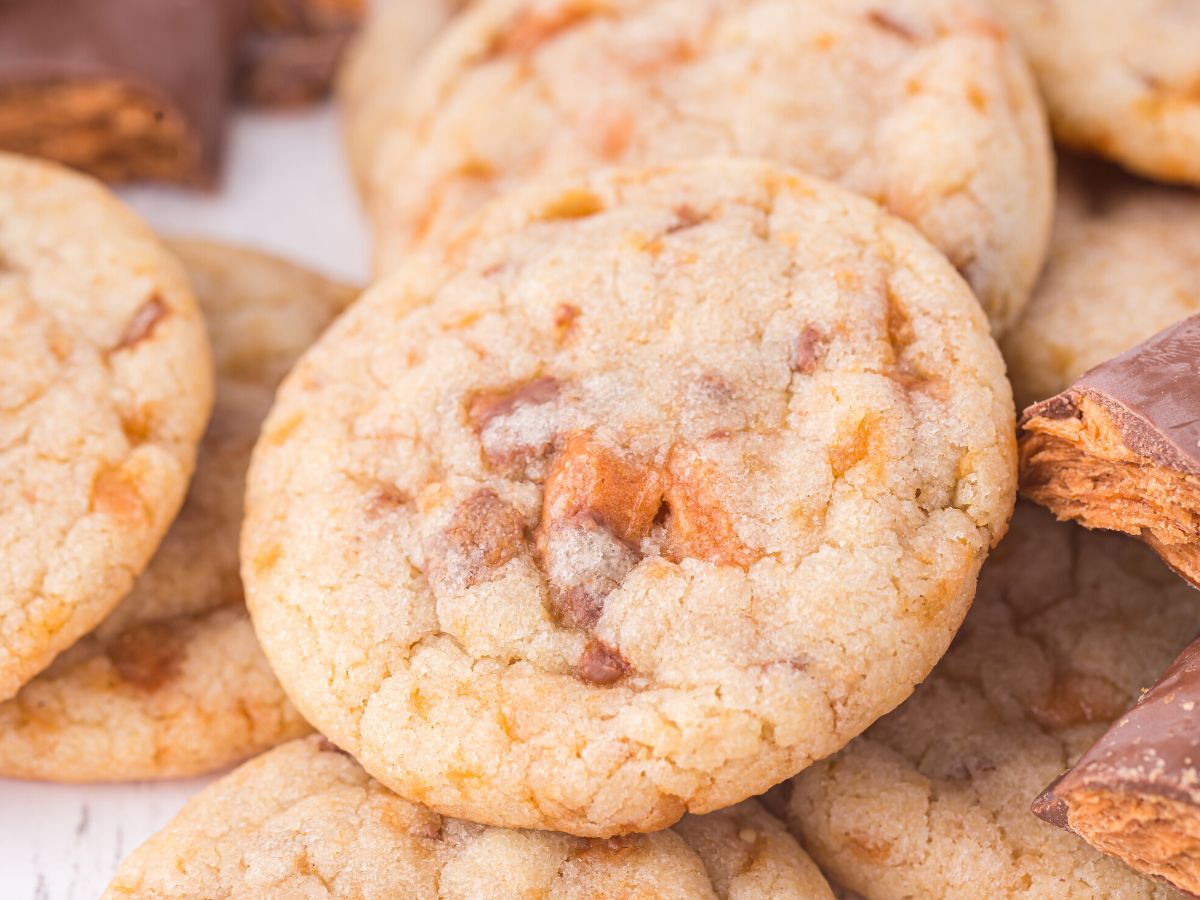
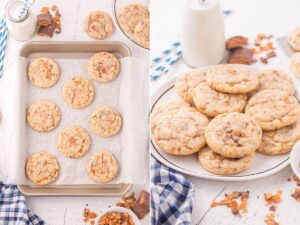
- Bake : Bake the cookies for 8-12 minutes or until the edges are just set and very lightly golden brown. You don’t want to overtake these or else they will be crunchy and hard cookies once they cool.
- Cool & Set : Remove the cookies from the oven and let them cool on the baking sheet for 5-10 minutes before removing them to a cooling rack to cool completely.


Butterfinger Cookies FAQ’s
-
My Cookie Dough Seems Dry & Crumbly
- When mixing this cookie dough you may find that it is crumbly when using an electric hand mixer. I always like to go in with my clean hands to mix the dough together. There is enough liquid to help the dough be soft and mixable. If you still seem to be having problems with the dough being very dry, even after using your hands, try adding 1 teaspoon of additional milk at a time.
- Sometimes if you use higher fat (like whole milk, half and half, heavy cream) you will need more of it because of the higher fat content and thickness. That is why I recommend using only 1% milk or 2% milk in this recipe.
- I use an electric hand mixer just to combine everything together and then I go in with my clean hands and mix the dough to ensure that it is soft, pliable, and comes together like traditional cookie dough does.
-
Can I Freeze These Cookies?
- Yes you can! The cookie dough freezes well or you can even freeze the cookies after they have baked & cooled completely.
- To freeze the uncooked cookie dough, I recommend rolling the dough into balls and then placing them on a cookie sheet or try. Allow them to freeze for about 2 hours, remove them from the freezer, and then place the frozen cookie dough balls into a freezer-safe Ziploc bag bag and freeze for up to 3 months. This way they won’t stick together once frozen. When ready to bake, let the cookie dough balls thaw completely and then proceed with the baking instructions.
- To freeze the cooked cookies, make sure they are completely cooled, and then store them in a freezer-safe container or bag, for up to 3 months. Let the cookies thaw for a bit at room temperature before eating. Or warm it up in the microwave.
-
Fun Ways to Serve These Cookies
- Butterfinger Cookie Sundae : Try serving ice cream cookie sundaes with a scoop of Butterfinger ice cream, topped with whipped cream, and a Butterfinger cookie. You can use any ice cream you want, add some chopped nuts, add more Butterfinger bits, add a cherry on top, add some peanut butter or chocolate syrup. Have fun with it!
- Butter Finger Cookie Ice Cream Sandwiches : Use vanilla ice cream, peanut butter ice cream, Butterfinger ice cream, or chocolate ice cream to make an ice cream sandwich with 2 of the cookies.

Recipe Tips
Here are a few of my helpful tips so that you can have success recreating the recipe in your own kitchen ♥
- Storage : Cookies can be stored at room temperature, in an airtight container, for up to 1 week. Leftovers can also be frozen (see above for details) or stored in the fridge for up to 2 weeks.
- Recipe Yield : This recipe yields 18 cookies. Each cookie (1 serving size) is 1.5 tablespoons of cookie dough.
- Parchment Paper is Best For Baking Cookies : I always, always recommend only using parchment paper when baking cookies. My cookie baking game completely changed once I exclusively used the parchment paper sheets. They allow the cookies to bake more evenly and most importantly, they make it so the bottoms of the cookies don’t brown or over bake.
- Cookie Scoop : Use a small cookie scoop (1.5 tablespoons) to make measuring out the dough super easy. Plus all the cookies will be the same size.
- Butterfinger Pieces : Make sure that the butterfinger candy is finely chopped so it’s more evenly distributed throughout the cookie. Butterfinger has a peanut butter toffee-type center that tends to melt and harden, so it’ best to make sure the candy is finely chopped so you avoid those hardened larger pieces of Butterfinger. This is also why I recommend using a candy bar that you chop up yourself, because you can control how finely chopped everything is. I know large chunks of anything is appealing, but for these cookies, you want the finer chunks.
- Don’t Over Bake! : The cookies will continue cooking as they are cooling on the warm cookie sheet. If the cookies are overbaked, they will get hard, tough, and difficult to eat. When you pull the cookies out of the oven they should still look pale in color. The edges should be barely set, and possibly slightly golden brown, but everywhere else should be pale and have no color. The tops of the cookies will also be crinkly.
More Cookie Recipes To Try
- Peanut Butter M&M Cookies – Soft, thick, sugary peanut butter cookies filled with peanut butter m&m’s.
- S’mores Cookie Cups – A graham cracker cookie base filled with a marshmallow and then toasted with chocolate on top.
- Chocolate Reese’s Cookies – Chocolate based cookie with Reese’s peanut butter chunks throughout.
- Chocolate Chip Cookie Recipe – Classic cookie recipe that uses melted butter for ultra rich and chewy cookies.
- Chocolate Chip Cookie Pizza – I make this all the time for my kids! You have to try it.
- Triple Peanut Butter Monster Cookies – So good! Peanut butter chips + Reese’s Pieces + creamy peanut butter.


Butterfinger Cookies
Ingredients
- 1 bag (17.5 oz) sugar cookie mix
- 1/3 cup canola or vegetable oil
- 1 tablespoon milk (1% or 2%)
- 1 large egg
- 3/4 cup chopped Butterfinger candy (chopped small/finely chopped)
Instructions
- Preheat the oven to 350° F. Line a cookie sheet(s) with parchment paper and set aside.
- In a mixing bowl add the dry sugar cookie mix, oil, milk, and egg. Using an electric hand mixer, beat on low to medium speed until a soft and crumbly dough forms. * It may seem like it's too dry and crumbly but there is enough liquid in there to get the correct dough. I like to go in with my clean hands to mix the dough towards the end to make sure it comes together into a soft dough.

- Stir in the chopped Butterfinger candy pieces.
- Using a 1.5 tablespoon cookie scoop, scoop out the cookie dough and roll it into a ball. Place 12 cookie dough balls per cookie sheet.
- Bake for 8-12 minutes. Do not over bake!* The cookies should still be pale in color when you take them out of the oven. Look for the edges to be barely set, maybe slightly golden brown, and for the tops of the cookies to be crinkly. They will continue cooking while cooking on the warm cookie sheet.
- Allow the cookies to cool on the cookie sheet for 5-10 minutes (so they don't fall apart when you move them). Move the cookies to a cooling rack to cool completely.

Notes
- Storage : Cookies can be stored at room temperature, in an airtight container, for up to 1 week. Leftovers can also be frozen (see above for details) or stored in the fridge for up to 2 weeks.
- Recipe Yield : This recipe yields 18 cookies. Each cookie (1 serving size) is 1.5 tablespoons of cookie dough.
- Parchment Paper is Best For Baking Cookies : I always, always recommend only using parchment paper when baking cookies. My cookie baking game completely changed once I exclusively used the parchment paper sheets. They allow the cookies to bake more evenly and most importantly, they make it so the bottoms of the cookies don't brown or over bake.
- Cookie Scoop : Use a small cookie scoop (1.5 tablespoons) to make measuring out the dough super easy. Plus all the cookies will be the same size.
- Butterfinger Pieces : Make sure that the butterfinger candy is finely chopped so it's more evenly distributed throughout the cookie. Butterfinger has a peanut butter toffee-type center that tends to melt and harden, so it' best to make sure the candy is finely chopped so you avoid those hardened larger pieces of Butterfinger. This is also why I recommend using a candy bar that you chop up yourself, because you can control how finely chopped everything is. I know large chunks of anything is appealing, but for these cookies, you want the finer chunks.
- Don't Over Bake! : The cookies will continue cooking as they are cooling on the warm cookie sheet. If the cookies are overbaked, they will get hard, tough, and difficult to eat. When you pull the cookies out of the oven they should still look pale in color. The edges should be barely set, and possibly slightly golden brown, but everywhere else should be pale and have no color. The tops of the cookies will also be crinkly.
-
My Cookie Dough Seems Dry & Crumbly
- When mixing this cookie dough you may find that it is crumbly when using an electric hand mixer. I always like to go in with my clean hands to mix the dough together. There is enough liquid to help the dough be soft and mixable. If you still seem to be having problems with the dough being very dry, even after using your hands, try adding 1 teaspoon of additional milk at a time.
- Sometimes if you use higher fat (like whole milk, half and half, heavy cream) you will need more of it because of the higher fat content and thickness. That is why I recommend using only 1% milk or 2% milk in this recipe.
- I use an electric hand mixer just to combine everything together and then I go in with my clean hands and mix the dough to ensure that it is soft, pliable, and comes together like traditional cookie dough does.
-
Can I Freeze These Cookies?
- Yes you can! The cookie dough freezes well or you can even freeze the cookies after they have baked & cooled completely.
- To freeze the uncooked cookie dough, I recommend rolling the dough into balls and then placing them on a cookie sheet or try. Allow them to freeze for about 2 hours, remove them from the freezer, and then place the frozen cookie dough balls into a freezer-safe Ziploc bag bag and freeze for up to 3 months. This way they won't stick together once frozen. When ready to bake, let the cookie dough balls thaw completely and then proceed with the baking instructions.
- To freeze the cooked cookies, make sure they are completely cooled, and then store them in a freezer-safe container or bag, for up to 3 months. Let the cookies thaw for a bit at room temperature before eating. Or warm it up in the microwave.
-
Fun Ways to Serve These Cookies
- Butterfinger Cookie Sundae : Try serving ice cream cookie sundaes with a scoop of Butterfinger ice cream, topped with whipped cream, and a Butterfinger cookie. You can use any ice cream you want, add some chopped nuts, add more Butterfinger bits, add a cherry on top, add some peanut butter or chocolate syrup. Have fun with it!
- Butter Finger Cookie Ice Cream Sandwiches : Use vanilla ice cream, peanut butter ice cream, Butterfinger ice cream, or chocolate ice cream to make an ice cream sandwich with 2 of the cookies.
Nutrition
Did You Make This Recipe?
I'd love to see it! You can share it with me on @togetherasfamilyblog and follow on Pinterest @together-as-family-blog-recipes or Facebook @togetherasfamilyblog for more!


Did you love this recipe?
Make sure to comment below so we can chat about it! Or follow on your favorite social network for even more family recipes.