
This post may contain affiliate links, view our disclosure policy.
This Pear Jello Recipe is a family favorite, tried & tested, jello side dish that I’ve made for years! Creamy, fluffy, sweet, and so delicious with canned pears and any flavor of Jello you want. Learn how to make this recipe using gelatin, pears, cream cheese, and Cool Whip along with all my tips, and lots of ideas for variations as well.
Creamy Pear Jello Recipe
I cannot even tell you how many times I have made this raspberry pear jello recipe! I make it for family dinner at my parent’s house, as a side dish for dinner, a snack for the kids, and several times during the summer with barbecues and picnics.
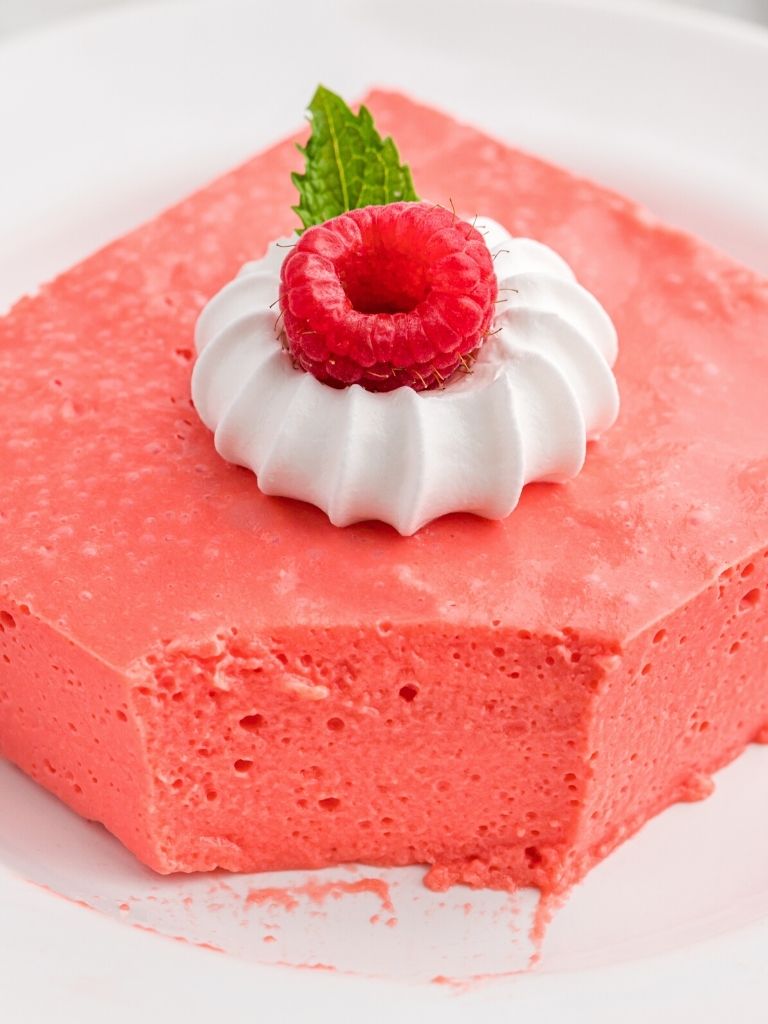
The canned pears really make this jello recipe stand out from the rest. It provides a texture, without any chunks, to the Jello. I personally don’t like Jello salads that have chunks inside it.
My kids request this one all the time along with nieces and nephews. It will get gobbled up in no time!
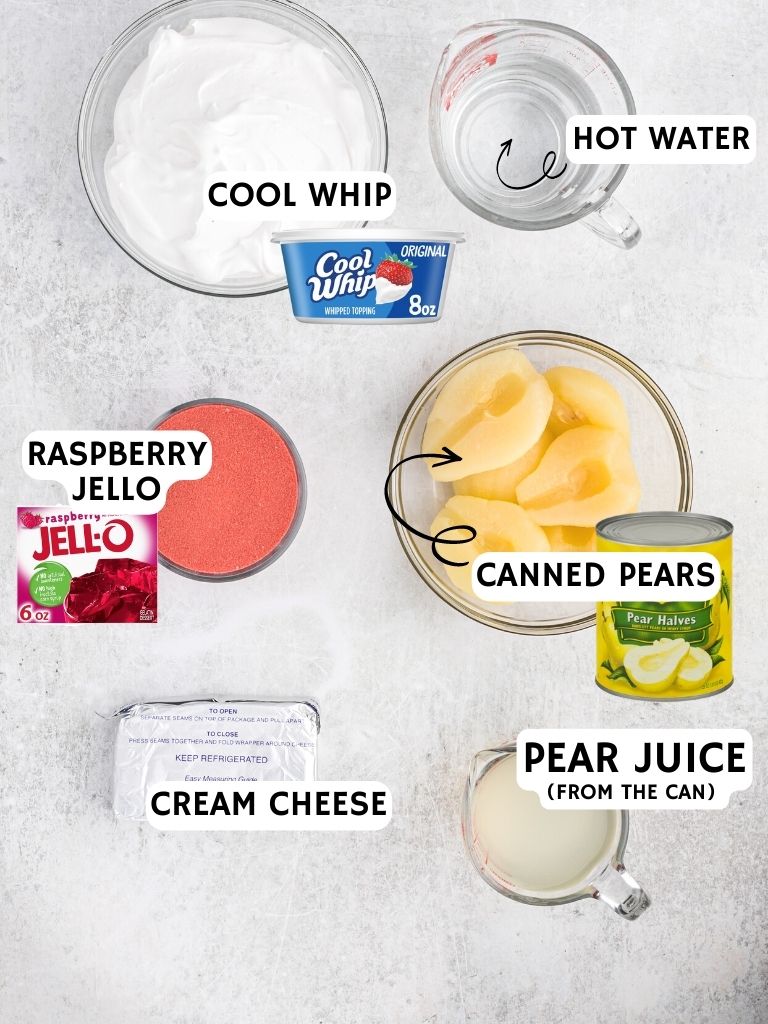
Ingredients Needed
Here are the ingredients that you will need to make this recipe. I also share a few tips so that you can easily recreate this in your own kitchen.
- Canned Pears – You will need a larger 29 oz can. You can also use 2 cans (15 oz each) if you can’t find the larger can. You will drain this but make sure to save the pear juice. Don’t get rid of it! You can also use pear halves or sliced pears, it doesn’t matter.
- Pear Juice – From the can of pears when you drain it.
- Jello – We love this recipe with the raspberry jello, but you really can use any flavor you want. It’s also really yummy with lime jello, peach jello, or orange jello.
- Hot Water – As hot as you can get it from the sink.
- Cream Cheese
- Cool Whip
How to Make this Jello Recipe with Canned Pears and Jello
Learn how to make this easy Jello recipe in your own kitchen with these simple steps. Be sure and read to the bottom of the post where there is a printable recipe card, a pin it button so you can save it to Pinterest, and the full recipe along with my tips.
- Pears : Using a colander, with a bowl underneath it to catch the juice, drain the pears. Set aside the pears and set aside the pear juice.
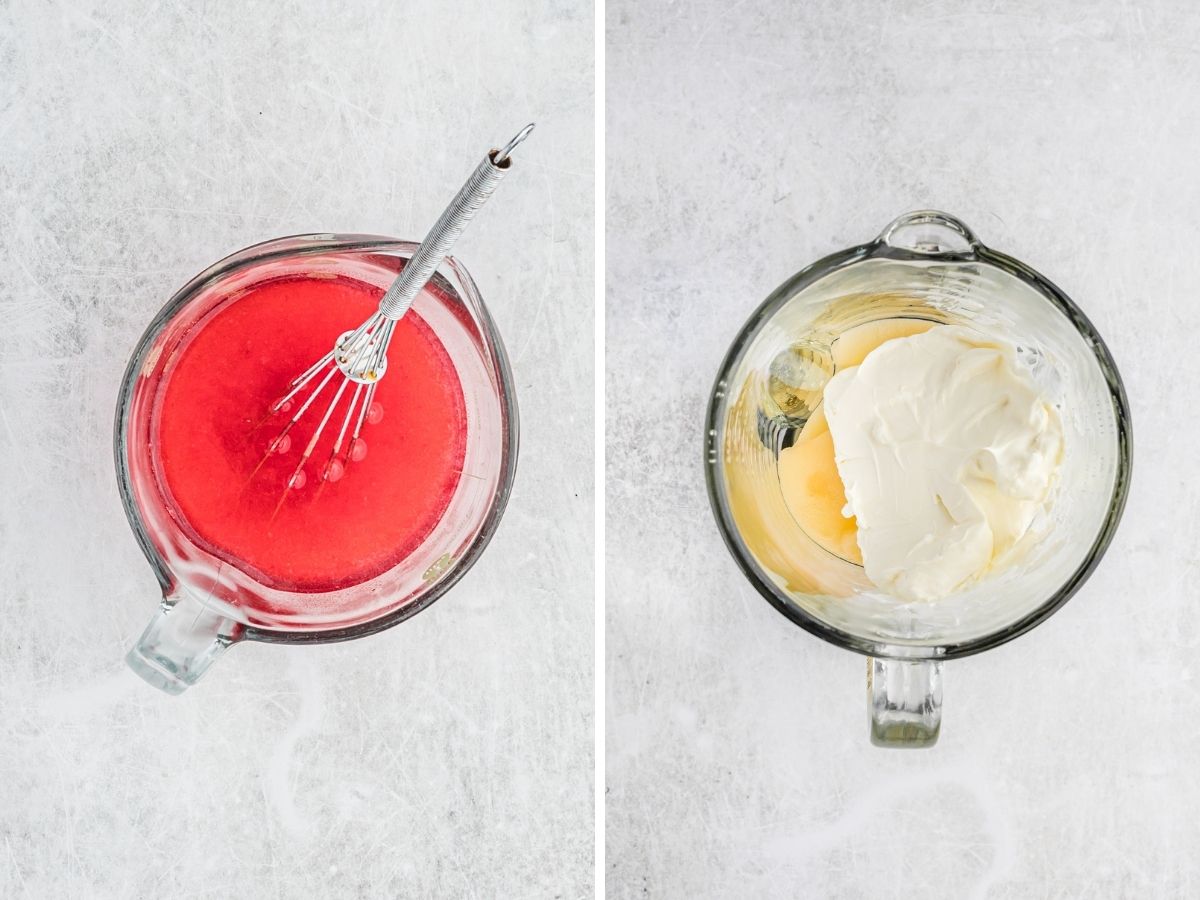
- Raspberry Jello : Combine the pear juice and enough hot water to measure out 2 cups. Microwave it for 1 minute. Pour in the raspberry jello powder and stir for about 2 minutes until it is fully dissolved.
- Fridge : Let the jello cool in the freezer for about 15-20 minutes. You want it slightly cooled down and not boiling hot when you add it to the blender mixture.
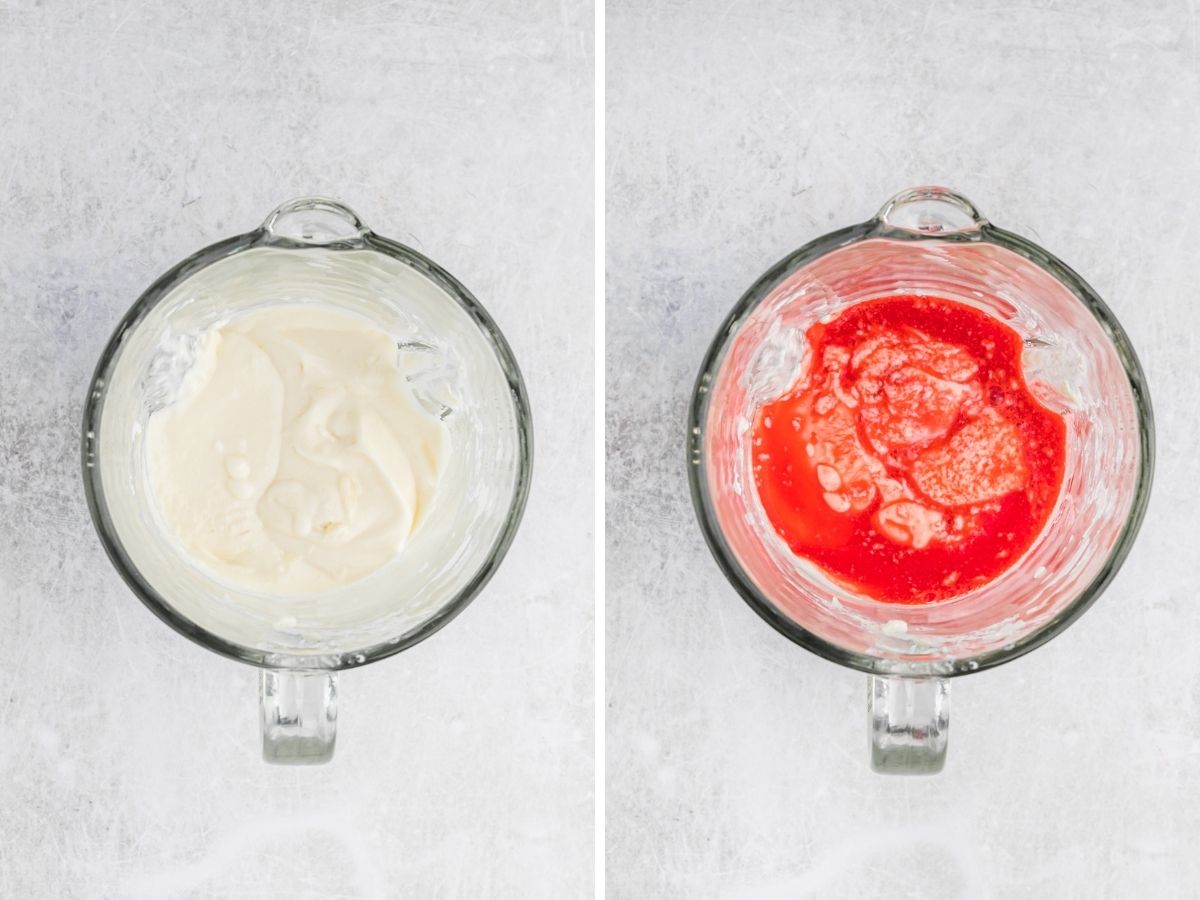
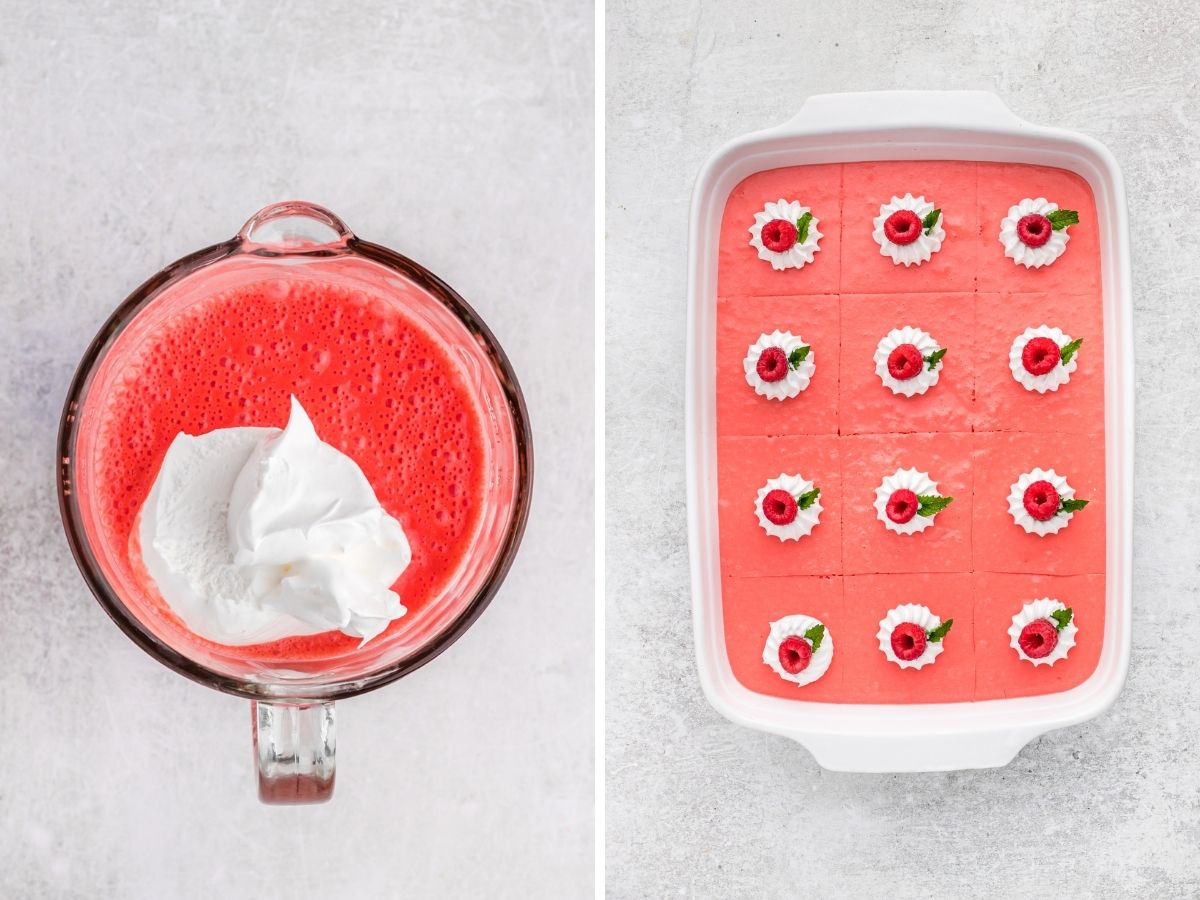
- Blender : Blend together the pears and cream cheese. Slowly pour in the lukewarm jello mixture from the freezer, and blend again until combined well. Add in the Cool Whip and blend to combine.
- Baking Dish : Pour the mixture into a 9×13 baking dish (no need to spray it with cooking spray), cover it with a lid or plastic wrap and refrigerate for at least 6-8 hours before serving. Overnight is good too.
Tips For Success
Here are a few of my tips that will hopefully make this recipe a hit for your own family & friends.
- Refrigeration Time : Don’t try to rush this as it needs at least 6 hours of refrigeration time so it can properly thicken and set up. If you do less fridge time, the Jello won’t be as thick and you won’t be able to cut it into nice squares.
- Make It Ahead of Time : This can be made the day before you need it! I usually always make it the night before and let it refrigerate overnight and into the next day, until it’s serving time. I actually prefer this after it has been in the fridge overnight. The Jello gets really thick and the flavors meld together better.
- Dissolve Jello : 2 minutes of stirring the jello powder into the hot water/pear juice mixture may seem like a lot, but trust me, you want to do it. If you don’t get the jello powder fully dissolved, you will end up with specks of Jello in the recipe.
- Switch It Up! : We also love this recipe with a box of lime jello or peach jello. I make this raspberry version the most, but anything would be yummy.
- Make It Lighter : Feel free to use lite Cool whip and reduced-fat cream cheese if wanted. I have never tested this recipe with sugar-free Jello so I can’t say for sure that it would turn out great. I believe the sugar-free jello boxes have less in them, so you will want to make sure that you get the full 6 ounces if using sugar-free.
Jello Recipe FAQ’s
- How To Store Leftover Jello
- Leftovers can be stored in the fridge, covered with a lid or plastic wrap, for up to 5-7 days.
- Variation Ideas
- I mostly make this recipe with raspberry jello.
- Other good mixes we have tried are lime jello, peach jello, and orange jello. All were really yummy.
- Feel free to use any jello flavor you want! Test them out and see what your favorite is.
- Substitutions for this Jello Recipe
- Reduced-fat cream cheese can be used if wanted.
- You can also use lite Cool Whip.
- If you can’t find the larger sized box (6 oz) in the flavor you want, use two of the smaller boxes instead.
- Serving Suggestions
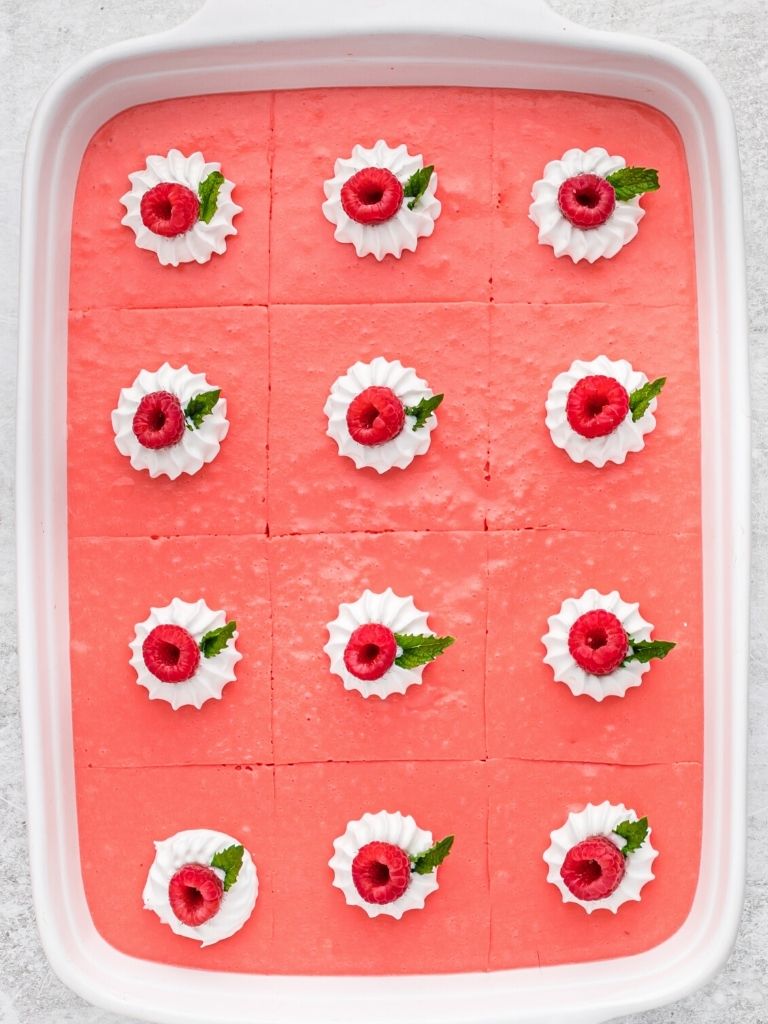
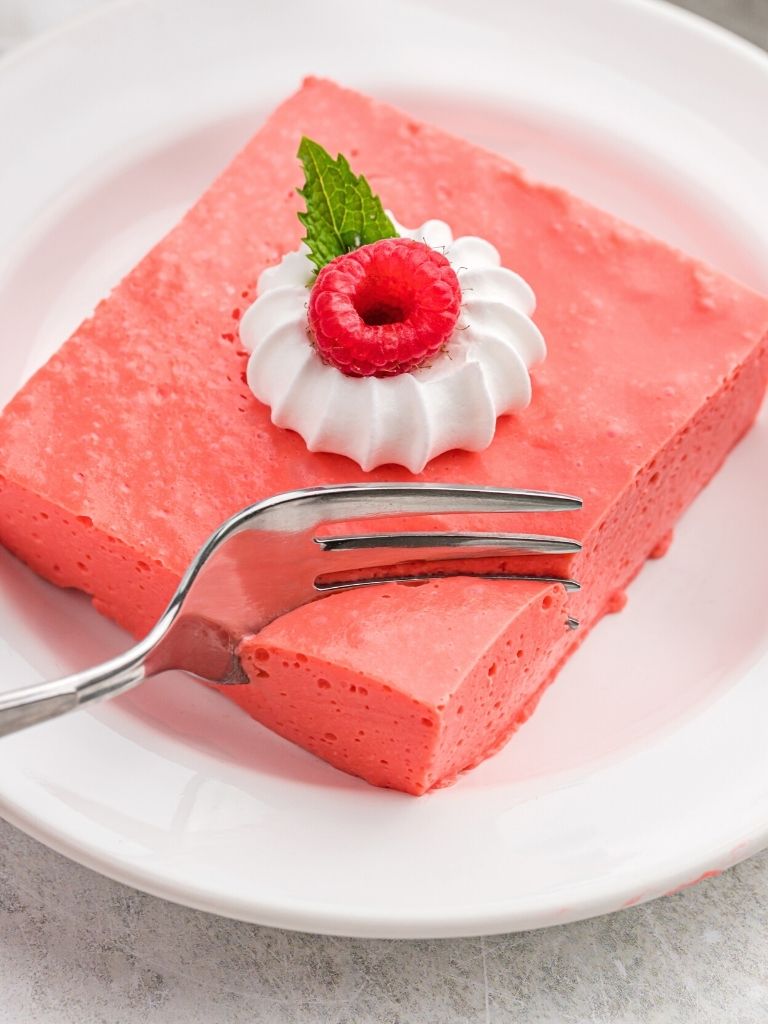
- I usually serve this as is and cut into squares.
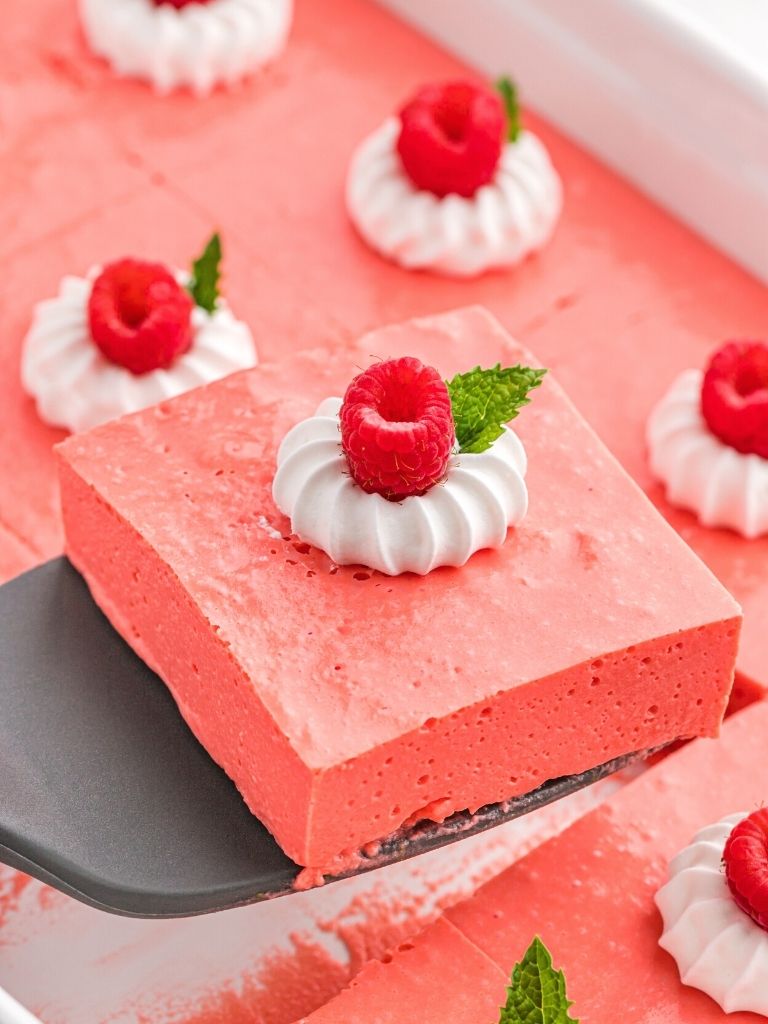
- If you want a prettier presentation, use freshly whipped cream or a spray can of whipped cream, to top each square with it along with a piece of fresh fruit. I try to match the fresh fruit garnish to whatever Jello I used.
More Recipes that Use Jello
- No Bake Jello Pie : A creamy & fluffy no bake pie that starts with a store-bought graham cracker crust and any flavor of Jello that you want!
- Strawberry Jello Pie : Fresh strawberries in an easy mixture of strawberry jello. The perfect summertime recipe to use up fresh strawberries.
- Cherry Coke Jello Salad : A vintage southern recipe with cherries, pineapple, coca-cola & cherry jello.
- Broken Glass Jello : Different colors of Jello float in a sweetened white gelatin mixture.
- Rainbow Jello Cups : Layers of Jello that looks like a rainbow inside a clear plastic cup.
- Orange Creamsicle Poke Cake : An easy cake that starts with a cake mix!

Pear Jello Recipe
Ingredients
- 1 can (29 oz) pears sliced or halved
- 1 cup pear juice (from the can)
- 1 cup hot water
- 1 box (6 oz) Jello any flavor
- 8 oz cream cheese
- 1 tub (8 oz) Cool Whip thawed
Instructions
- Drain the can of pears, reserving 1 cup of the pear juice. Discard the remaining pear juice and save the pears for later.
- Add the 1 cup pear juice and 1 cup hot water (from the sink faucet) into a glass measuring cup (microwave-safe) and heat in the microwave for 2 minutes.
- Pour the dry contents from the jello packet into the water/pear juice and stir with a wire whisk until fully dissolved, about 1-2 minutes. Let the jello mix cool in the freezer for about 15 minutes. You don’t want the jello to set at all, just cool it down slightly before moving on to the next step.
- Add the pears and cream cheese into a blender. Blend on high speed until combined and smooth. Carefully pour in the jello mix (from the freezer). Blend again until combined and smooth.
- Add the Cool Whip into the blender and blend to combine until smooth and creamy.
- Pour it into a 9x13 baking dish (no need to spray it). Cover it with a lid, or tin foil, and let it refrigerate for at least 6 hours. Overnight is good too.
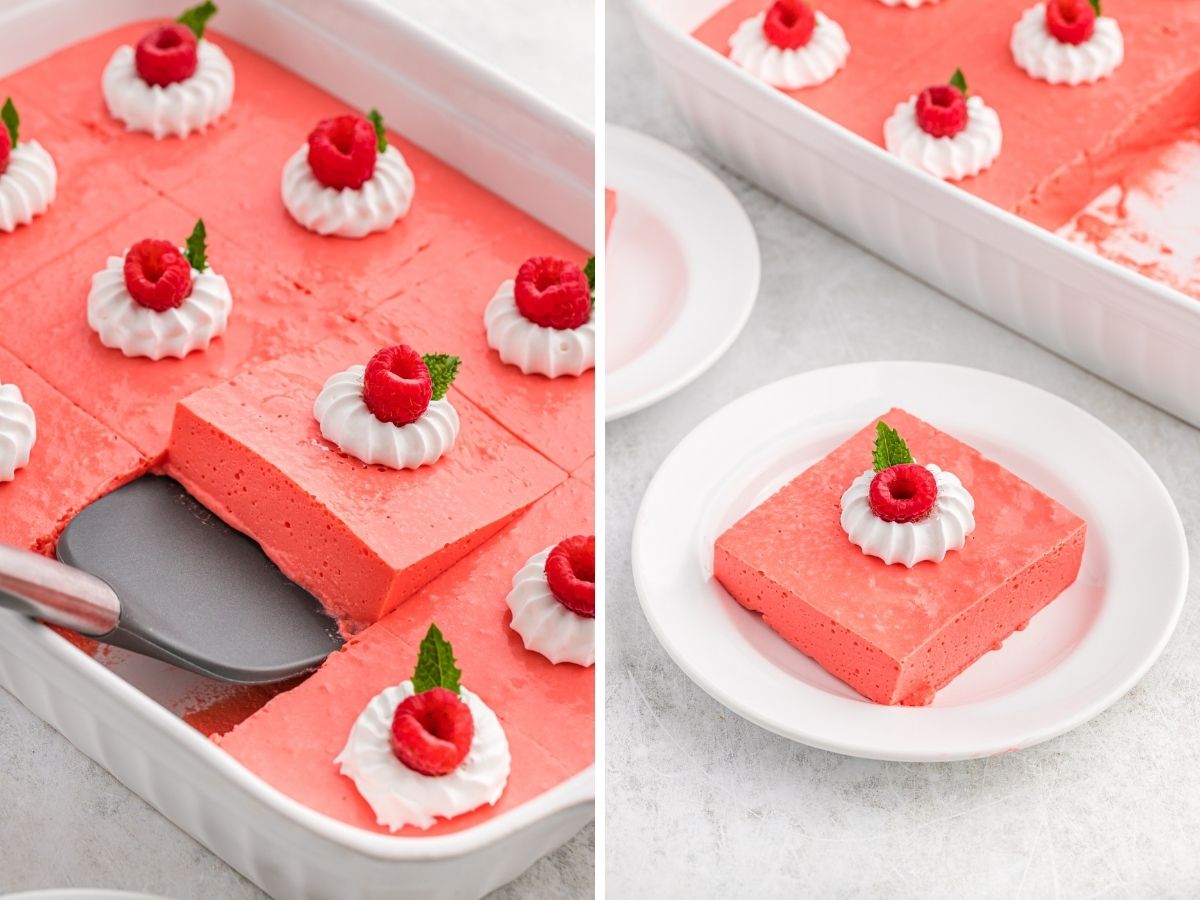
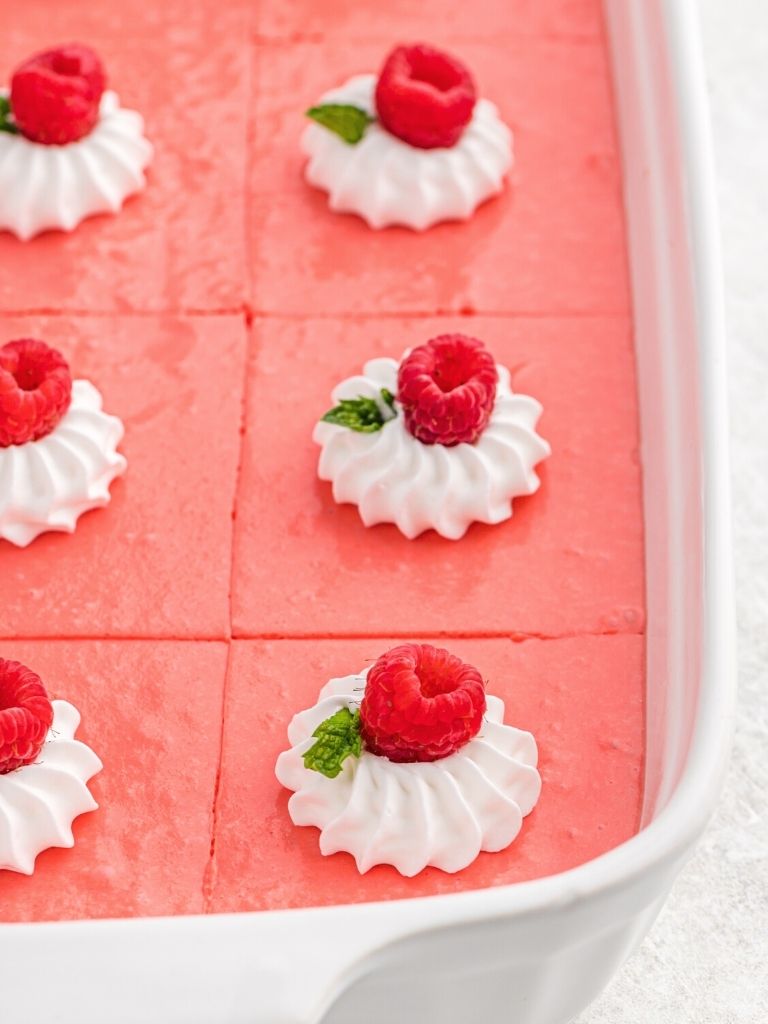
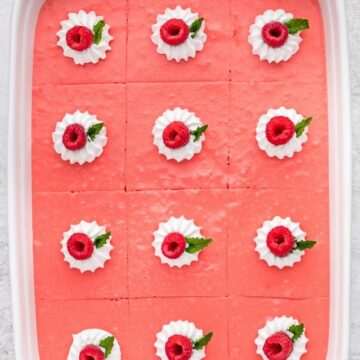
- When ready to serve cut the Jello into 12-15 squares. * You can serve it as is, or make a pretty presentation, and top each square with whipped cream (homemade or from a spray can) and a fresh fruit piece on top that matches the jello flavor you used.
Notes
Nutrition
Did You Make This Recipe?
I'd love to see it! You can share it with me on @togetherasfamilyblog and follow on Pinterest @together-as-family-blog-recipes or Facebook @togetherasfamilyblog for more!


Did you love this recipe?
Make sure to comment below so we can chat about it! Or follow on your favorite social network for even more family recipes.