
This post may contain affiliate links, view our disclosure policy.
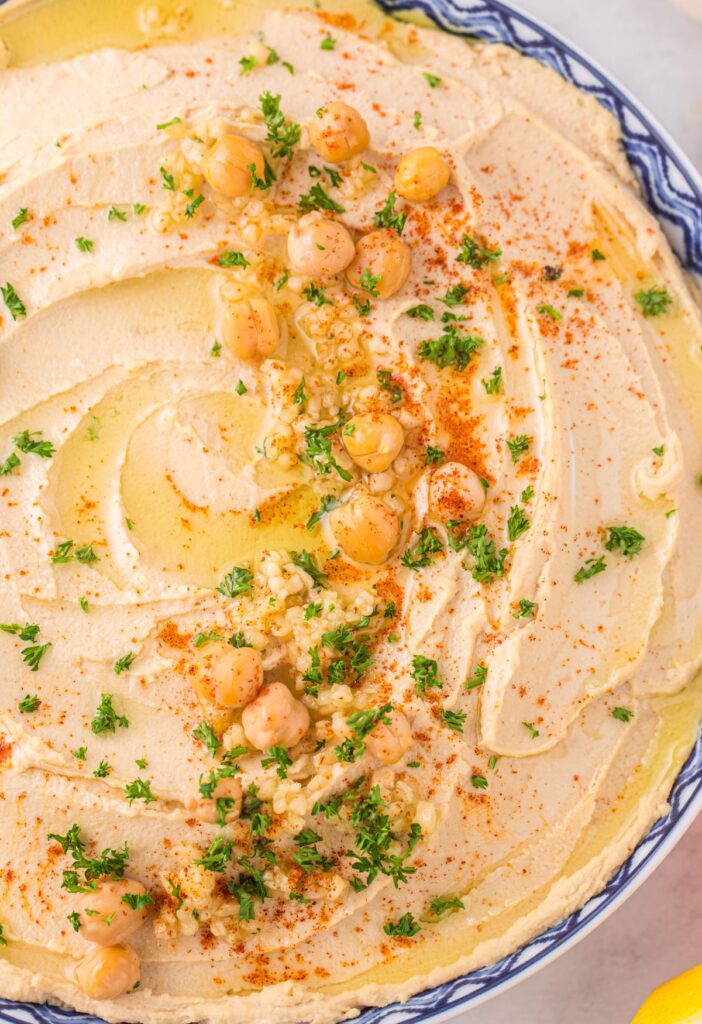
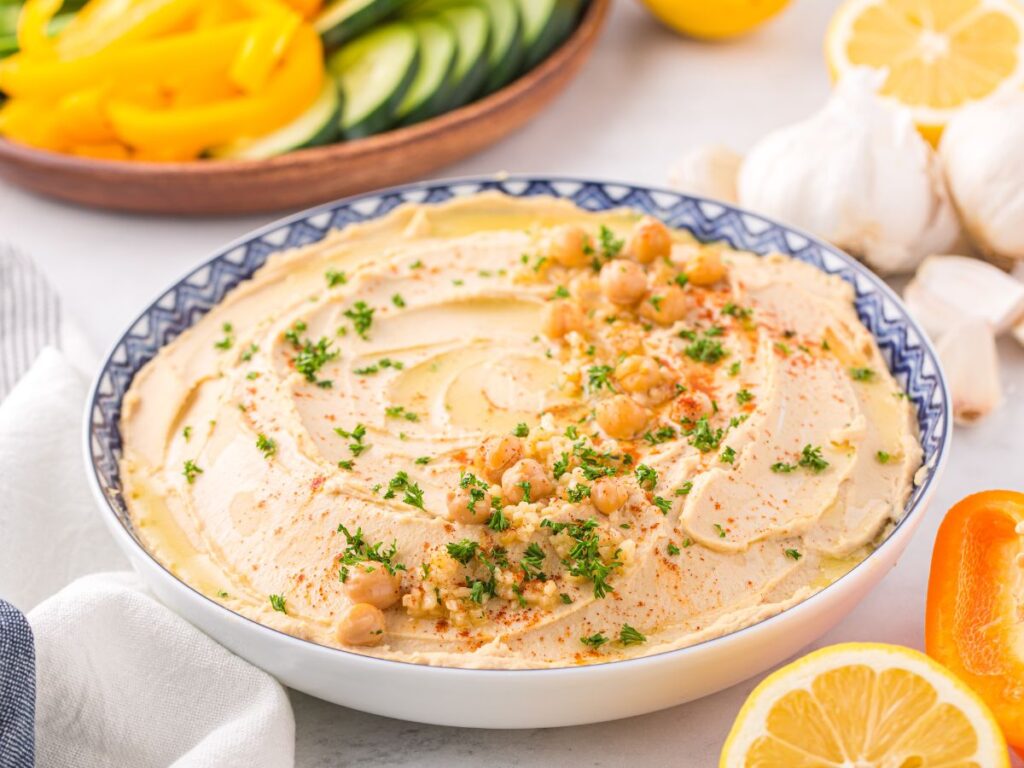
Roasted Garlic Hummus is a healthy and delicious snack or appetizer! Quick and easy to make, this creamy dip is packed with roasted garlic flavor. Serve with pita chips and fresh veggies to impress family and friends with homemade hummus at your next gathering.
Roasted Garlic Hummus Recipe
Roasted garlic hummus does not have that traditional bold, slightly spiced flavor as hummus made with raw garlic. Roasted garlic lends a sweeter flavor to this homemade hummus recipe, which makes it pleasing for everyone – indulging kids!
This homemade roasted garlic hummus is a must-have dip for any gathering, party, appetizer for hame day, or whatever it may be. Making hummus in your own kitchen lends to a fresh tasting, bold flavored hummus that can beat any store-bought hummus.
Why You’ll Love Homemade Hummus
- Hummus is a healthy and nutrient-rich snack that has a pleasing creamy texture for kids and adults alike.
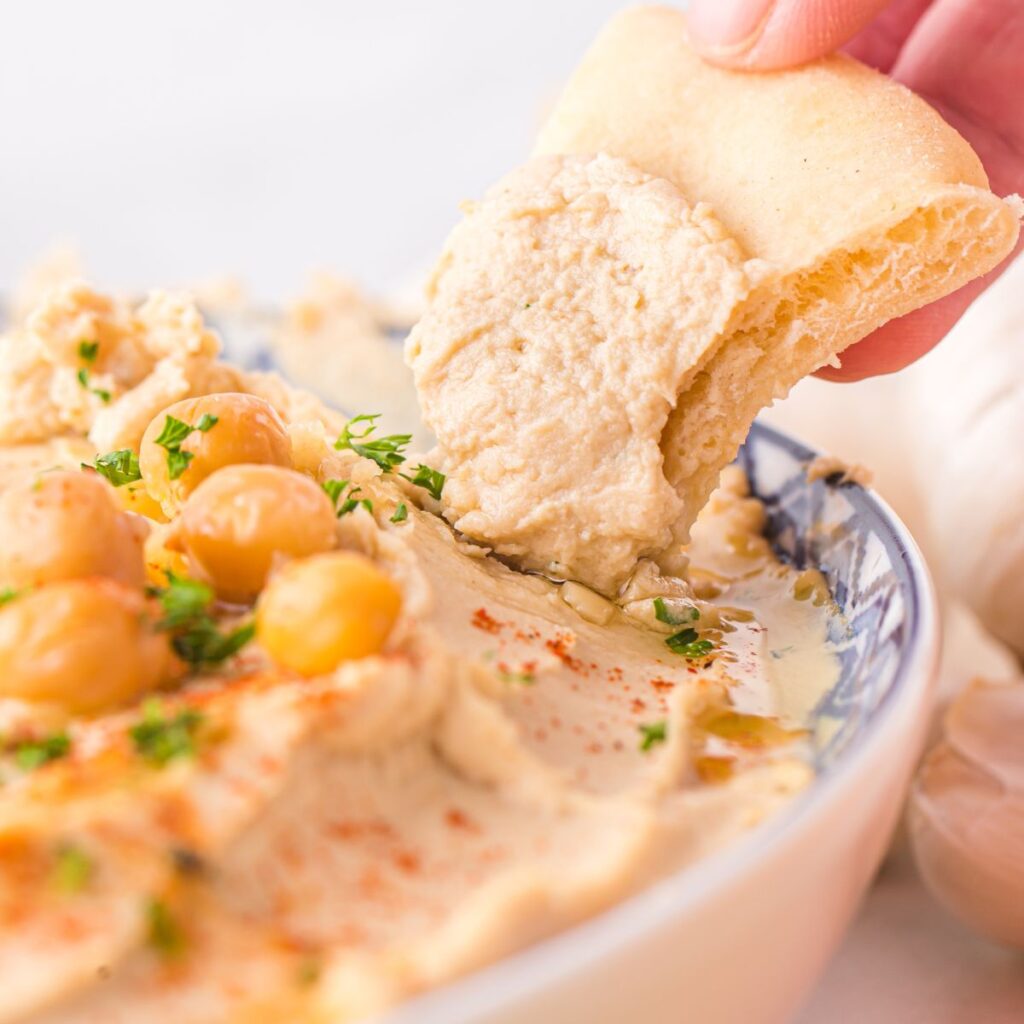
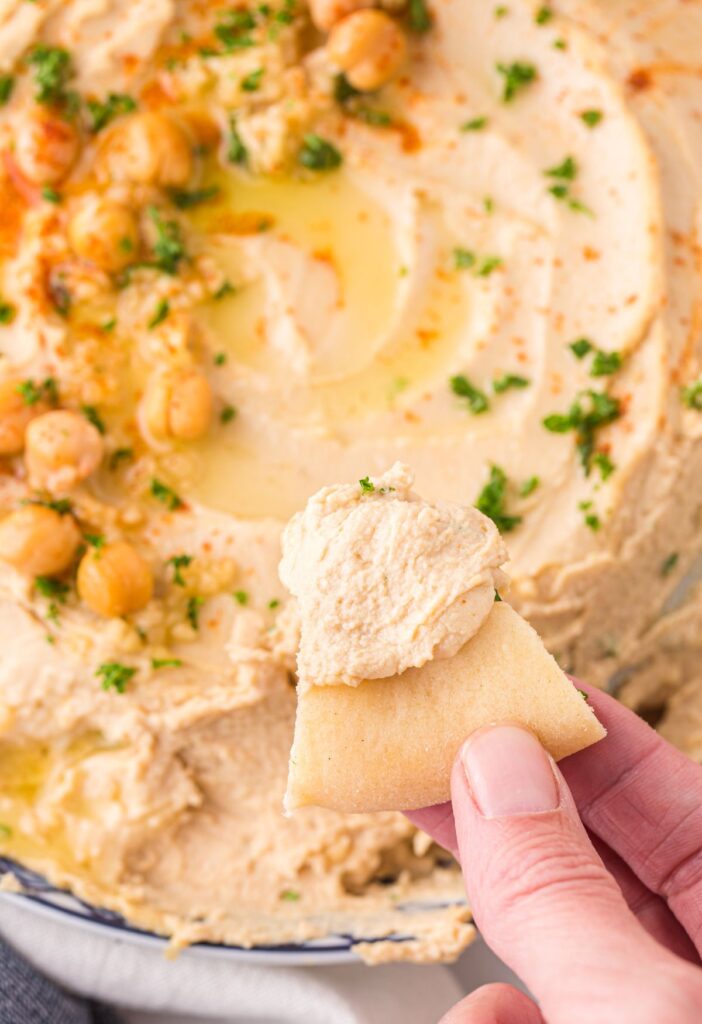
- It’s the perfect party food for gatherings served alongside an assortment of dippers like crackers, baguette bread slices, pita chips, naan bread dippers, and fresh veggies.
- I know buying hummus from the store that’s ready to eat is so convenient and easy – but making homemade garlic hummus is actually very simple and tastes so much better.
Ingredients Needed
- Canned Chickpeas – Be sure and reserve the juice when draining the chickpeas. Using the juice is a super flavorful way to make the dip creamier depending on the consistency you want.
- Minced Garlic – You can use fresh garlic cloves that you mince or press. Or use chopped garlic from a jar. For the freshest flavor I recommend using fresh garlic cloves for making hummus.
- Olive Oil – This is what helps to roast the garlic. I use ‘light tasting’ extra-virgin olive oil.
- Sea Salt
- Tahini – This is a packaged product that you buy at the grocery store. Usually found by the salad dressings.
- Fresh Lemon Juice
- Optional Garnishes & Serving Dippers – Ground paprika, olive oil, pita chips, and fresh veggies is what I use for serving and garnishing the hummus.

Do I Need To Remove The Chickpea Skins When Making Hummus?
I know it’s tedious work but yes you do need to remove the skins from the chickpeas when making hummus. Removing the skins will result in a creamier and smoother hummus.
To remove the skin, simply pinch each chickpea between your fingers and the skin should pop right off. This is a fun little job for kids to do, so get them involved in the kitchen!
How To Make Homemade Roasted Garlic Hummus
- Drain off the juice from the can of chickpeas into a bowl and set it aside for later. The extra juice is a super flavorful way to make the hummus creamier (if needed). So keep it!
- Rinse the chickpeas well and remove any skins. Place the cleaned chickpeas in a colander to drain while you prepare the rest.
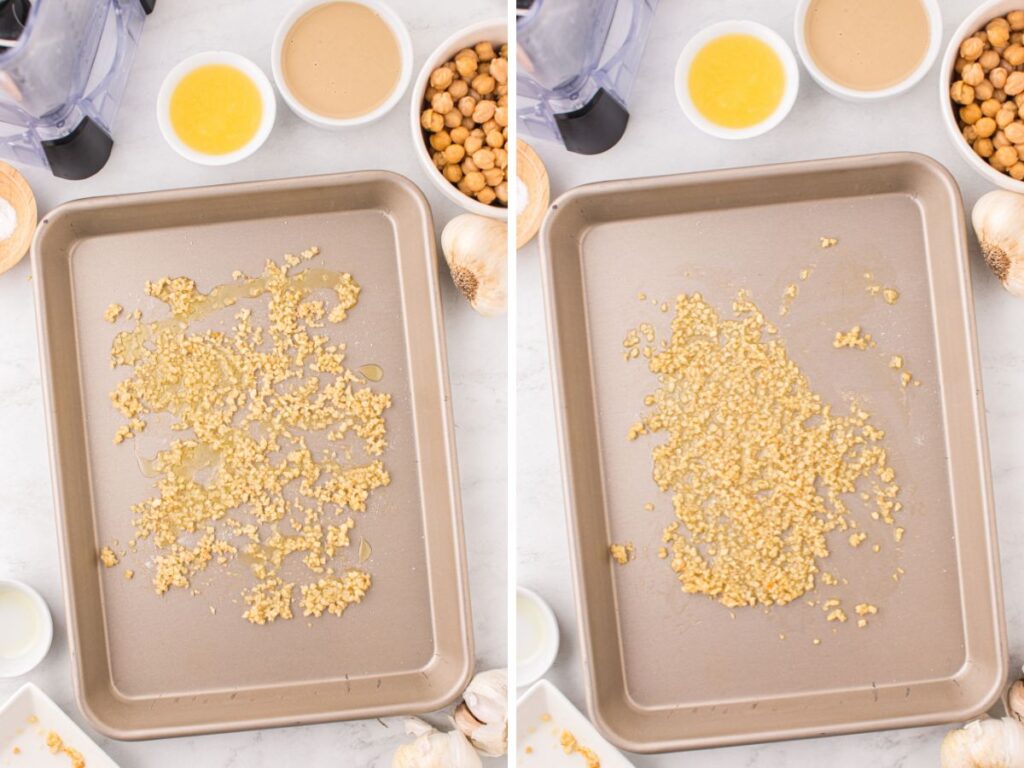
- Spread the minced garlic into an even layer on a baking sheet and drizzle the olive oil over the garlic. Sprinkle with the sea salt. Place in the oven and broil for 1-3 minutes or until very fragrant and roasted (darker color). Watch this very carefully because depending on the heat setting of broil, it can cook really fast! Which also means it can burn really fast. When done, remove the garlic from the oven and allow it cool slightly.
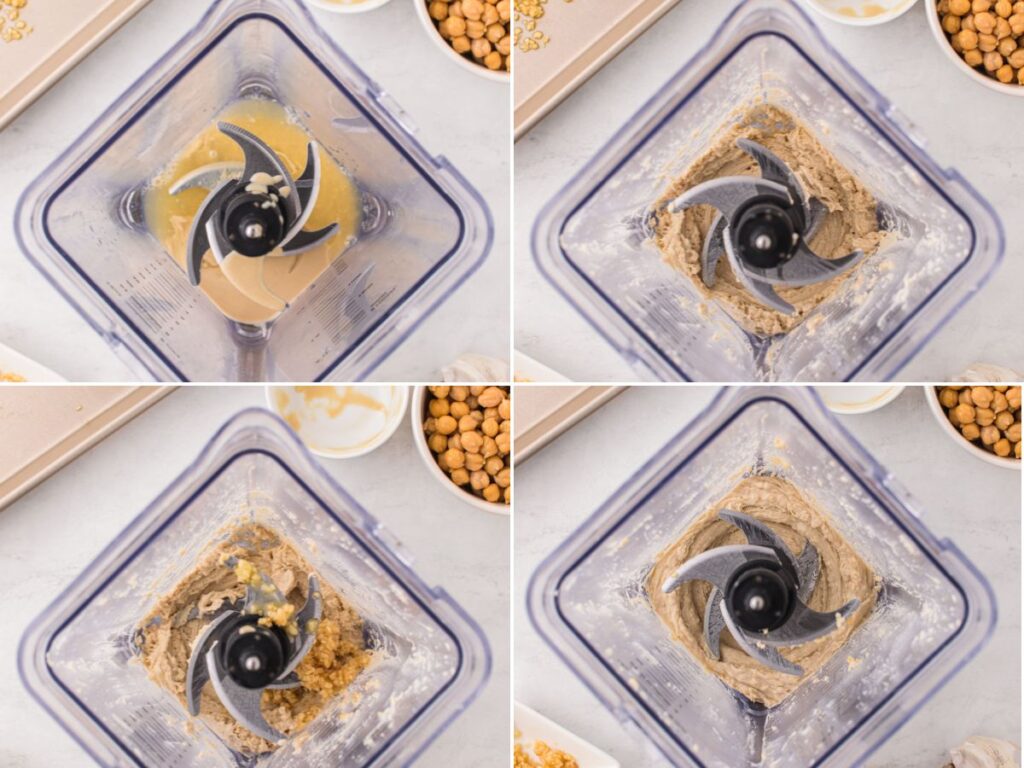
- In a food processor, blend the tahini and lemon juice until creamy and combined. Scrape down the sides with a spatula if necessary.
- Add in the roasted garlic and olive oil from the baking sheet. Scrape it all into the food processor.
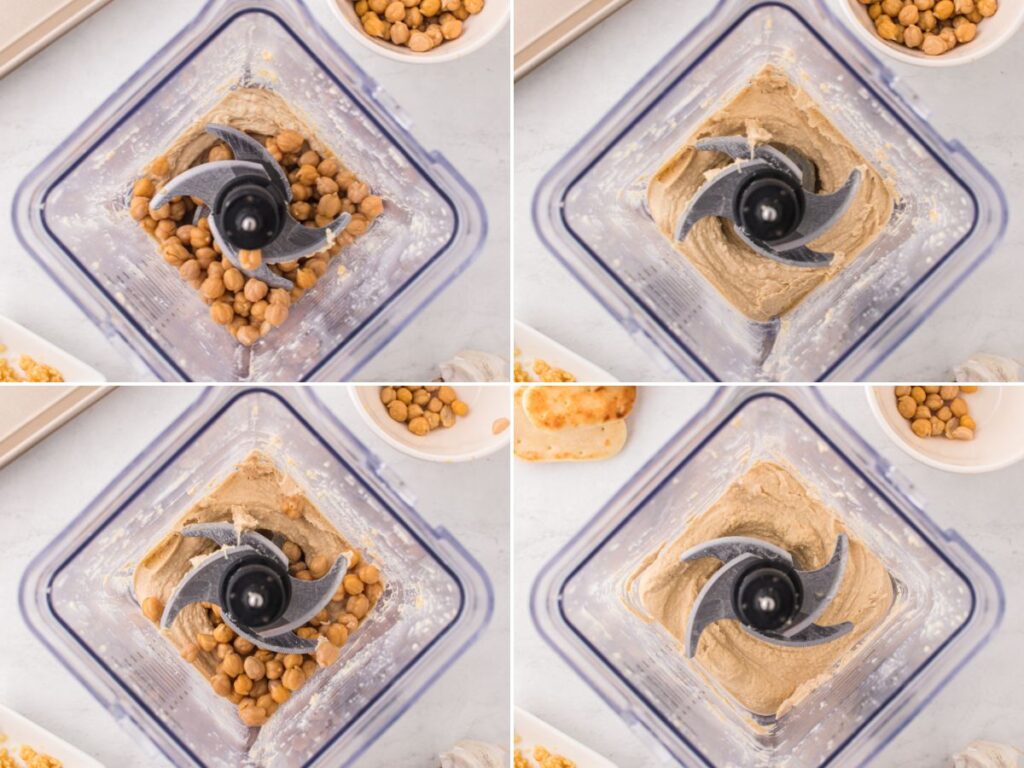
- Add in half of the chickpeas and blend. Scrape down the sides towards the blades. Add the other half of chickpeas and blend again. Scraping as needed.
- Once the hummus is smooth and combined, test the consistency. If it’s too thick then add some of the drained chickpea juice set aside from earlier. Start with 1 tablespoon of the chickpea juice and add from there as needed.
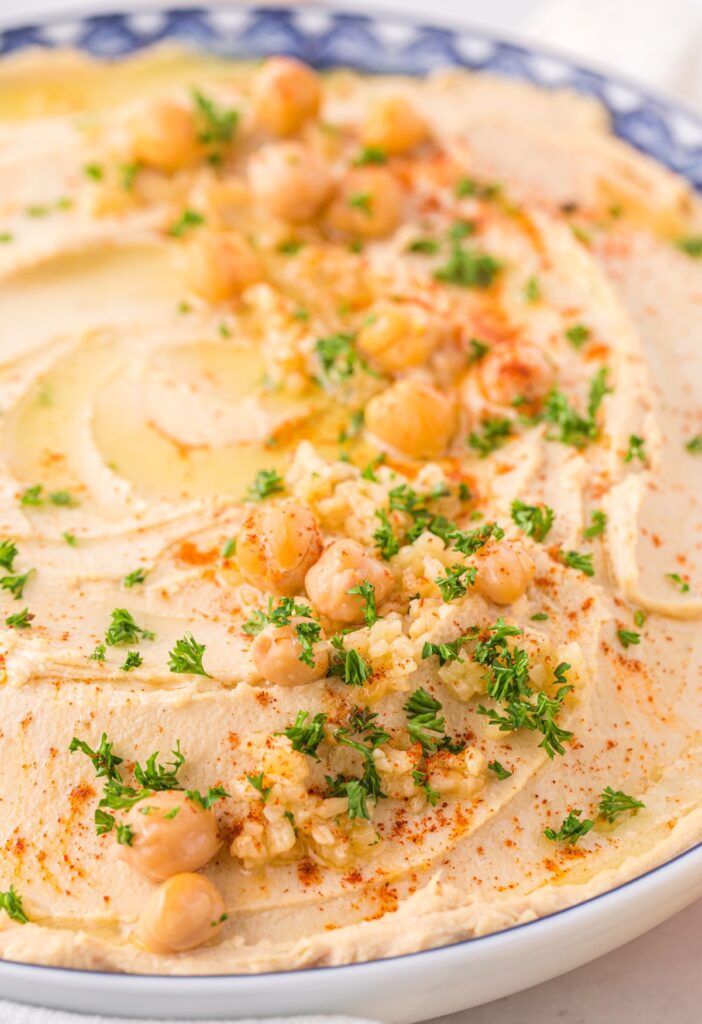
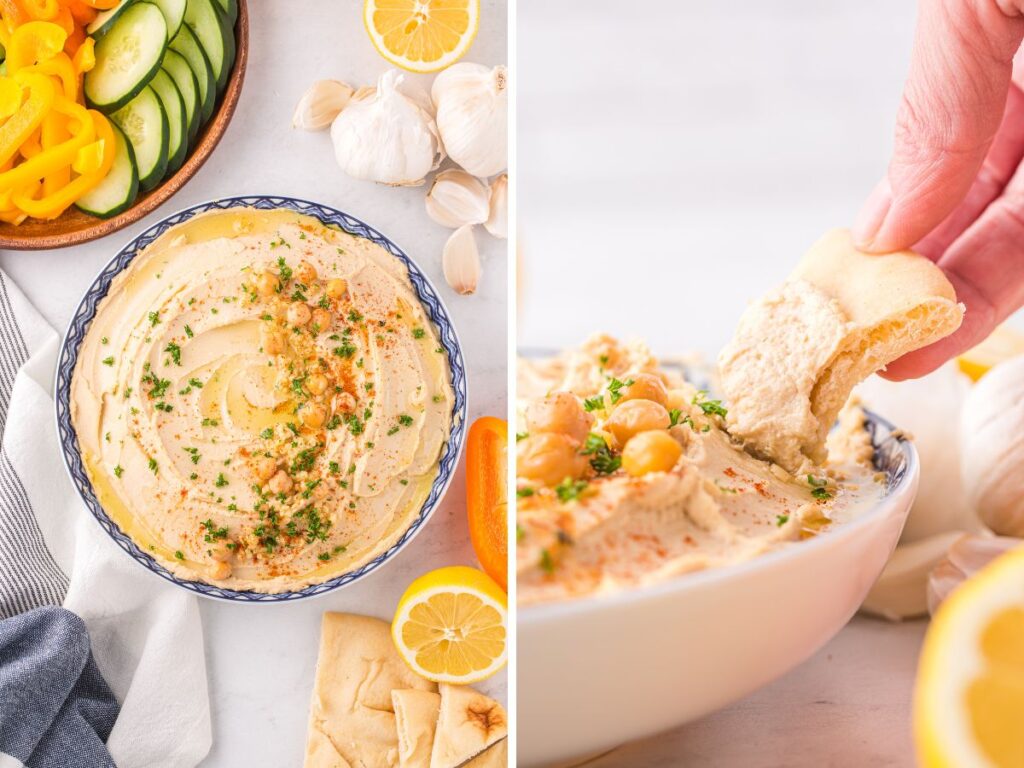
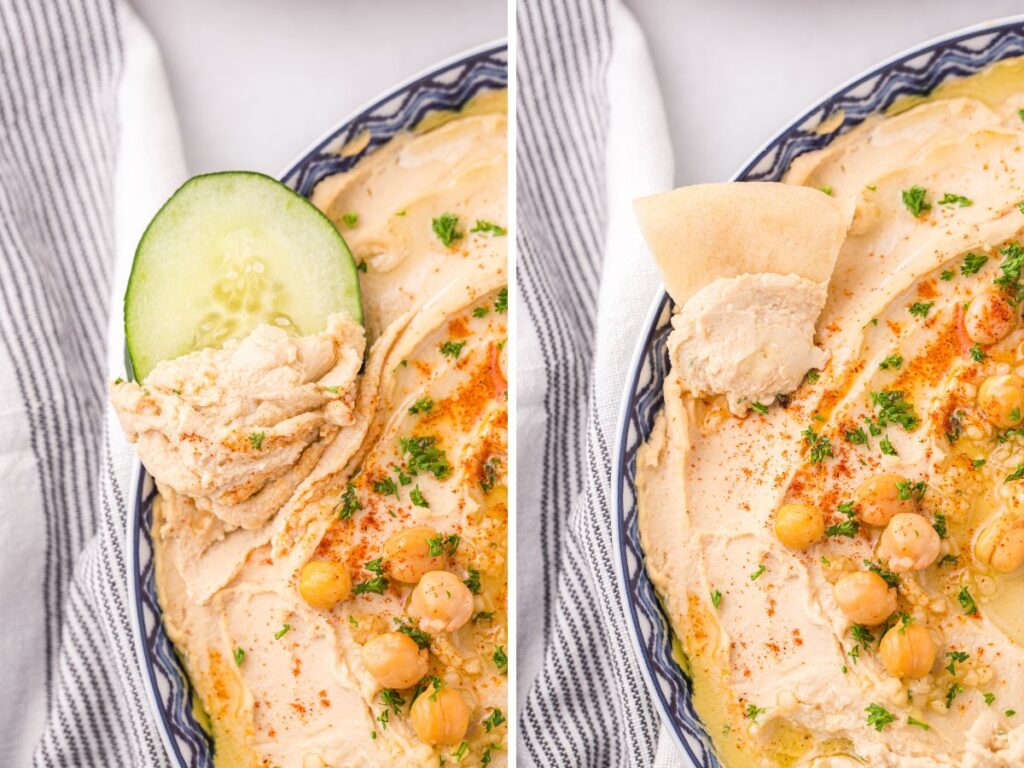
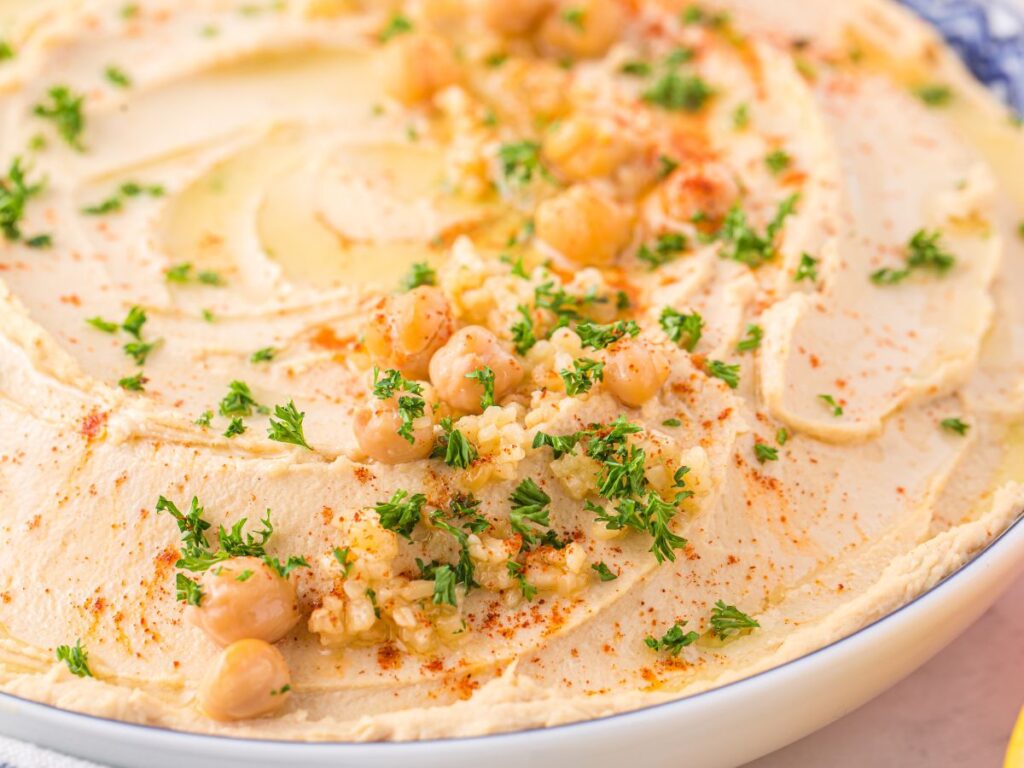
- Scrape the hummus into a serving bowl and garnish with paprika and additional olive oil. Serve with pita chips and fresh veggie sticks like carrots and cucumber (our faves!).
FAQ’s + Expert Tips
- How To Store Hummus : Store the roasted garlic hummus in an airtight container, in the fridge, for up to 5 days. Before storing it, allow it to cool completely and then cover it with a lid or plastic wrap. The hummus will thicken slightly in the fridge so add a little bit of water or olive oil to loosen up a bit.
- Can I Freeze Hummus? : Yes, you can freeze hummus. Although, the consistency and texture might be different once frozen and thawed. To freeze, place the roasted garlic hummus in a freezer-safe container, making sure to leave room at the top because it will expand. Freeze for up to 3 months. When ready, allow it to thaw in the fridge overnight and give it a good stir before serving to combine everything together and make it creamier.
- Roasting Garlic Tips : My oven has 3 different broil heat setting so I use the medium heat for roasting garlic. Depending on your oven and broil heat setting, the garlic might roast quicker and slower. Keep an eye on the garlic for the entire time to ensure it does not burn. The garlic should be really fragrant and a little darker in color when it’s done. If it burns then you will probably want to start over and try again.
- Scrape Down Sides of Food Processor : It’s very important to stop after each addition or step and scrape down the sides of the processor with a silicone spatula. Scrape everything towards the blades so it can all be process into a creamy mixture and nothing is left out.
- What Is Tahini? : Tahini is a paste made from ground sesame seeds. It has a creamy and nutty flavor and it’s traditionally used in hummus and other Middle-Eastern dishes. You will find tahini at most grocery stores and it’s usually in the aisle with salad dressings and other condiments.
How To Make Hummus Creamier
Here are some tips and ideas for making hummus even creamier! Add 1-2 tablespoons of plain Greek yogurt or sour cream into the food processor to make it creamy. You can also use the reserved chickpea juice (from the can) to make the hummus creamier and provide tons of flavor too.
Kitchen Supplies I Recommend For Making Hummus
- Food Processor – A good, high-quality food processor is a must for making this recipe. You can also use a blender as well, but make sure it’s a high-powered one that can completely blend up the hummus and make it smooth. I love this Ninja Professional Food Processor and recommend it to everyone.
- Silicone Spatula Scrapers – This set of OXO Silicone Spatulas is always used in my kitchen. They’re strong, sturdy, and can handle all the scraping that this recipe calls for. The set also comes in 3 convenient sizes too.
- Strainer – The chickpeas will need to be strained or drained in a colander. I love this set of OXO 3-Piece Strainer Set. It comes with 3 different sizes and it’s a fine mesh strainer which makes it perfect for everything – from veggies to small grains of rice.
- Citrus Juicer – Using this Citrus Juicer is an easy way to get the maximum juice from citrus fruits like lemon. Really easy to use also!


Roasted Garlic Hummus
Ingredients
- 1 can (15 oz) chickpeas
- 3 tablespoons freshly minced garlic (about 6-8 garlic cloves)
- 2 teaspoons olive oil
- ¾ teaspoon sea salt
- 1/3 cup tahini
- 1/4 cup freshly squeezed lemon juice
Optional Garnishes & Serving Ideas
- paprika, chopped parsley, chopped garlic, olive oil
- fresh veggie sticks, pita chips, naan dippers, etc.
Instructions
- Drain off the juice from the can of chickpeas into a bowl and set it aside for later. The extra juice is a super flavorful way to make the hummus creamier (if needed). So keep it!1 can (15 oz) chickpeas
- Rinse the chickpeas well and remove the skins. Take one chickpea at a time and pinch it between your fingers, the skin should pop right off. Place the cleaned chickpeas in a colander to drain while you prepare the rest.
- Spread the minced garlic into an even layer on a baking sheet and drizzle the olive oil over the garlic. Sprinkle with the sea salt. Place in the oven and broil for 1-3 minutes or until very fragrant and roasted (slightly darker color). When done, remove the garlic from the oven and allow it to cool slightly. * Watch this very carefully because depending on the heat setting of broil, it can cook really fast! Which also means it can burn really fast.3 tablespoons freshly minced garlic, 2 teaspoons olive oil, ¾ teaspoon sea salt
- In a food processor, blend the tahini and lemon juice until creamy and combined. Scrape down the sides with a spatula if necessary.1/3 cup tahini, 1/4 cup freshly squeezed lemon juice
- Add in the roasted garlic and olive oil from the baking sheet. Scrape it all into the food processor. Blend until combined.
- Add in half of the chickpeas and blend. Scrape down the sides towards the blades. Add the remaining chickpeas and blend again. Scraping the sides as needed.
- Once the hummus is smooth and combined, test the consistency. If it's too thick then add some of the drained chickpea juice set aside from earlier. Start with 1 tablespoon of the chickpea juice and add from there as needed.
- Scrape the hummus into a serving bowl and garnish with paprika, chopped parsley and additional olive oil (optional). Serve with pita chips, baguette bread, naan dippers, and fresh veggie sticks like carrots, celery, and cucumber.* Hummus can be served right away or place it, covered, in the fridge for a few hours before serving. Wait to garnish it until just prior to serving.
Notes
Nutrition
Did You Make This Recipe?
I’d love to see it! You can share it with me on @togetherasfamilyblog and follow on Pinterest @together-as-family-blog-recipes or Facebook @togetherasfamilyblog for more!


Did you love this recipe?
Make sure to comment below so we can chat about it! Or follow on your favorite social network for even more family recipes.