
This post may contain affiliate links, view our disclosure policy.
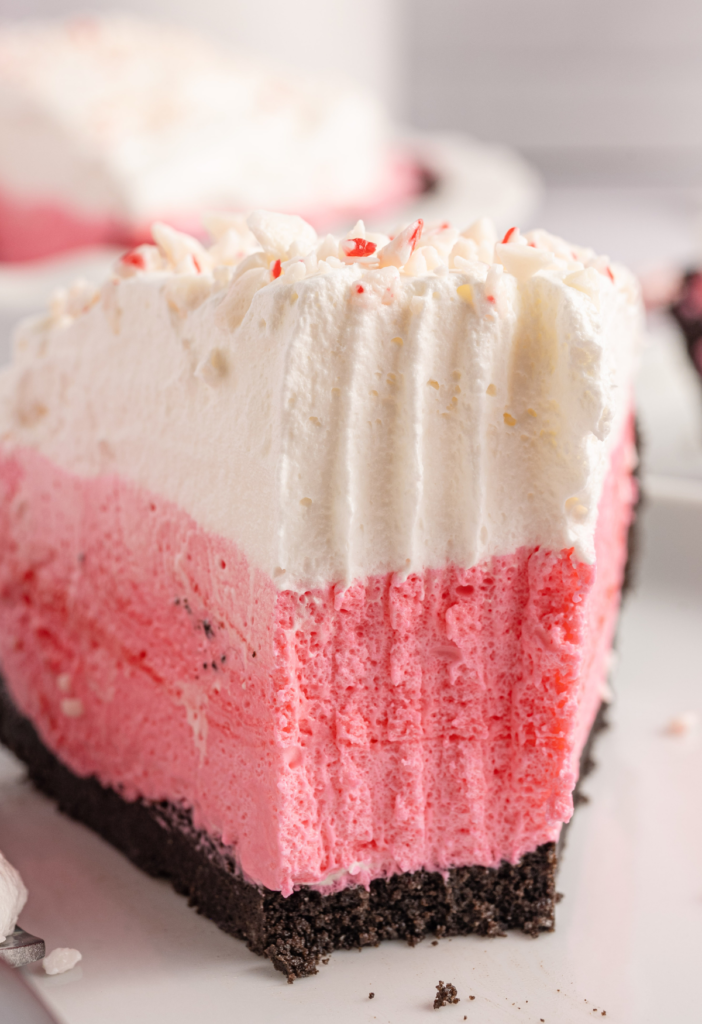
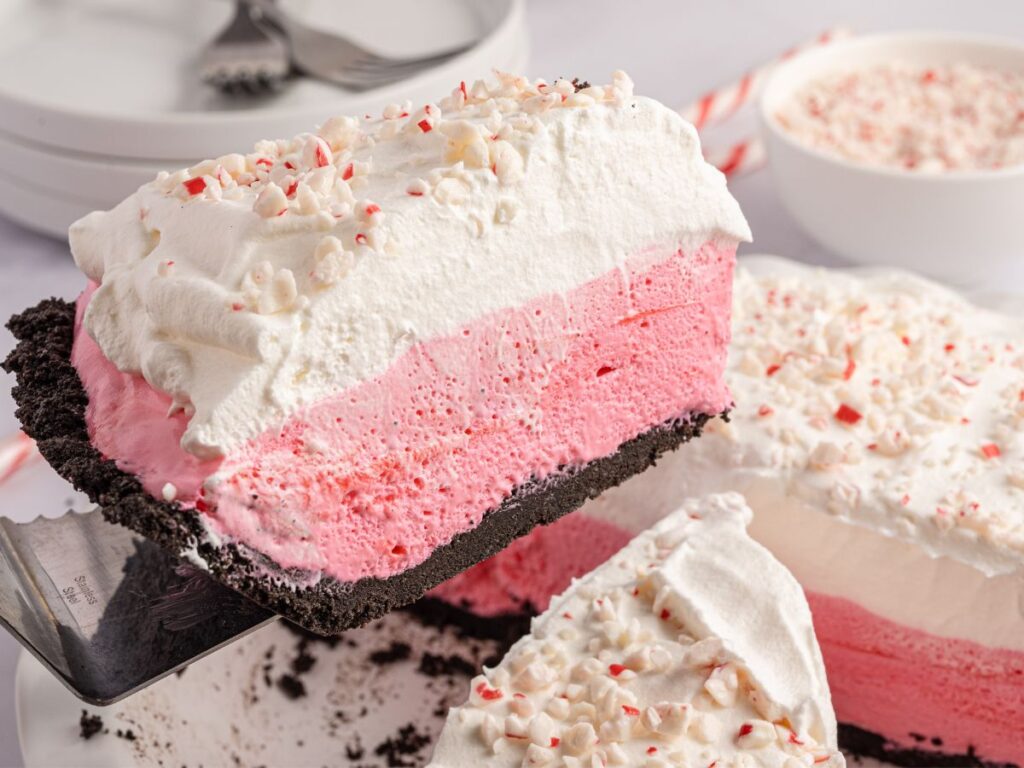
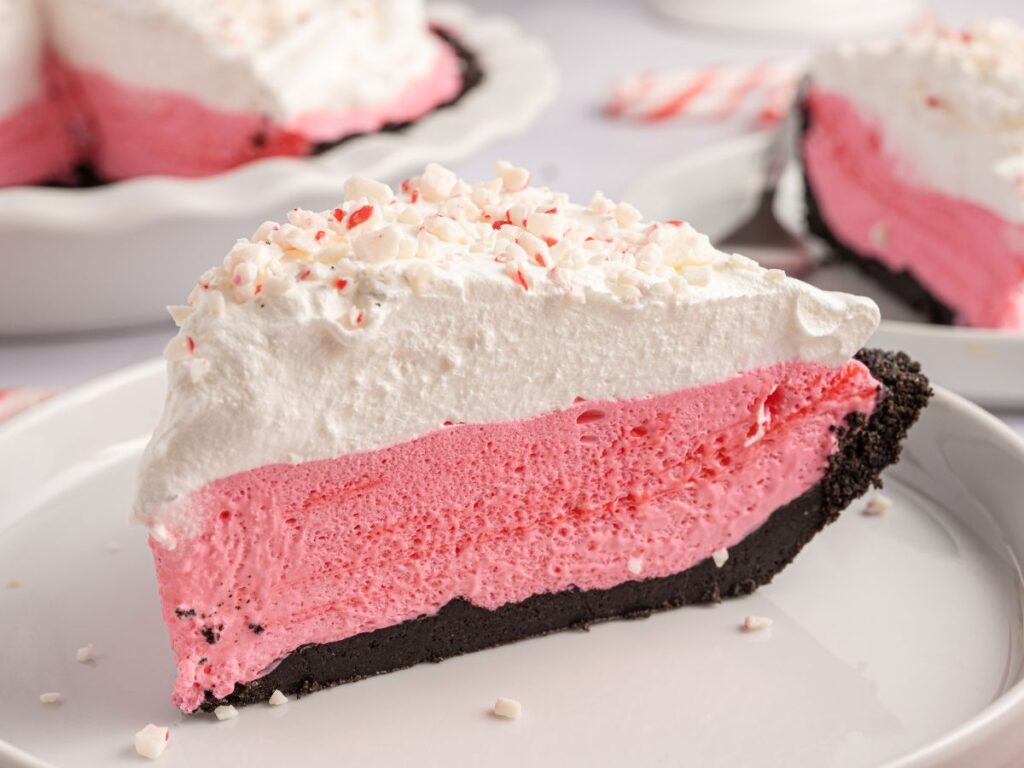
Candy Cane Pie (Peppermint Pie) is the perfect dessert for Christmas with its cool and creamy peppermint marshmallow filling, whipped cream, and Oreo cookie crust.
For more peppermint goodness be sure and make this White Chocolate Peppermint Pie or Chocolate Peppermint Lush.
Candy Cane Pie Recipe
Cool and creamy candy cane pie is a delicious pie that is bursting with peppermint flavor! It’s the perfect holiday dessert with an Oreo cookie crust and a creamy peppermint filling topped with peppermint candies.
An almost no-bake peppermint pie that only requires a few minutes on the stove top and then the rest is just fridge time so the pie can set and thicken. Easy to make and perfect for the holiday season with its bright peppermint flavor and light pink peppermint color.

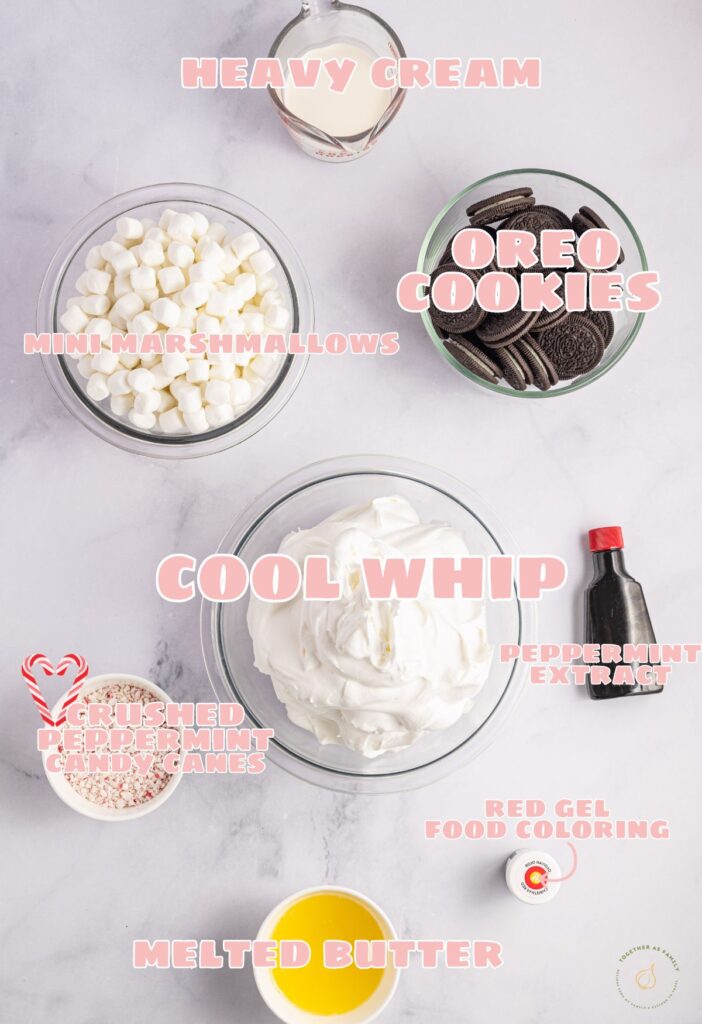
Simple Ingredients For This Peppermint Pie Recipe
Oreo Crust
- Oreos
- Melted Butter
Creamy Peppermint Filling
- Mini Marshmallows
- Heavy Whipping Cream
- Peppermint Extract
- Red Gel Food Coloring
- Cool Whip : If you don’t want to use Cool Whip then make your own homemade whipped cream. Directions for that are below in the post and in the recipe card.
- Crushed Candy Canes/Candy Cane Pieces : Chop up some peppermint candy canes into small pieces and larger pieces for texture.
How To Make Candy Cane Pie With Candy Cane Peppermint Creamy Filling (Recipe Card Below)
Grease a 9-inch pie plate or dish with softened butter or shortening. Set aside.
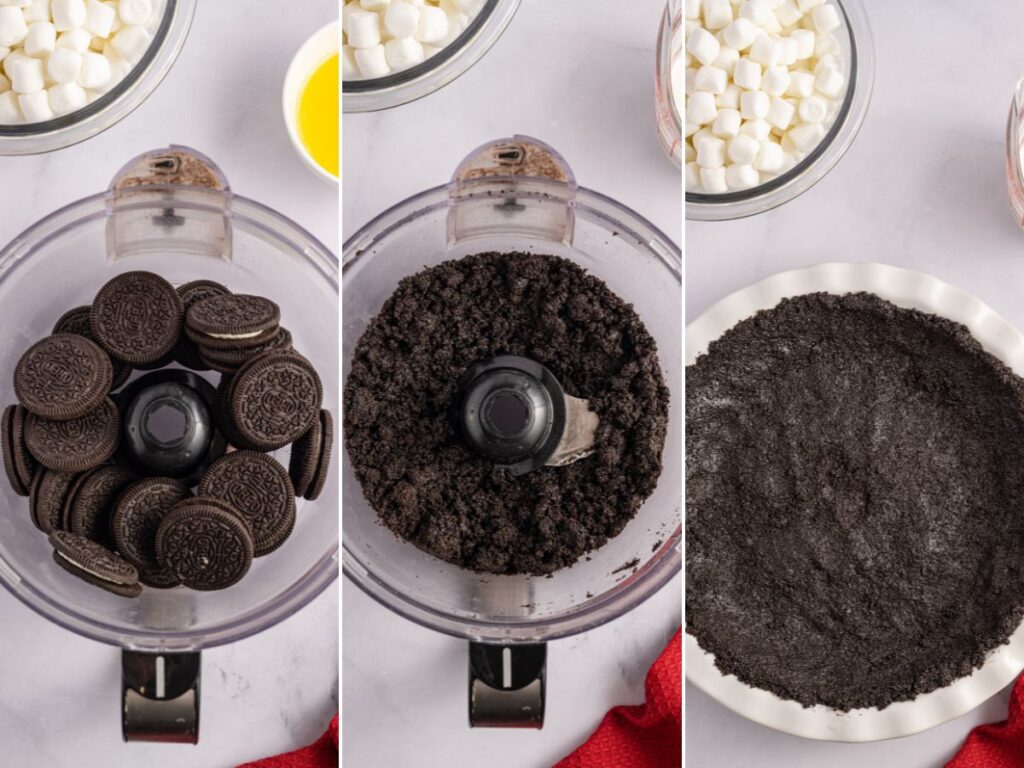
Blend the Oreos in a food processor until they are in fine crumbs. While the processor is still running on low speed, slowly pour in the melted butter and continue processing until all the cookie crumbs are coated well.
Press the cookie crumbs into the base and up the sides of the prepared pie dish. Freeze for 20 minutes.
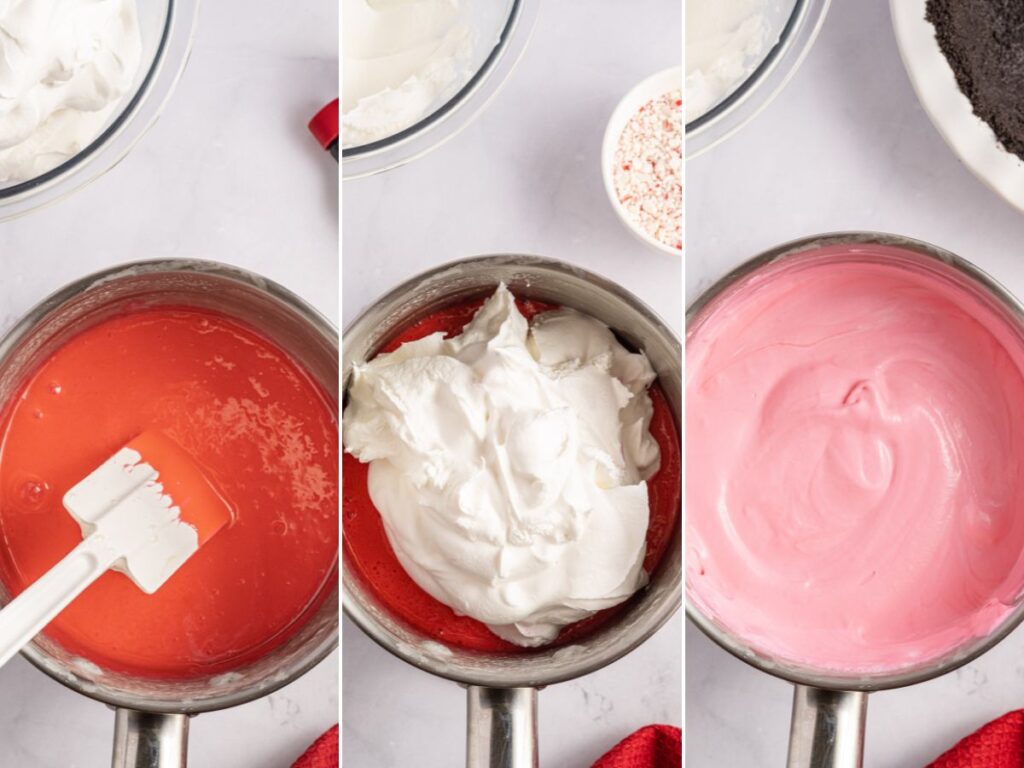
While the crust is freezing make the peppermint pie filling. Add the mini marshmallows and heavy whipping cream into a small saucepan, over medium heat, and heat while stirring constantly until the marshmallows have melted. About 5 minutes.
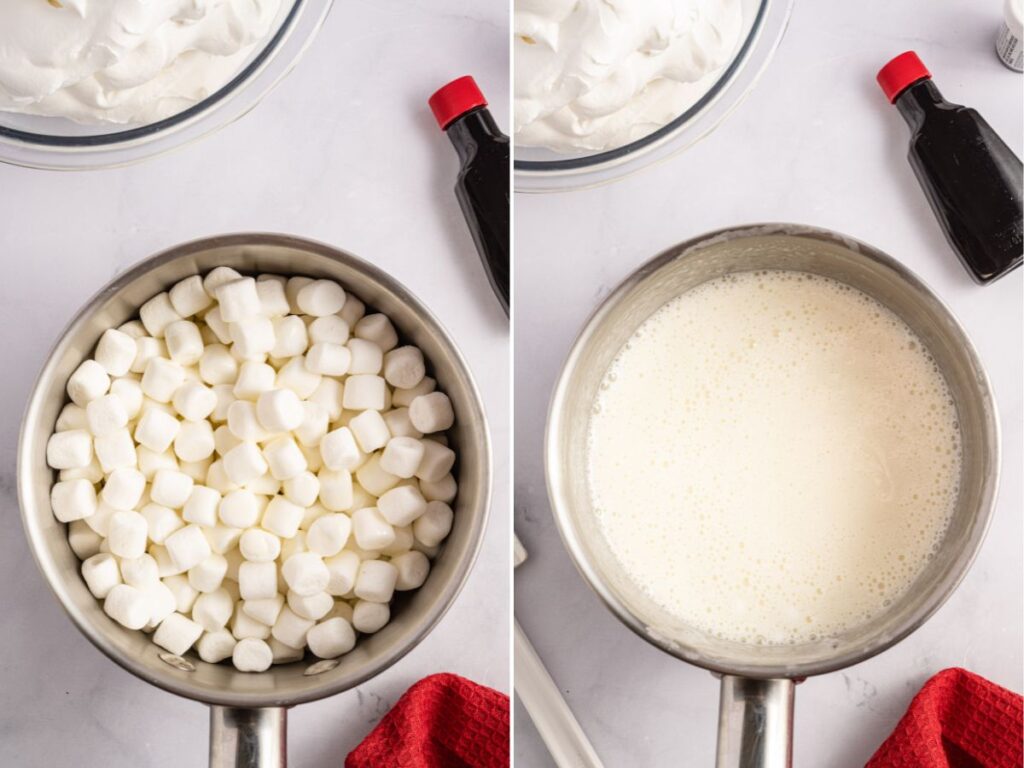
Remove the saucepan from the heat and let it cool to room temperature, while stirring it occasionally to help it cool down. See notes & tips for different ways to speed up this process.
Stir in the peppermint extract and gel food coloring and mix well.
Stir in half of the Cool Whip and mix until well combined.
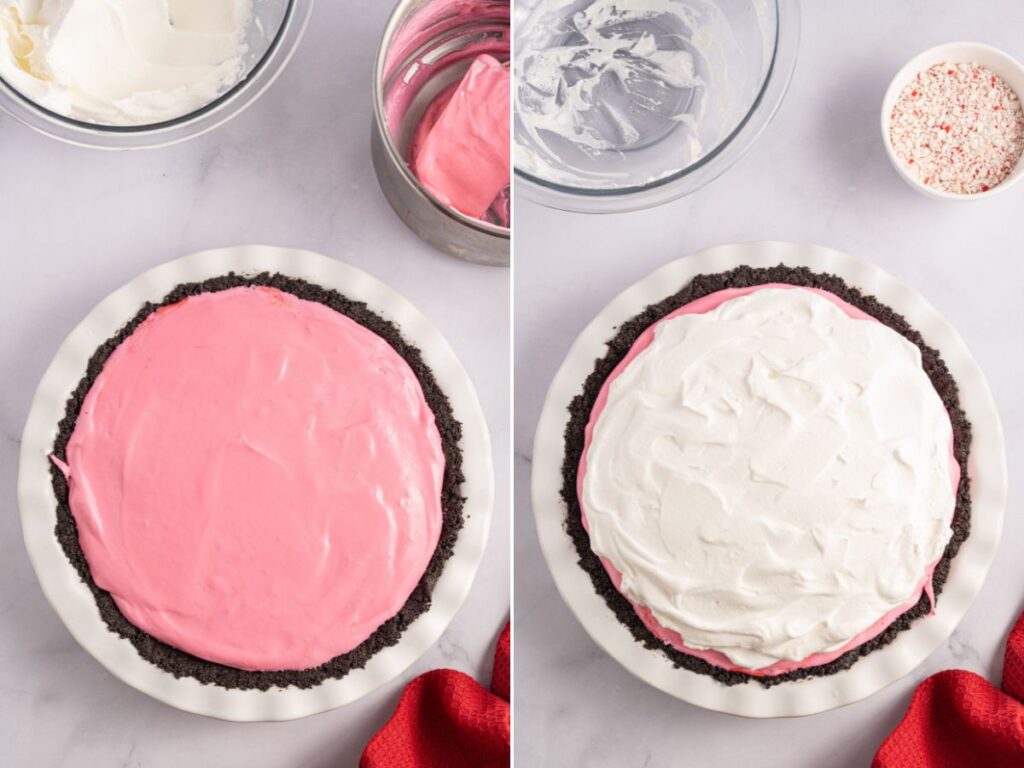
Spoon the peppermint filling into the crust and smooth it out with a spatula.
Spread the other half of the Cool Whip over top the peppermint filling. Cover the pie dish with a lid or plastic wrap and chill in the fridge for at least 6 hours, or overnight is even better.
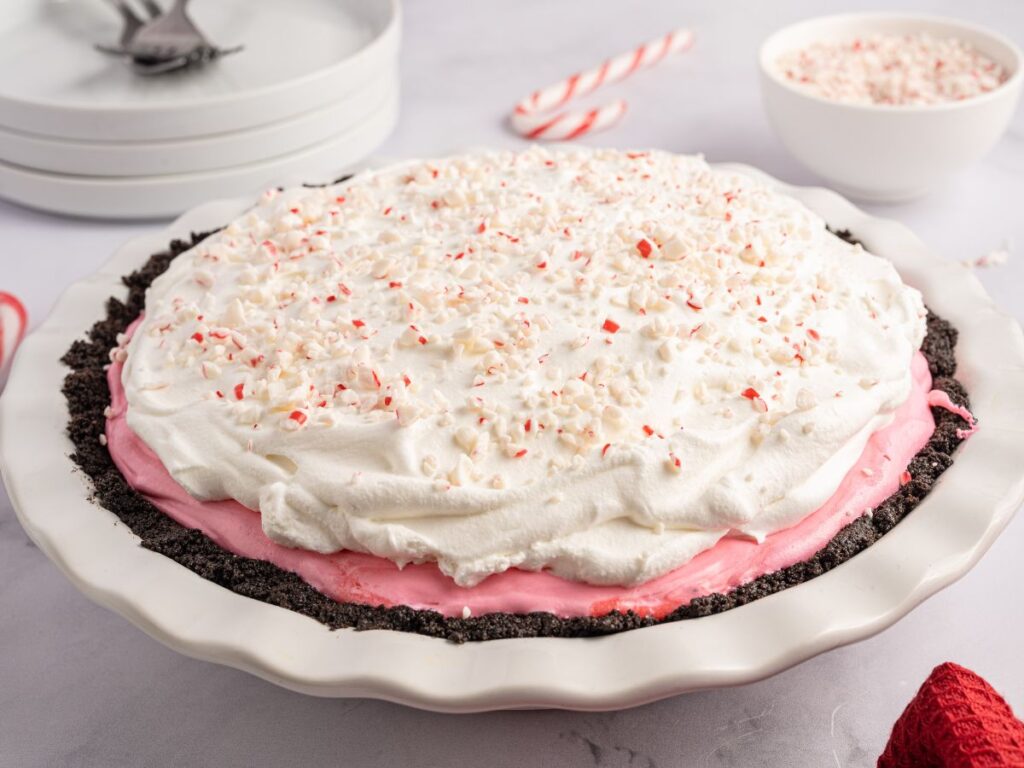
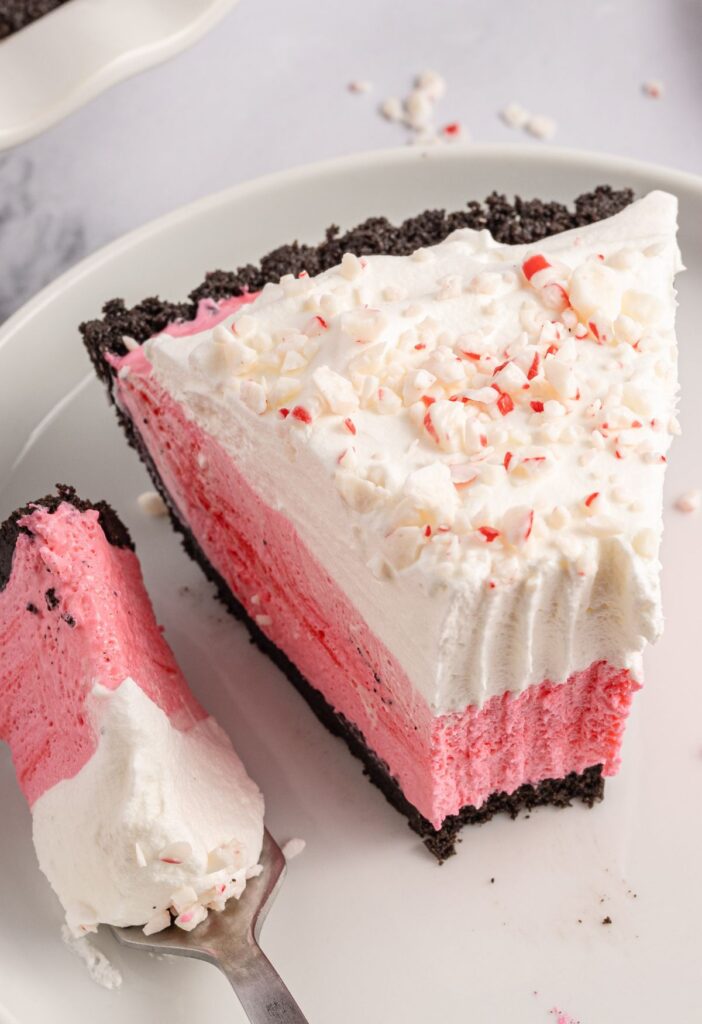
Before serving, sprinkle the crushed/chopped candy cane pieces over top of the pie. Enjoy!
Storage Instructions
Store the candy cane pie covered, with a pie plate lid or plastic wrap, in the refrigerator for up to 5 days. To store for longer, cover the pie with plastic wrap and then again in foil and store in the freezer for up to 2 months. Let the pie thaw in the fridge before serving.
Freezing this pie may change the texture of it slightly once you freeze it and thaw it.
Serve this candy cane peppermint pie chilled from the fridge!
Cooking Tips
- To help speed up the cooling process of the marshmallow mixture, you can chill the saucepan in the fridge for 15 minutes, place the saucepan in an ice bath, or transfer the marshmallow mixture into a mixing bowl to cool quicker instead of inside the warm saucepan.
- Make sure the food coloring is well-mixed to prevent streaks of red in the pie.
- Ensure that you are firmly pressing the Oreo crust into the pie dish to prevent cracks in the crust when slicing.
- Wait to sprinkle the crushed candy canes until just before serving to keep them having a nice crunchy texture for serving.


Candy Cane Pie
Equipment
Ingredients
Oreo Crust
- 24 Oreos
- 5 tablespoons butter melted
Peppermint Pie Filling
- 1 bag (10 oz) mini marshmallows
- 1/2 cup heavy whipping cream
- 1 teaspoon peppermint extract
- 1 drop red gel food coloring
- 16 ounces Cool Whip thawed
- crushed/chopped peppermint candy canes
Instructions
Oreo Crust
- Grease a 9-inch pie plate or dish with softened butter or shortening. Set aside.
- Blend the Oreos in a food processor until they are in fine crumbs. While the processor is still running on low speed, slowly pour in the melted butter and continue processing until all the cookie crumbs are coated well.24 Oreos, 5 tablespoons butter
- Press the cookie crumbs into the base and up the sides of the prepared pie dish. Freeze for 20 minutes.
Candy Cane Pie Filling
- While the crust is freezing make the peppermint pie filling.Add the mini marshmallows and heavy whipping cream into a small saucepan, over medium heat, and heat while stirring constantly until the marshmallows have melted. About 5 minutes.1 bag (10 oz) mini marshmallows, 1/2 cup heavy whipping cream
- Remove the saucepan from the heat and let it cool to room temperature, while stirring it occasionally to help it cool down. *See notes below for different ways to speed up this process.
- Stir in the peppermint extract and red gel food coloring and mix well.1 teaspoon peppermint extract, 1 drop red gel food coloring
- Stir in half of the Cool Whip and mix until well combined.16 ounces Cool Whip
- Spoon the peppermint filling into the crust and smooth it out with a spatula.
- Spread the other half of the Cool Whip over top the peppermint filling. Cover the pie dish with a lid or plastic wrap and chill in the fridge for at least 6 hours, or overnight is even better.
- Before serving, sprinkle the crushed/chopped candy cane pieces over top of the pie. Enjoy!crushed/chopped peppermint candy canes
Notes
Nutrition
Did You Make This Recipe?
I’d love to see it! You can share it with me on @togetherasfamilyblog and follow on Pinterest @together-as-family-blog-recipes or Facebook @togetherasfamilyblog for more!


Refreshing for after a big meal! Even a guest who I learned does not like peppermint liked it! Said it wasn’t too strong. (I made the option with heavy cream/powdered sugar instead of Cool Whip.)