
This post may contain affiliate links, view our disclosure policy.
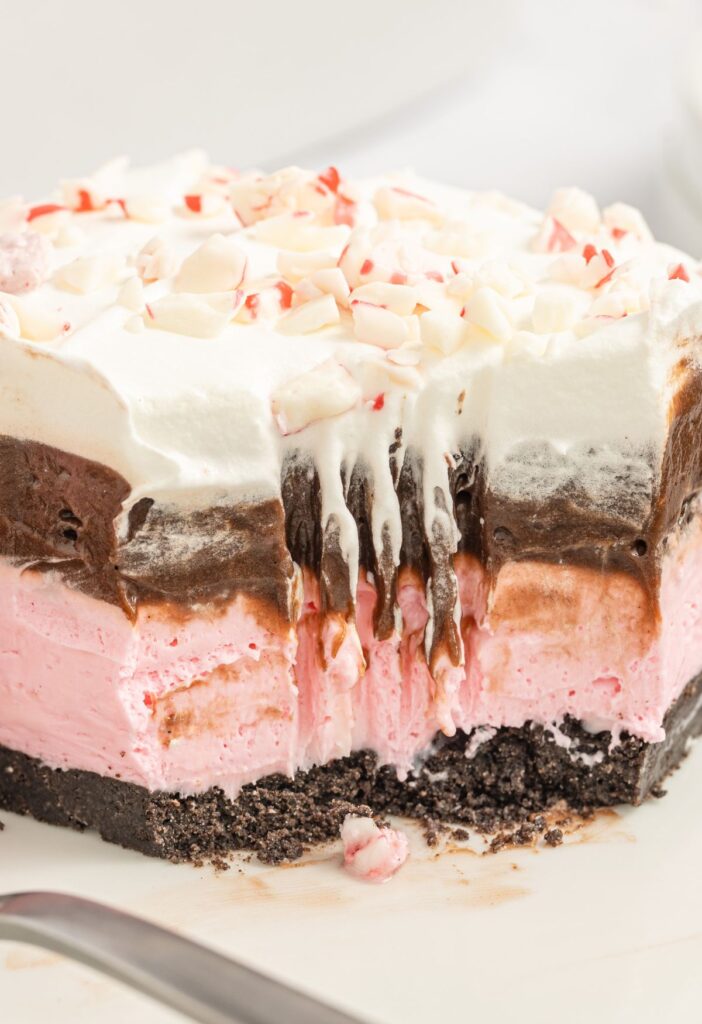
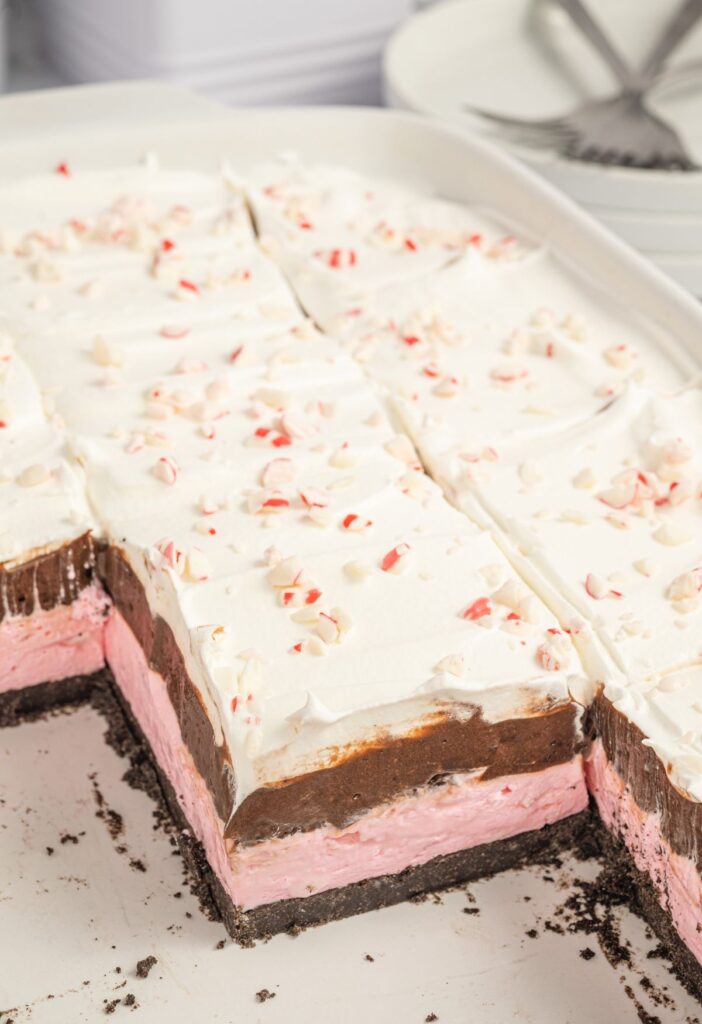
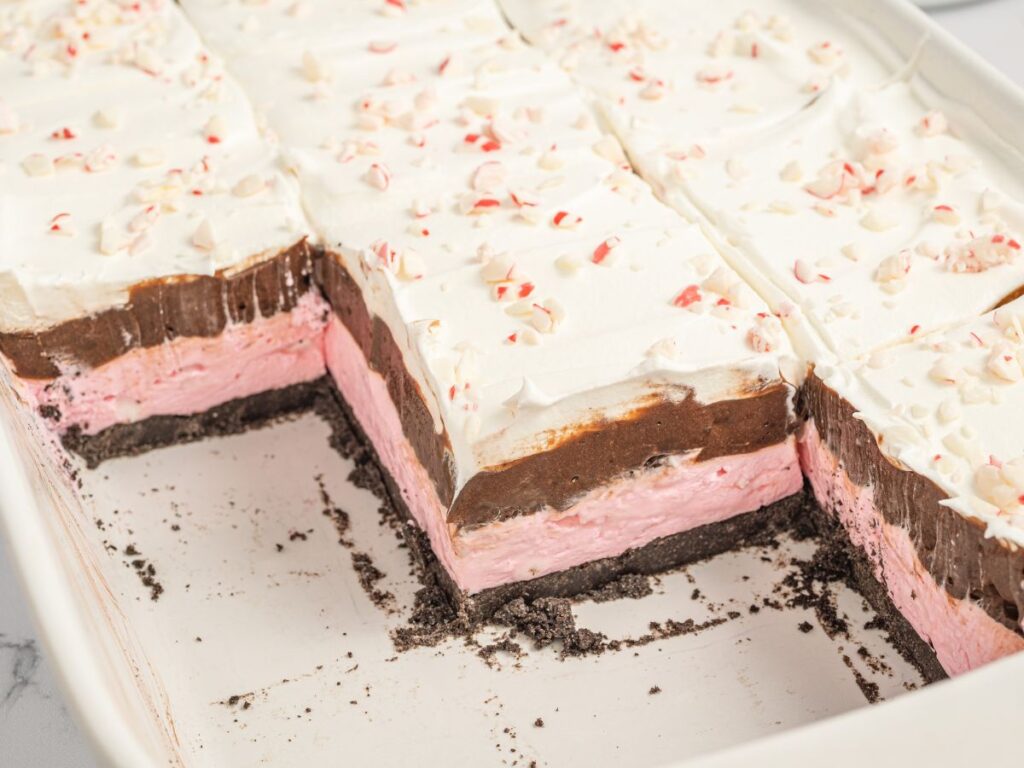
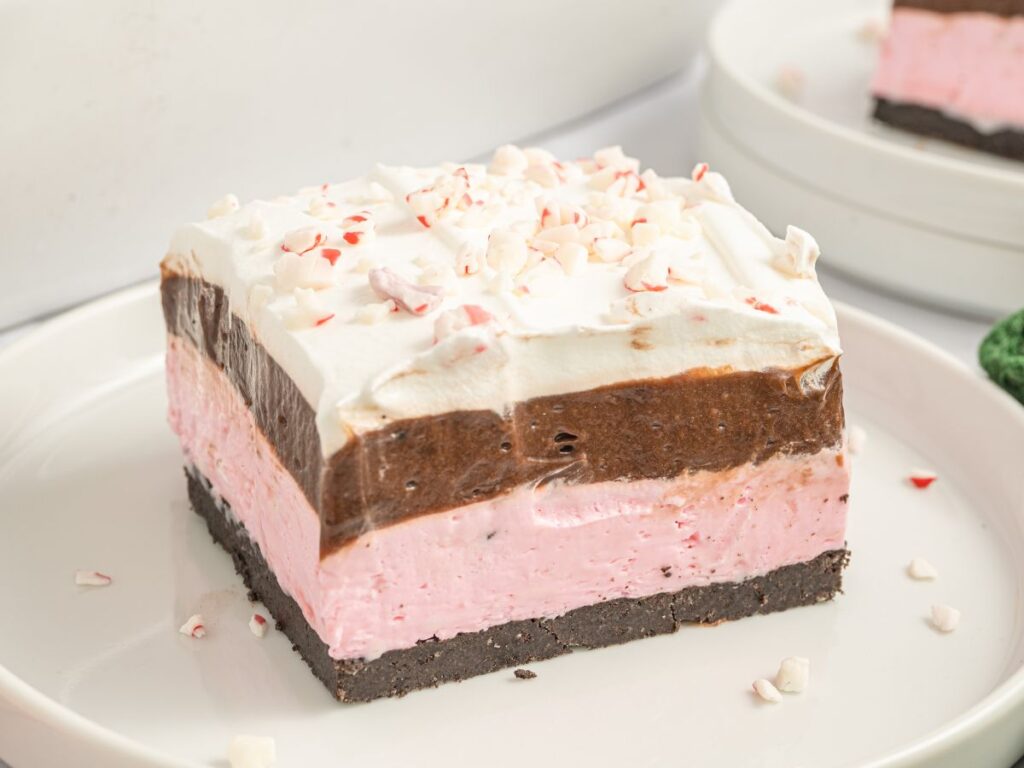
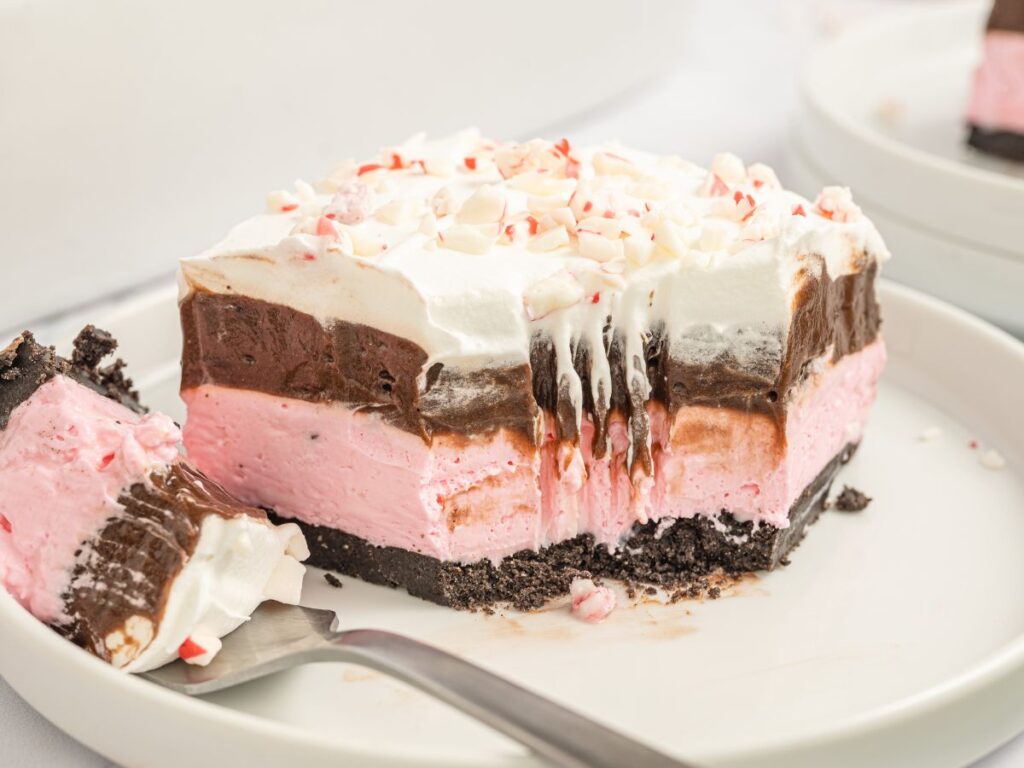
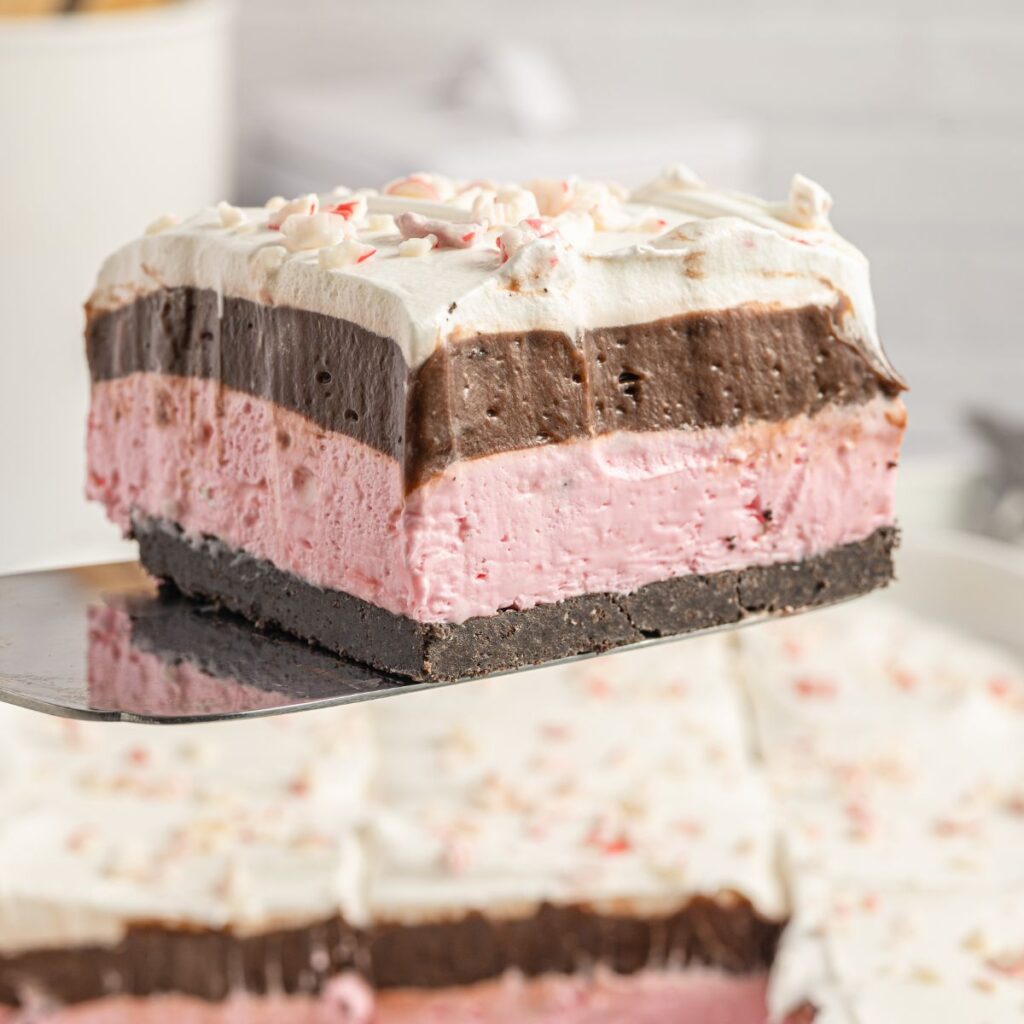
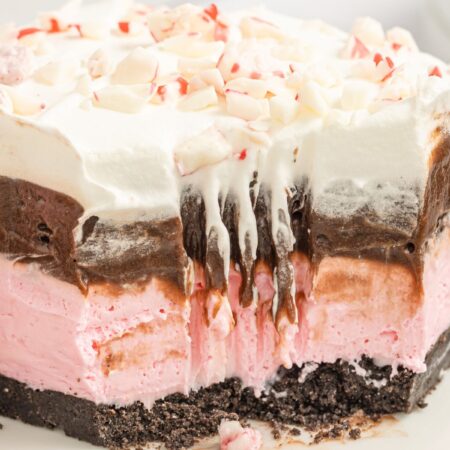
Chocolate Peppermint Lush dessert has an Oreo cookie crust, peppermint cheesecake layer, a chocolate pudding layer, and finished with whipped cream. It’s the perfect no bake Christmas dessert to enjoy this holiday season.
For more layered lush desserts be sure and try Chocolate Lush, Butterscotch Lush, and Pistachio Pudding Dessert.
Chocolate Peppermint Layered Lush Dessert Recipe
Are you looking for a no bake Christmas dessert for this holiday season? This layered no bake chocolate peppermint lush is the best peppermint chocolate dessert to make.
With four layers including an Oreo cookie crust, peppermint cheesecake, chocolate pudding and whipped cream this is a show-stopper dessert that everyone loves.
It needs refrigeration time so make it the day before! No bake layered lush desserts are the best make-ahead dessert.
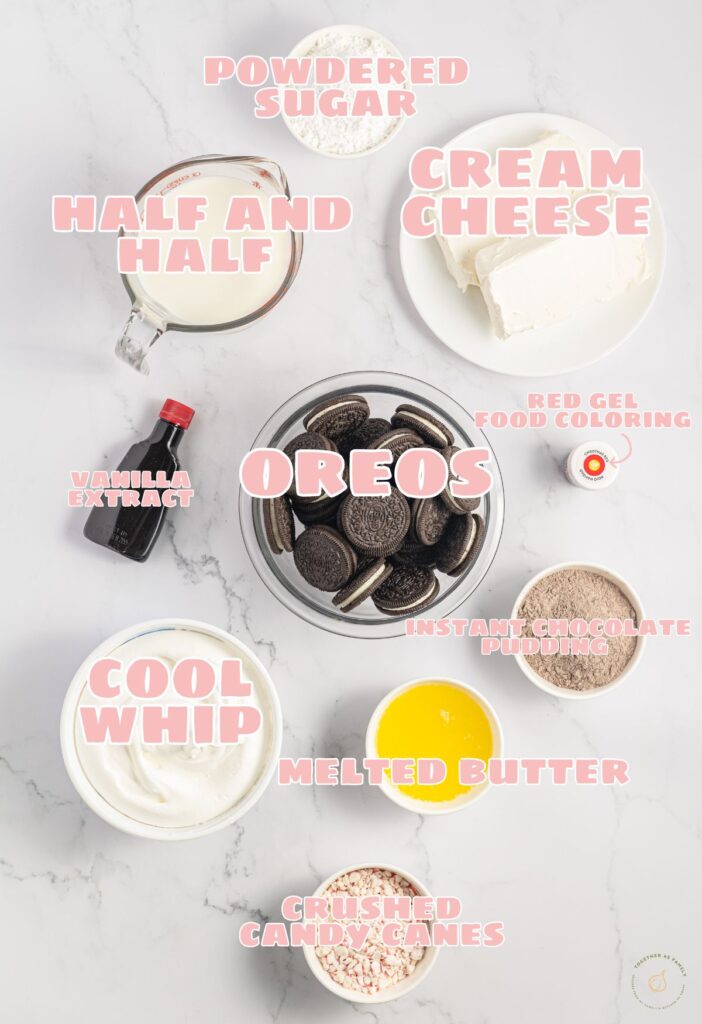
Ingredients Needed
Oreo Crust Layer
- Oreos
- Melted Butter : Salted butter or unsalted butter can be used, whichever you prefer baking with. I love the salty & sweet so I use salted butter.
Peppermint Cheesecake Layer
- Cream Cheese : For the best texture and taste I highly recommend using full-fat cream cheese and not the reduced-fat or lite cream cheese.
- Powdered Sugar
- Peppermint Extract
- Cool Whip
- Red Gel Food Coloring : You can omit this to avoid food coloring in your food, however, take note that the peppermint layer will not be that peppermint red color but rather just white.
- Crushed Peppermint Candy Canes
Chocolate Pudding Layer
- Instant Chocolate Pudding : Make sure you are using the instant chocolate pudding and NOT the cook n’ serve chocolate pudding. They are very different but look similar.
- Half and Half : This is the preferred milk to use because of the fat content. It helps the pudding layer thicken up and set up nicely. Whole milk is a suitable option.
Topping & Garnish
- Cool Whip
- Crushed Candy Canes
How To Make It (Printable Recipe Card Below)
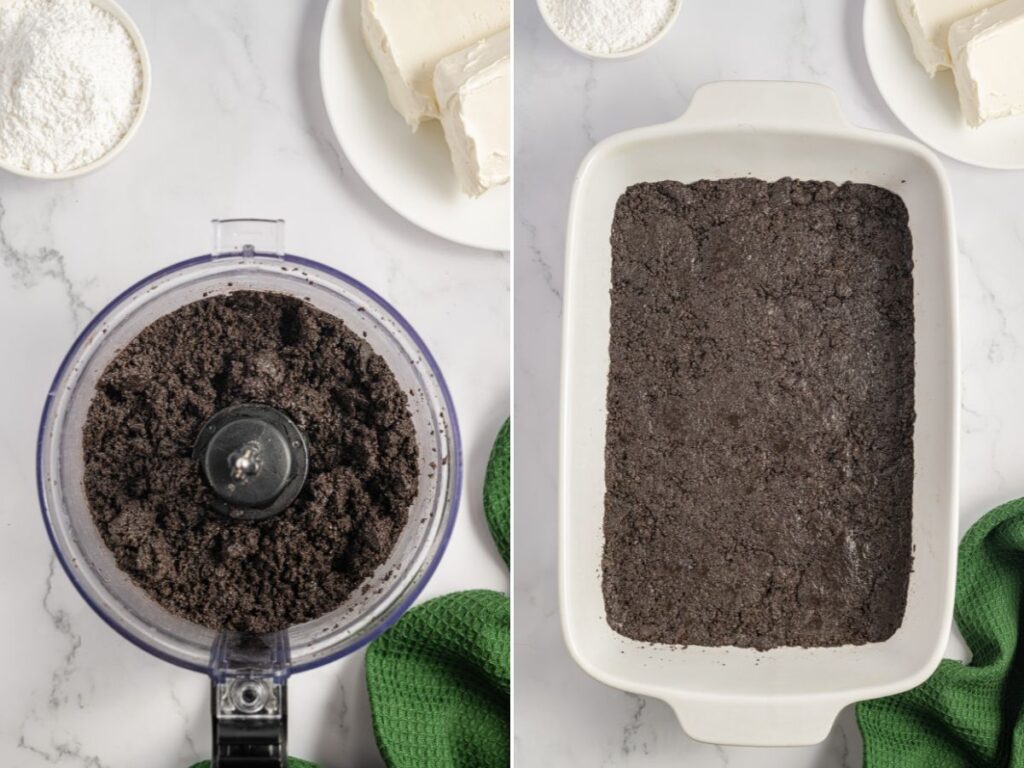
Make The Crust : Use softened butter or shortening to grease the inside of a 9×13 baking dish. Set aside.
Use a food processor to crush the Oreo cookies into fine crumbs. While running the processor at low speed, slowly pour in the melted butter and mix until all the crumbs are evenly coated. Pour the crumbs into the prepared baking dish and firmly press them into the bottom of the pan in an even layer. Freeze the crust for 20 minutes.
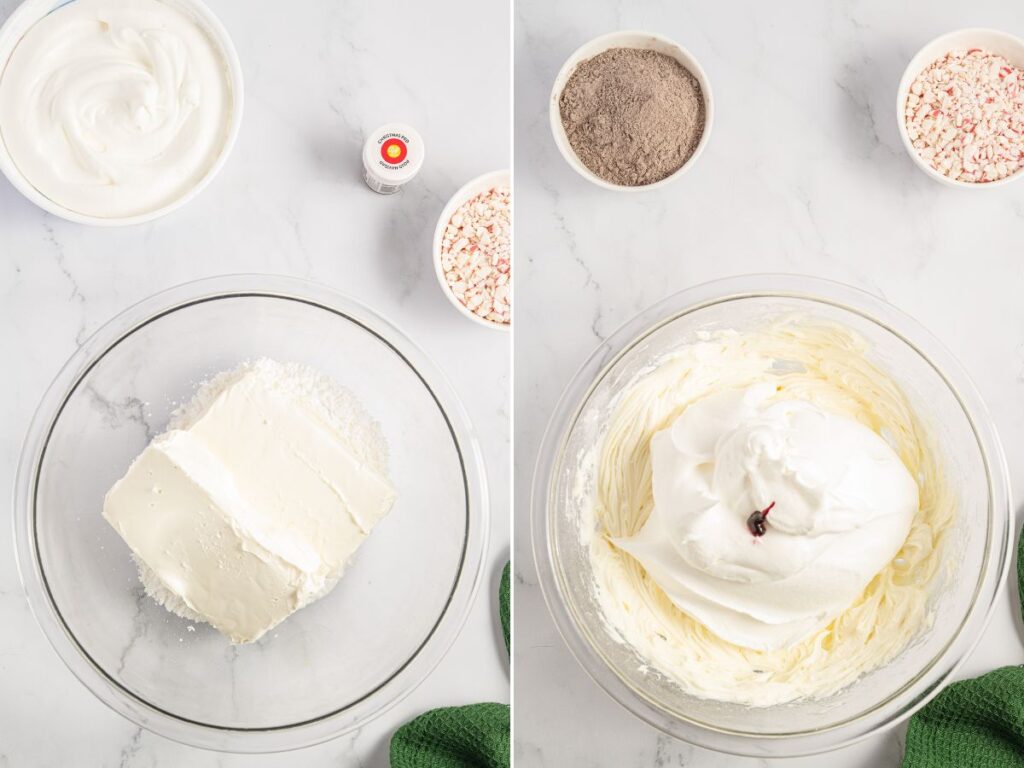
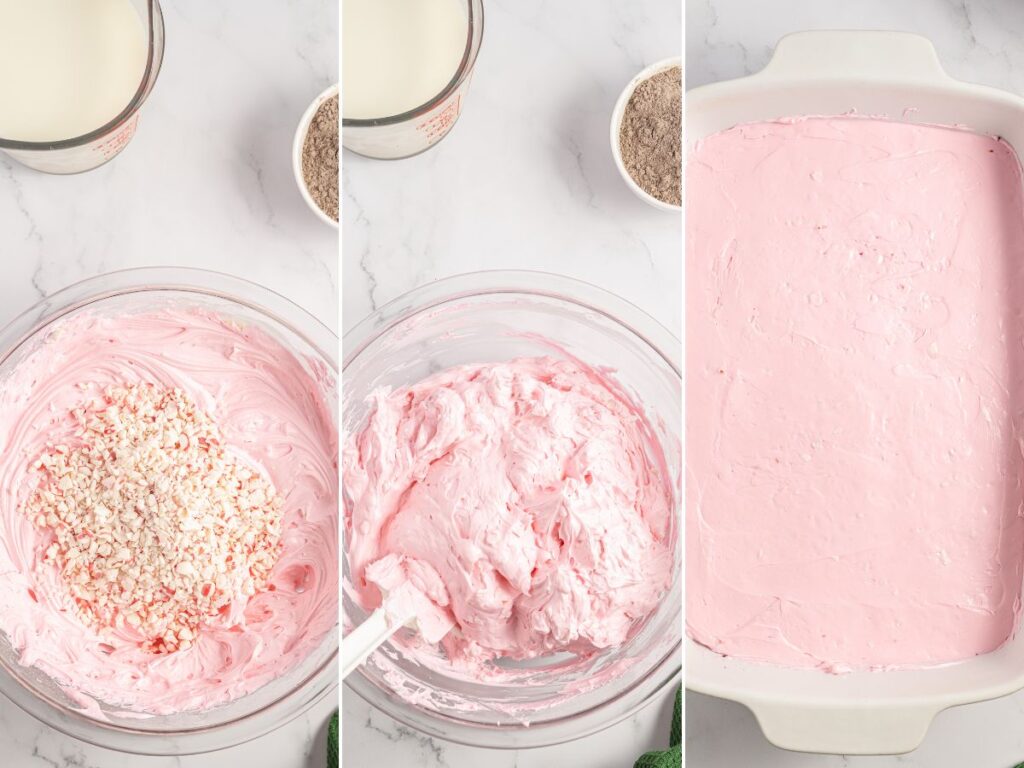
Peppermint Cheesecake Layer : In a large mixing bowl, using an electric mixer, blend the cream cheese, powdered sugar, and peppermint extract until smooth and combined. Add the Cool Whip and red gel food coloring, and continue blending on low speed just until combined. Stir in the crushed candy canes.
Evenly spread the peppermint cheesecake mixture over top the crust. Set aside.
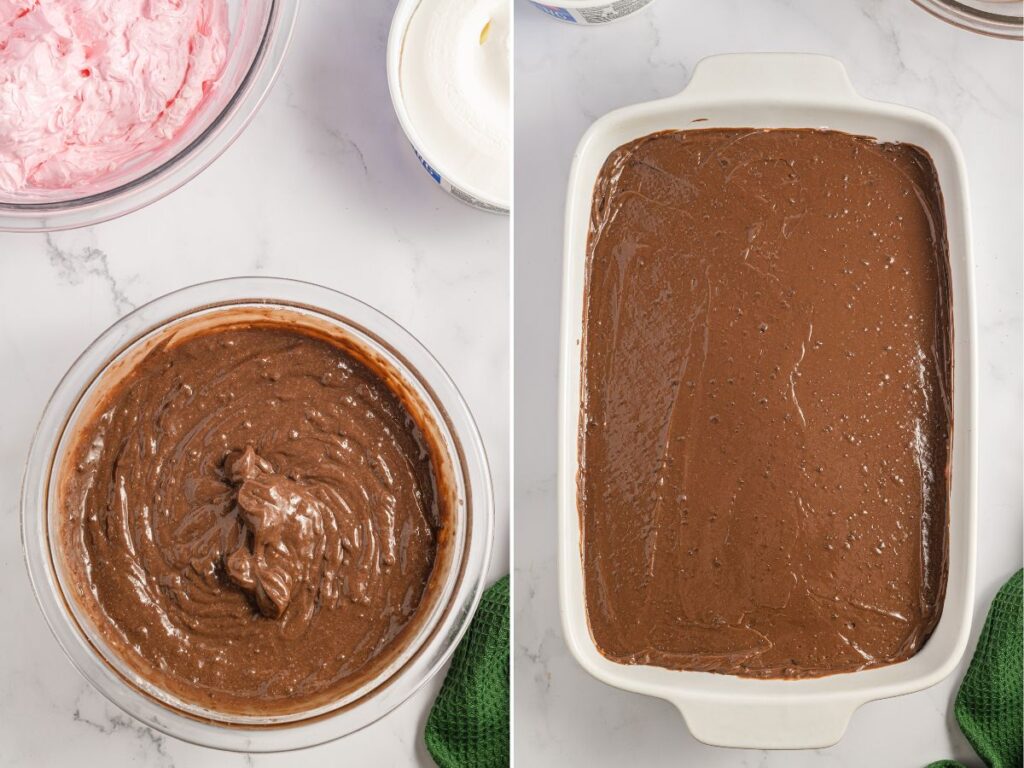
Make The Chocolate Pudding Layer : Whisk together the instant chocolate pudding and the milk in a mixing bowl until it starts to thicken. Let the pudding set for 3 minutes.
Spoon the chocolate pudding over top the peppermint cheesecake layer and smooth it out into an even layer.
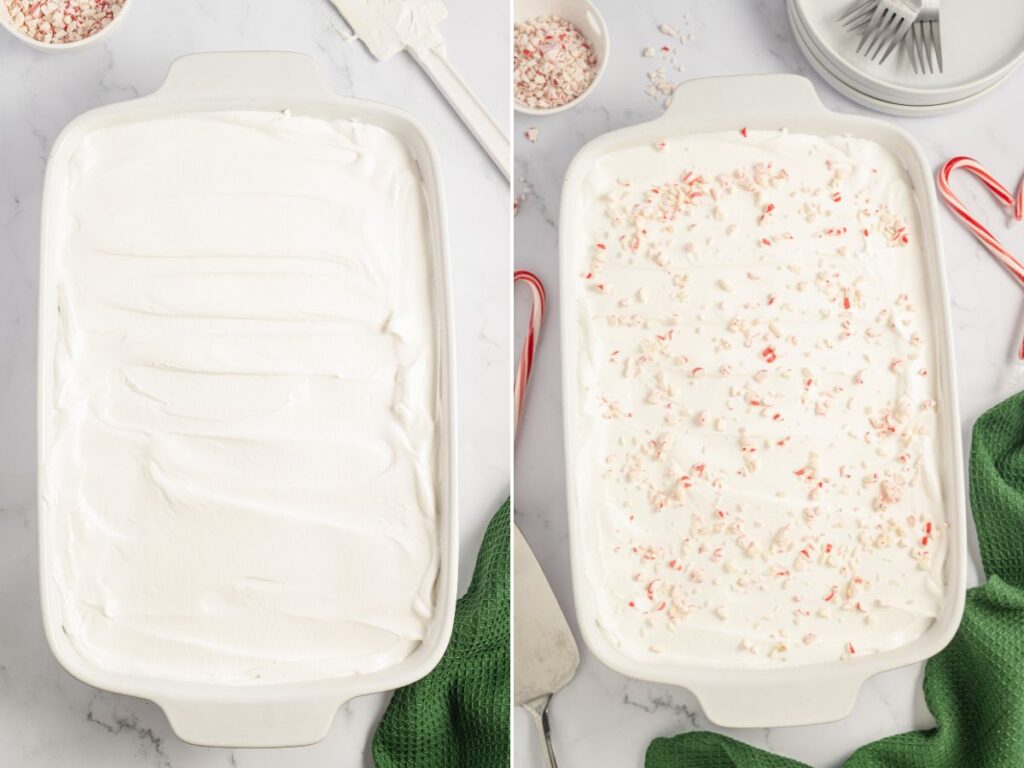
Topping & Chill Time : Spread the Cool Whip over top the chocolate pudding layer for the final layer. Cover the baking dish with plastic wrap or a lid and refrigerate for at least 8 hours or overnight is preferred. Sprinkle on some crushed candy canes before serving.
Substitution & Variation Ideas
- Double Stuf Oreos : If using double-stuf Oreos reduce the butter to 4 tablespoons in the crust.
- Homemade Cool Whip : To replace an 8 ounce container of Cool Whip you will need to beat 3 cups heavy whipping cream + 2/3 cup powdered sugar until stiff peaks form. Use half of this in the peppermint cheesecake layer and the remaining half for the top layer of whipped cream.
- Milk : Half and half is the best milk to use because of the fat content but whole milk is another good option that works if you need to use something else. I don’t recommend using a milk lower in fat than 2%.
Recipe Notes & Tips
- Cream Cheese : Make sure to blend the cream cheese until it’s smooth and lump-free to ensure that the cheesecake layer has no lumps in it. Set the cream cheese out at room temperature 30 minute ahead of time to soften it – this will ensure it mixes smoothly. Don’t leave the cream cheese out for longer than 2 hours.
- More Peppermint Flavor? : If you prefer a strong peppermint flavor then try using 3 teaspoons of peppermint extract. I honestly think it’s perfect with 2 teaspoons but you may want more.
- Garnishes : Do not add the additional crushed candy canes as garnish on top until right before serving. They will bleed into the white Cool Whip and soften while in the fridge, so for best results add them right before serving the lush dessert.
- Make It Ahead of Time : This no bake layered lush dessert is best served after it has refrigerated overnight. So make it the day before and leave it in the fridge until you’re ready to serve it the following day.
- Red Food Coloring : Only one small drop is all it takes to achieve that light pink peppermint color. Start with only a little bit and add a bit more if needed.
- Serve Chilled : This lush dessert is best served chilled straight from the fridge.
More Peppermint Desserts
- Peppermint Cake Mix Cookies
- Peppermint Cheesecake Cookies
- Peppermint Bark Pretzel Bites
- White Chocolate Peppermint Fudge
- Peppermint Bark Graham Crackers
- White Chocolate Peppermint Pie
- Peppermint Tres Leches Cake

Chocolate Peppermint Lush
Ingredients
Oreo Crust
- 32 Oreos
- 8 tablespoons (1 stick) butter melted
Peppermint Cheesecake Layer
- 2 bars (8 oz each) cream cheese room temperature
- 1 cup powdered sugar
- 2 teaspoons peppermint extract
- 8 ounces Cool Whip thawed
- 1 drop red gel food coloring
- 1/2 cup crushed peppermint candy canes
Chocolate Pudding Layer
- 2 boxes (3.9 oz each) instant chocolate pudding
- 3 cups half and half
Topping & Garnish
- 8 ounces Cool Whip thawed
- crushed & chopped peppermint candy canes
Instructions
Oreo Crust
- Use softened butter or shortening to grease the inside of a 9×13 baking dish. Set aside.
- Use a food processor to crush the Oreo cookies into fine crumbs. While running the processor at low speed, slowly pour in the melted butter and mix until all the crumbs are evenly coated. Pour the crumbs into the prepared baking dish and firmly press them into the bottom of the pan in an even layer. Freeze the crust for 20 minutes.32 Oreos, 8 tablespoons (1 stick) butter
Peppermint Cheesecake Layer
- In a large mixing bowl, using an electric mixer, blend the cream cheese, powdered sugar, and peppermint extract until smooth and combined.2 bars (8 oz each) cream cheese, 1 cup powdered sugar, 2 teaspoons peppermint extract
- Add the Cool Whip and red gel food coloring, and continue blending on low speed just until combined. Stir in the crushed candy canes.8 ounces Cool Whip, 1 drop red gel food coloring, 1/2 cup crushed peppermint candy canes
- Evenly spread the peppermint cheesecake mixture over top the crust. Set aside.
Chocolate Pudding Layer
- Whisk together the instant chocolate pudding and the milk in a mixing bowl until it starts to thicken. Let the pudding set for 3 minutes.2 boxes (3.9 oz each) instant chocolate pudding, 3 cups half and half
- Spoon the chocolate pudding over top the peppermint cheesecake layer and smooth it out into an even layer.
Whipped Topping & Garnish
- Spread the Cool Whip over top the chocolate pudding layer for the final layer.8 ounces Cool Whip
- Cover the baking dish with plastic wrap or a lid and refrigerate for at least 6-8 hours or overnight is preferred.
- Sprinkle the crushed/chopped candy canes before serving.crushed & chopped peppermint candy canes
Notes
Nutrition
Did You Make This Recipe?
I’d love to see it! You can share it with me on @togetherasfamilyblog and follow on Pinterest @together-as-family-blog-recipes or Facebook @togetherasfamilyblog for more!


Did you love this recipe?
Make sure to comment below so we can chat about it! Or follow on your favorite social network for even more family recipes.