This post may contain affiliate links, view our disclosure policy.
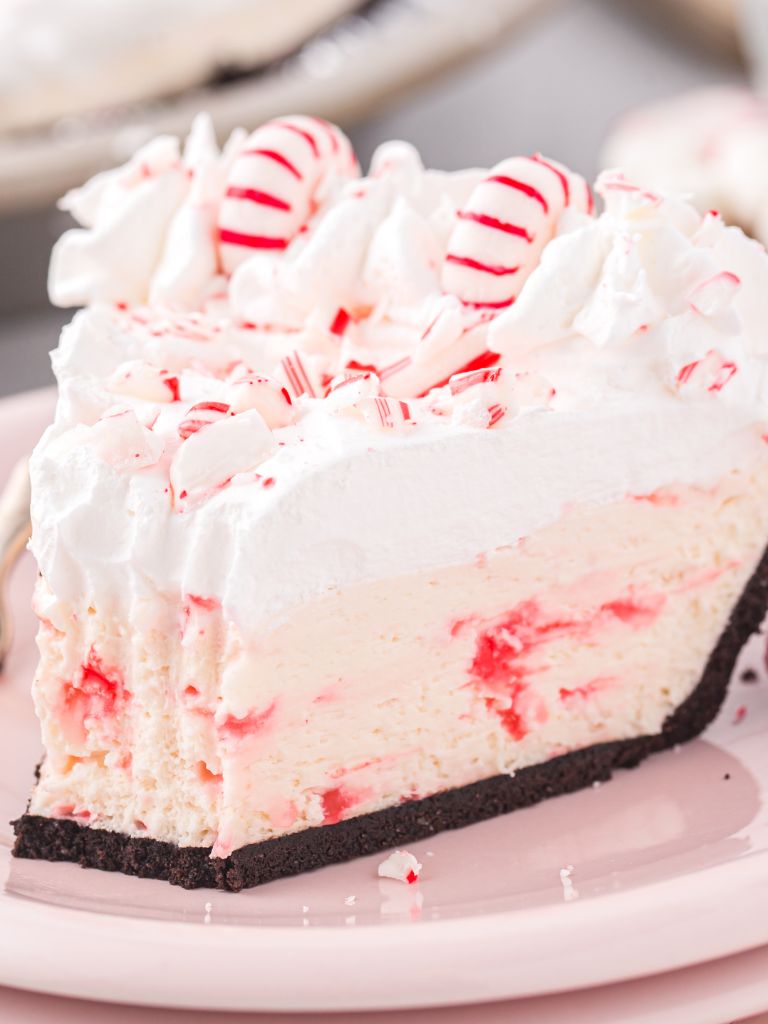
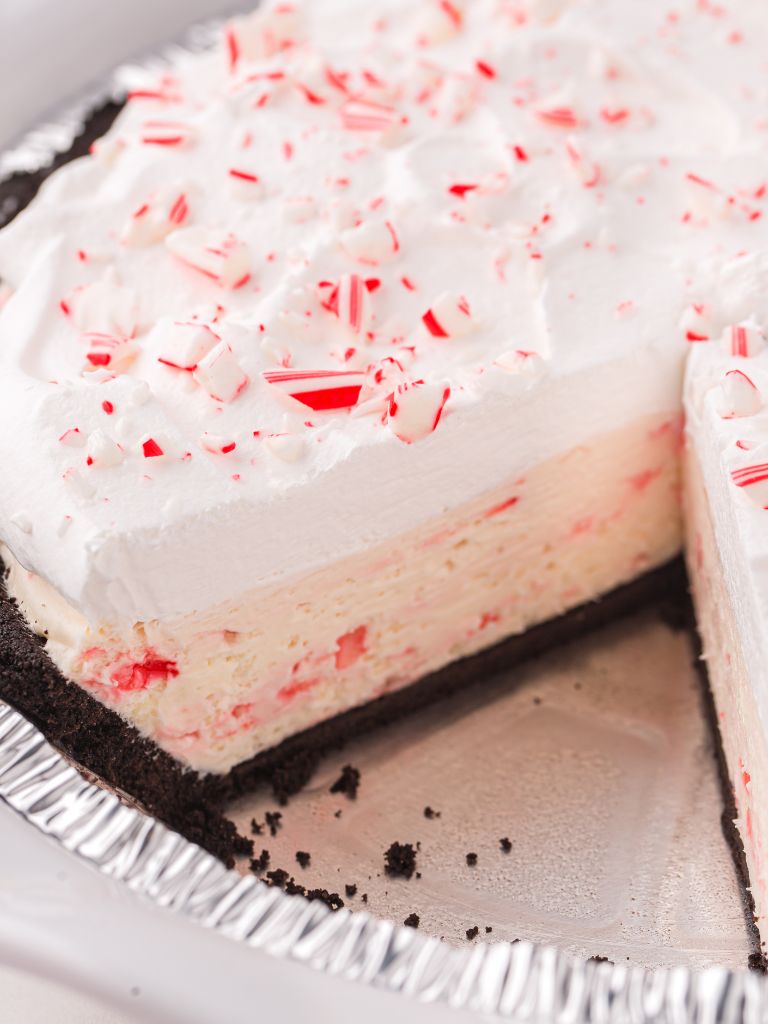
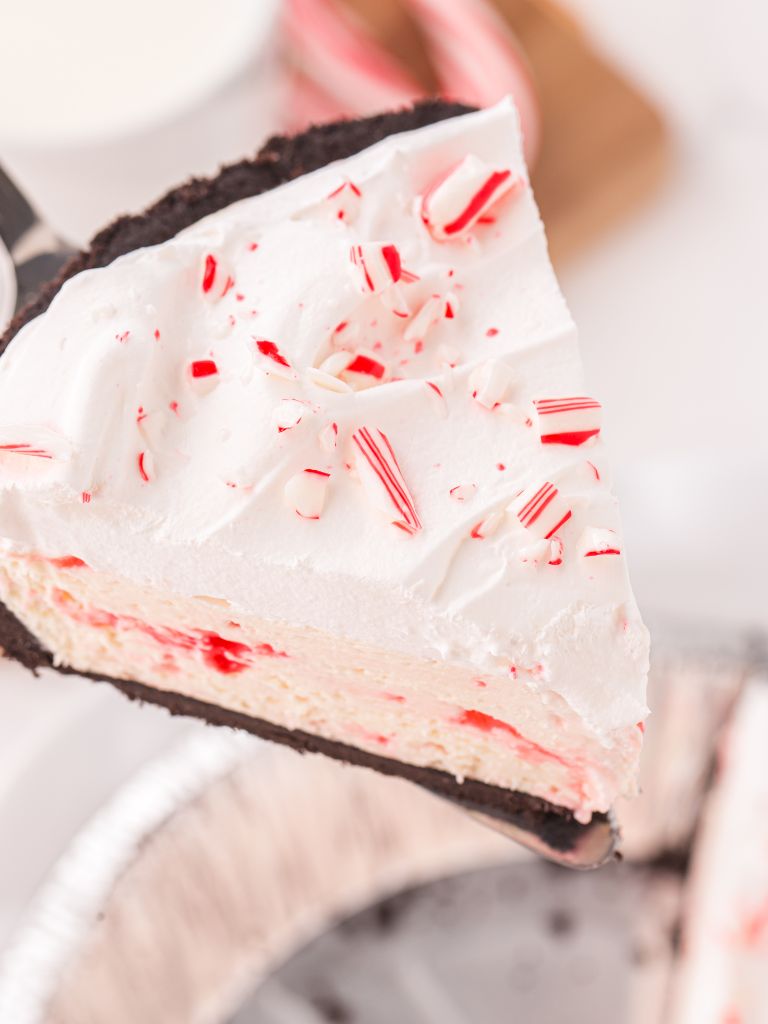
This smooth and creamy White Chocolate Peppermint Pie is so simple to make and even more delicious to eat! Sweet richness of white chocolate pairs perfectly with the cool peppermint flavor in this no bake dessert recipe that is perfect to serve during the Christmas season.
For more white chocolate + peppermint treats be sure and try my Peppermint Bark Pretzel Bites, these soft & fluffy Peppermint Cheesecake Cookies, or my White Chocolate Peppermint Fudge.
Peppermint Pie Recipe (No Bake Dessert)
You are going to love this pretty no bake pie! White Chocolate Peppermint Pie is a must-make this Christmas season with it’s classic flavors of cool peppermint + creamy & sweet white chocolate + a mint chocolate crust.
It’s a no bake recipe which means it is perfect for making ahead of time. This pie shows really well so take it to a Holiday gathering or party!
Ingredients Needed
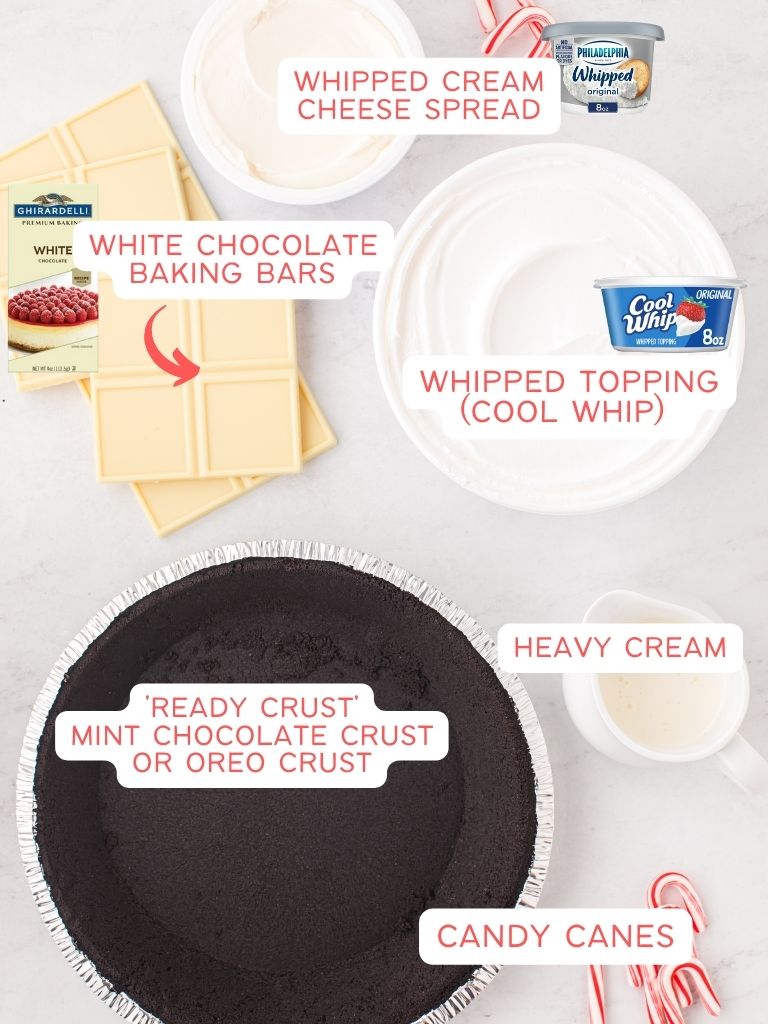
- White Chocolate Baking Bars – This is not the same thing as white chocolate chips! Don’t use those. This is a baking bar that looks like a candy bar but you’ll find it in the baking aisle alongside the chocolate chips and melting wafer chocolate. I use the Ghirardelli brand because I think it tastes the best but you can also use the Baker’s brand as well.
- Heavy Cream – No subs for this one! Other milks have too much water which might make the white chocolate seize up when it is melting.
- Whipped Cream Cheese Spread – This is a container of whipped cream cheese spread by the Philadelphia brand. You will find it by the other cream cheese at the store. You can use a bar of cream cheese but make sure it’s softened well to avoid your pie having lumps in it. This is why the recipe calls for the whipped cream cheese because there is no softening to the perfect temperature in order to avoid the lumps.
- Whipped Topping (Cool Whip)
- Chopped/Crushed Peppermint Candy Canes – These will go inside the pie and on top of the pie as a garnish.
- Mint Chocolate Pie Crust – These are the ‘ready crust’ that you can buy in the baking aisle at the store. If you can’t find the mint chocolate (I usually can’t) use a shortbread crust, graham cracker crust, or Oreo crust.
How To Make White Chocolate Peppermint Pie
Learn how to make this easy no bake pie with the simple steps below. Be sure and read to the bottom of the post where there is a printable recipe card, a pin it button so you can save this recipe for later, and a recipe card with all the details along with some helpful tips.
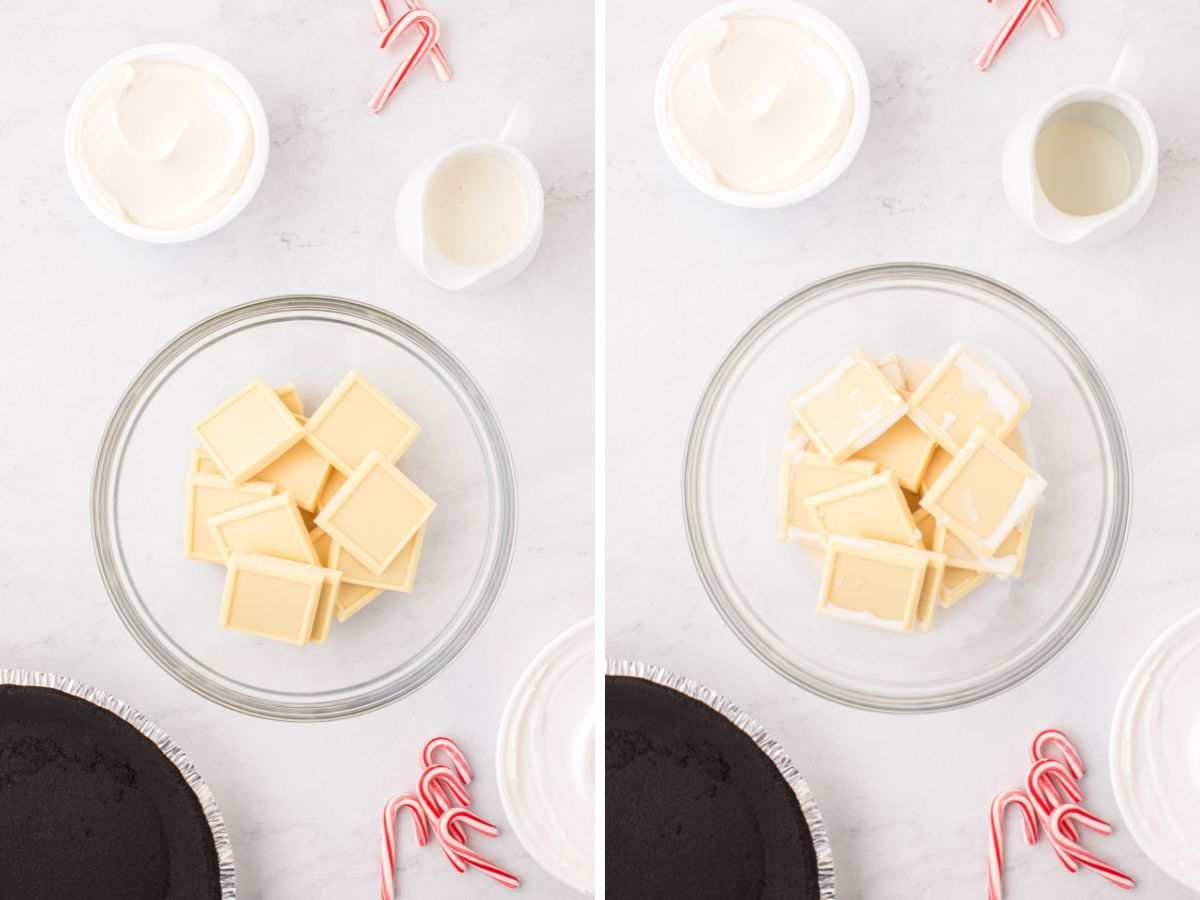
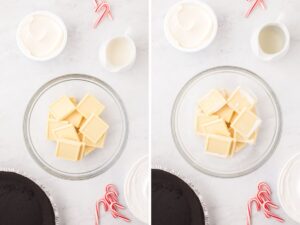
- Melt White Chocolate : Place the broken white chocolate baking bar into a microwave-safe dish. Add the heavy cream. Microwave for 30 seconds, stirring after each heating, and continue heating in 15 second increments until it’s melted and mixed smooth.
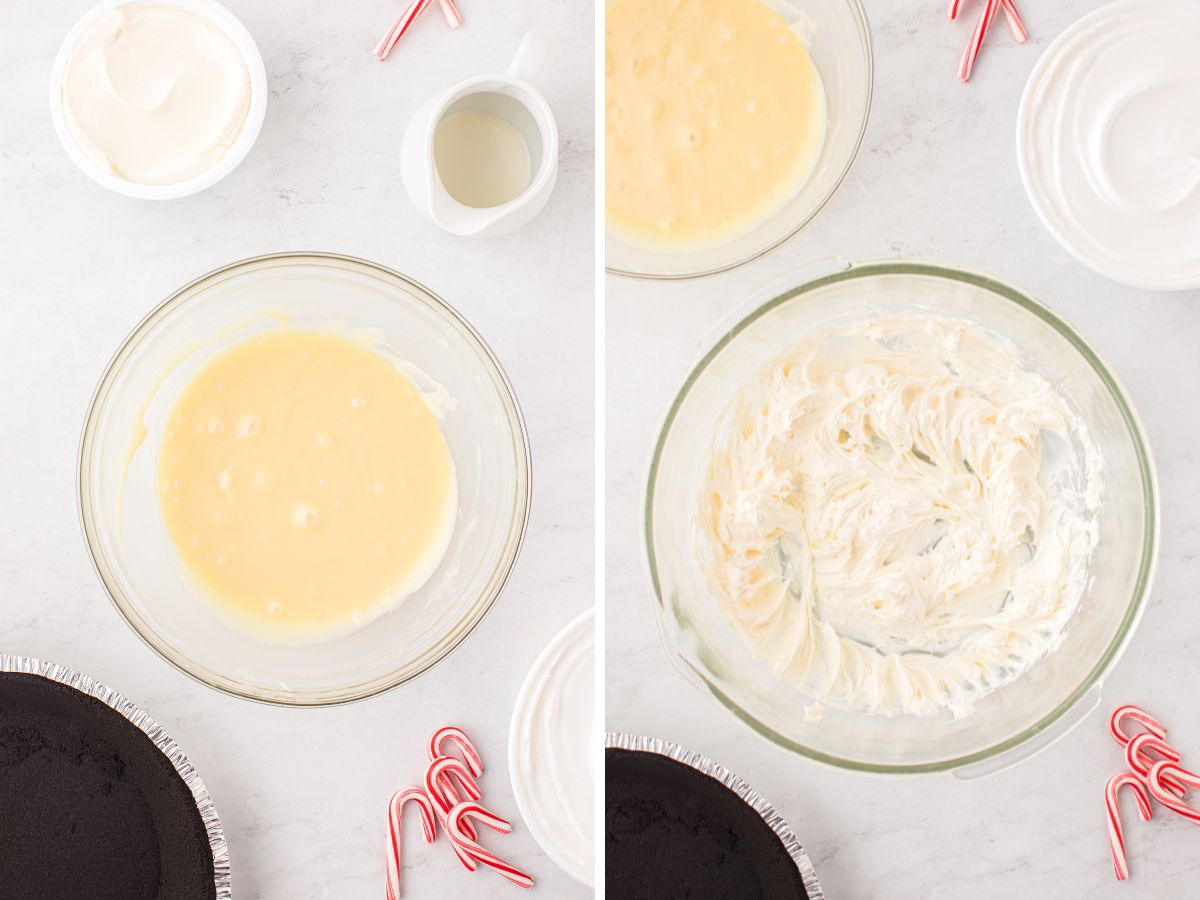
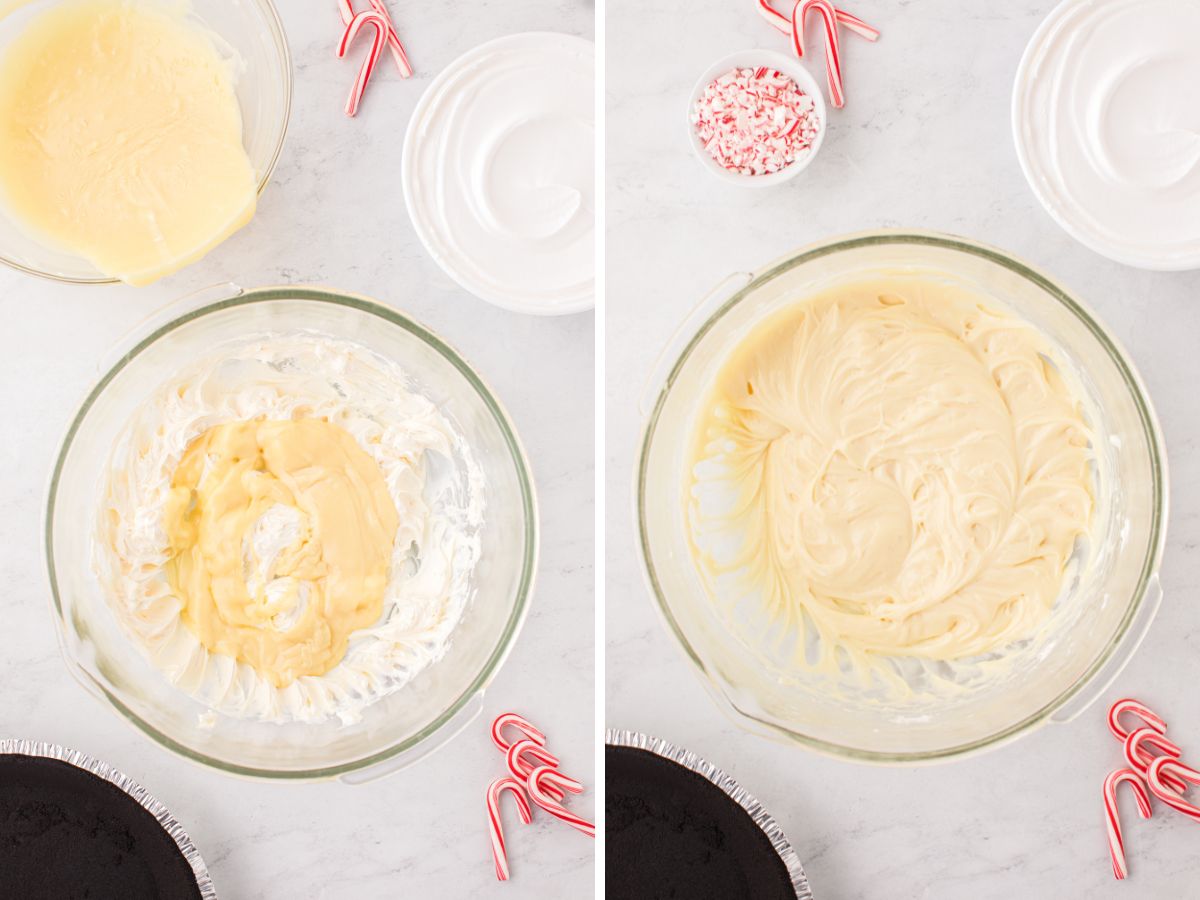
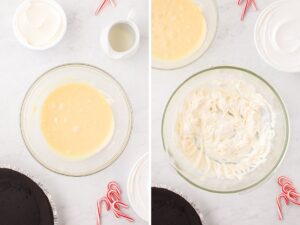
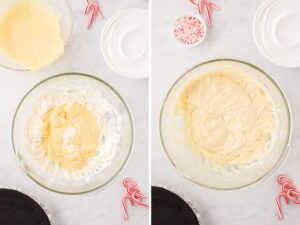
- Cream Cheese + White Chocolate : Beat the cream cheese in a mixing bowl. Slowly add the melted white chocolate, while beating, until it’s combined well.
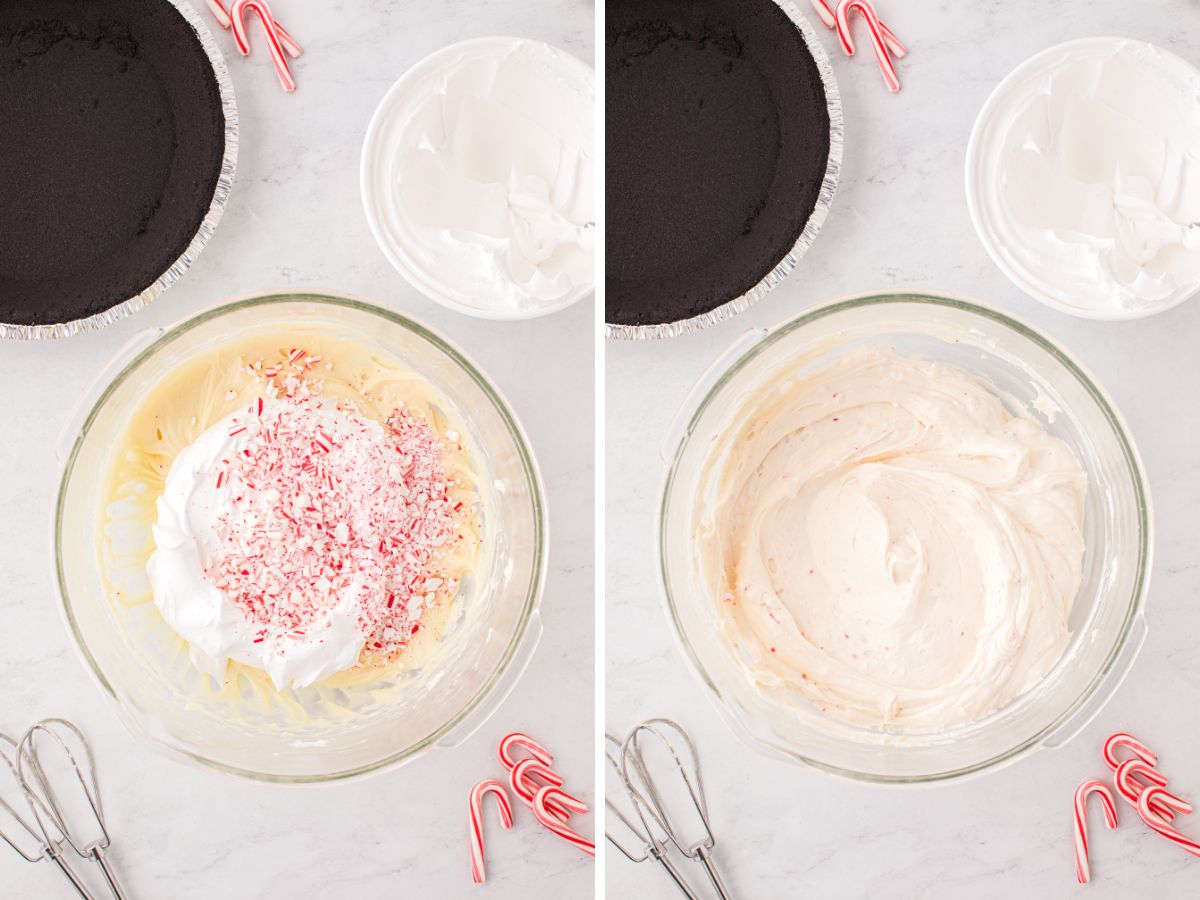
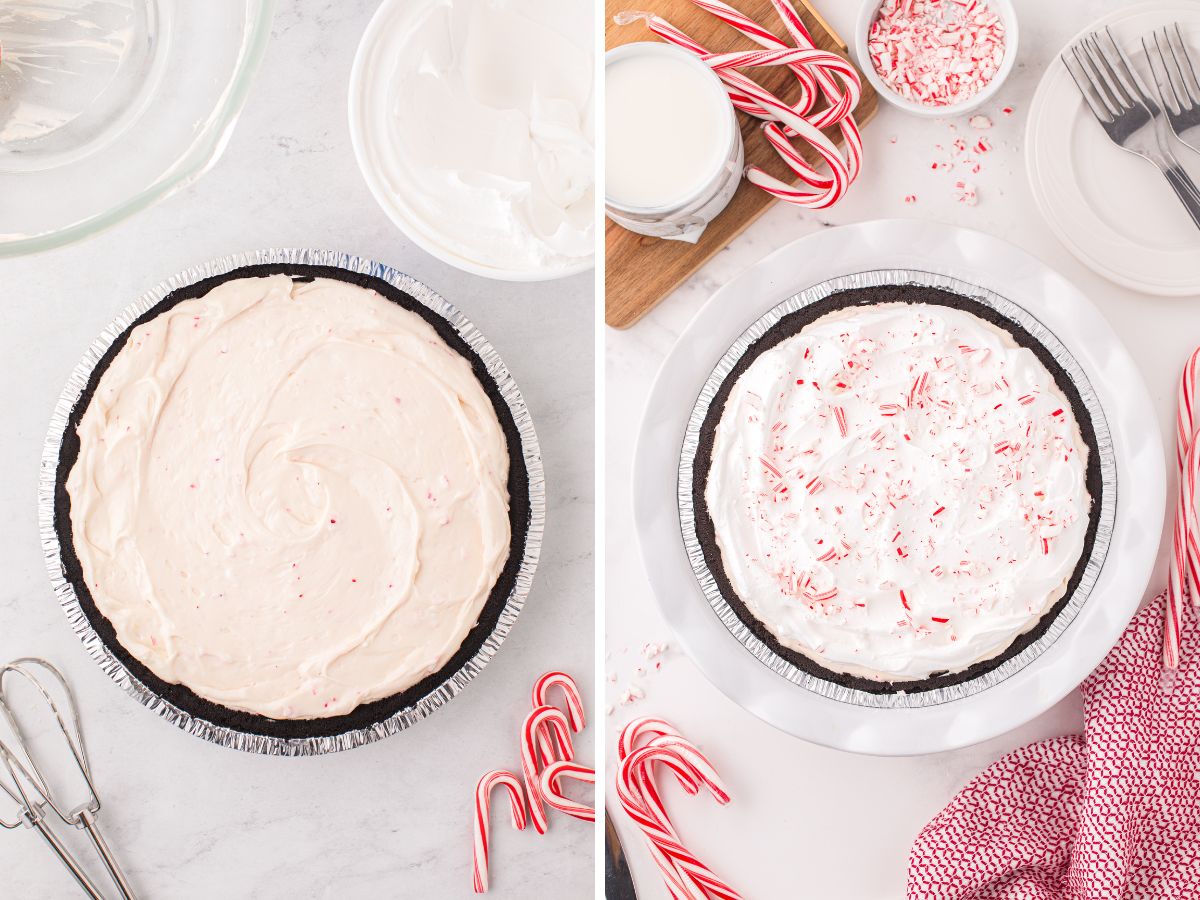
- Cool Whip + Peppermint : Gently mix in, with a wooden spoon or spatula, half of the Cool Whip and chopped peppermint candy canes until combined.
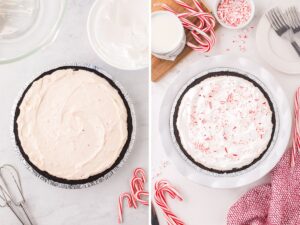
- Pie : Spread the mixture into the crust, cover with the remaining Cool Whip, and refrigerate for at least 4 hours before slicing and serving. Top with the remaining crushed candies right before serving.
No Bake Peppermint Pie FAQ’s
-
Can I Make This Ahead of Time?
- Yes, this no bake pie is the perfect dessert to make the day before or up to 24 hours in advance. When it comes to no bake pies my motto is always ‘the more fridge time the better’.
- Do not add the crushed peppermint candy cane topping on top of the pie before you refrigerate it. The peppermint candies will leak color into the white cool whip as it sits in the fridge.
- I don’t recommend making this pie more than 24 hours in advance because the peppermint candy pieces, inside the pie, will begin to bleed that red color into the pie.
-
How To Store Leftovers
- This pie should be stored, covered in the refrigerator, and eaten within 3-4 days for best results.
- Please be aware that if the pie is stored with the peppermint pieces on top, the peppermint will create pools of red colored liquid underneath them. This may look strange but it won’t affect the flavor of the pie at all.
- If serving at a party or family dinner, I would suggest just making the pie the morning of and letting it refrigerate all day (without the peppermint candy topping). Right before serving, put the garnish of chopped candy canes on top of the Cool Whip layer.
- The store bought ‘Ready Crust’ comes with a plastic lid as part of the packaging. I always use this to cover the pie in the fridge.
-
Can I Freeze a No Bake Pie?
- If you wish to freeze this peppermint pie make sure it’s stored in an airtight, freezer safe container or bag for up to 3 months. Do not freeze it with the peppermint candies on top. Add those after it has thawed and before serving.
- Allow the frozen pie to thaw in the fridge for several hours before cutting.
- I personally do not like freezing no bake pies. I think the texture is slightly off once it’s thawed due to the dairy in the pie. But you may find that you feel it freezes fine!
-
Substitution & Variation Ideas
- Candy Canes : If you’re wanting to make this year-round then use those round peppermint candies instead.
- Homemade Whipped Topping : Instead of using store-bought whipped topping (aka – Cool Whip) make your own. Beat 1.5 cups of heavy whipping cream + 1/4 cup powdered sugar in a mixing bowl until stiff peaks form. This takes about 5-6 minutes depending on how cold everything is. Use this in place of the 8 ounces of whipped topping called for in the recipe.
- Crust : If you can’t find the seasonal mint chocolate crust go ahead and use a shortbread crust, graham cracker crust, or a Oreo crust instead.
-
Serving Suggestions
- There are several ways to serve this no bake white chocolate peppermint pie. Here are some ideas!
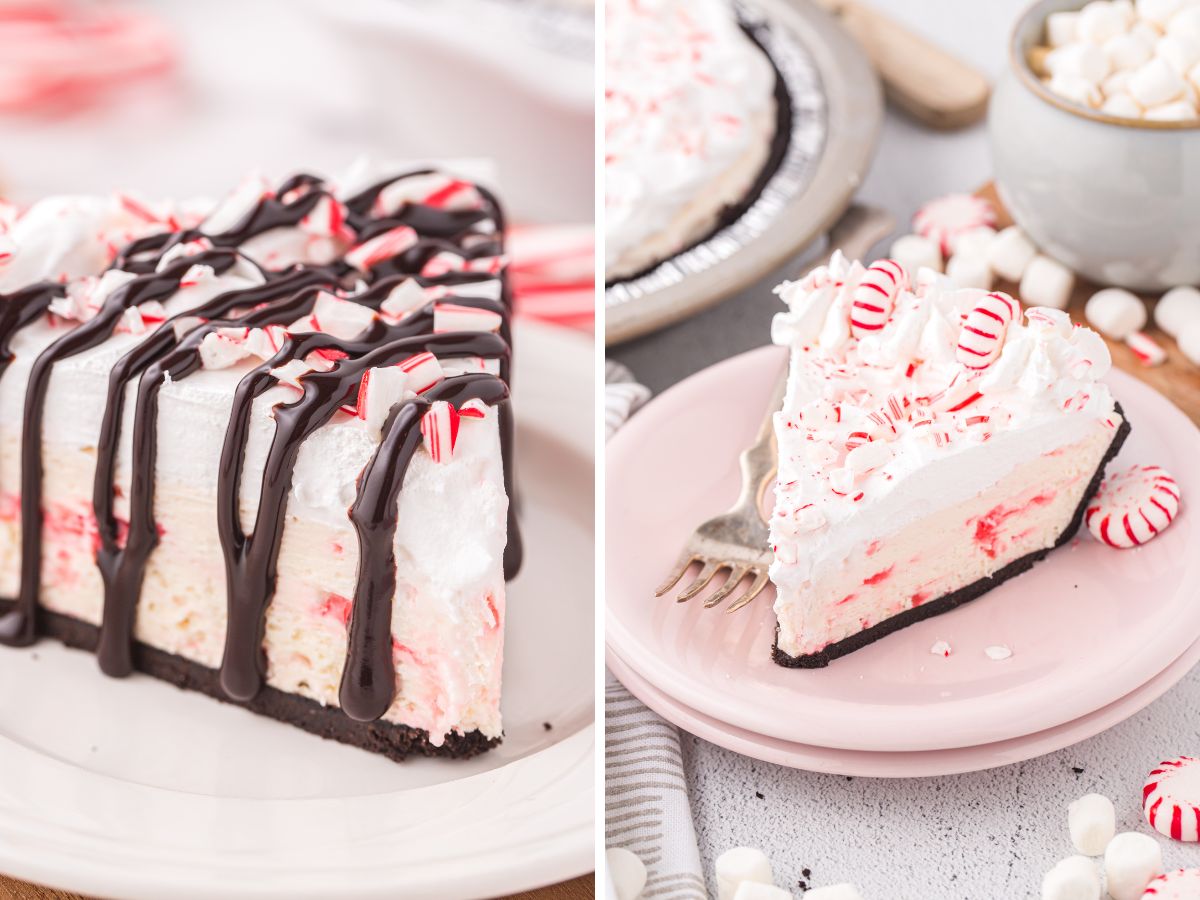
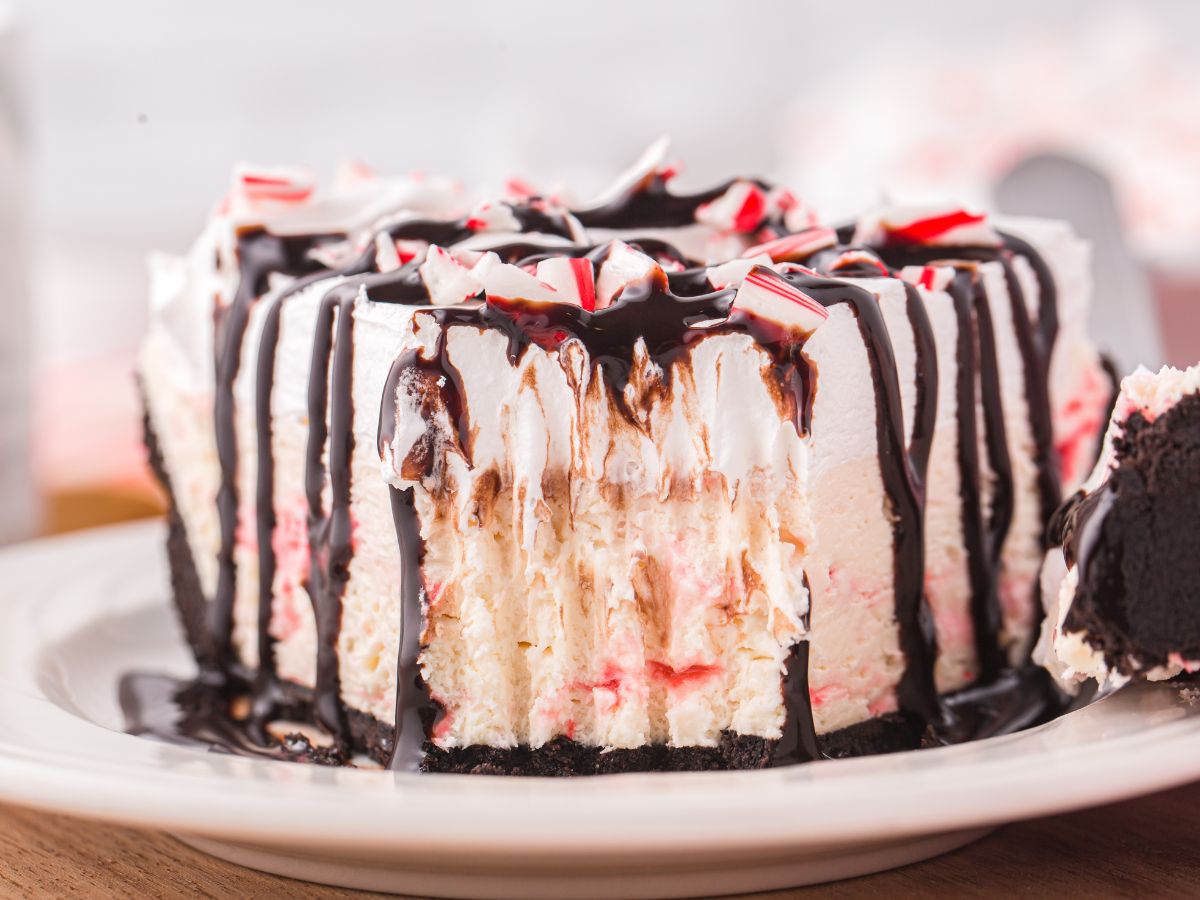
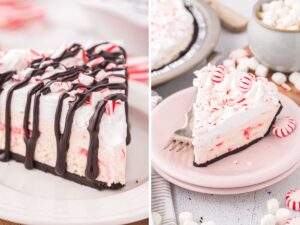
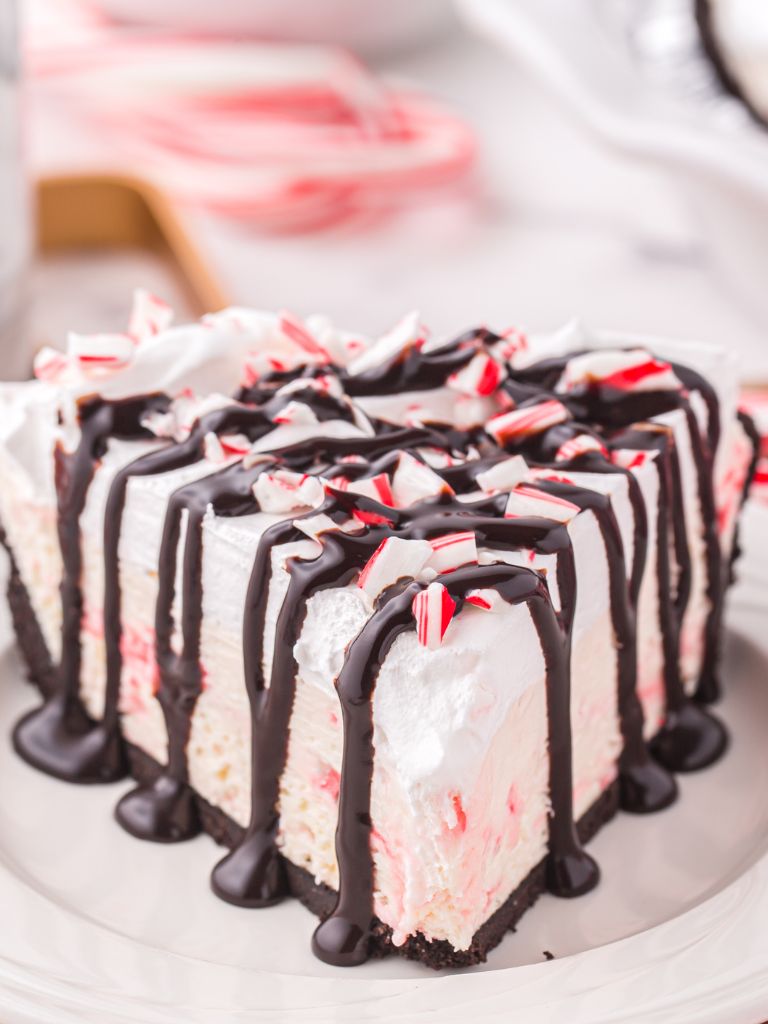
- Chocolate Drizzle : Use some chocolate syrup or ice cream sauce to drizzle over the pie. Peppermint + chocolate is really good together so this is a great serving choice.
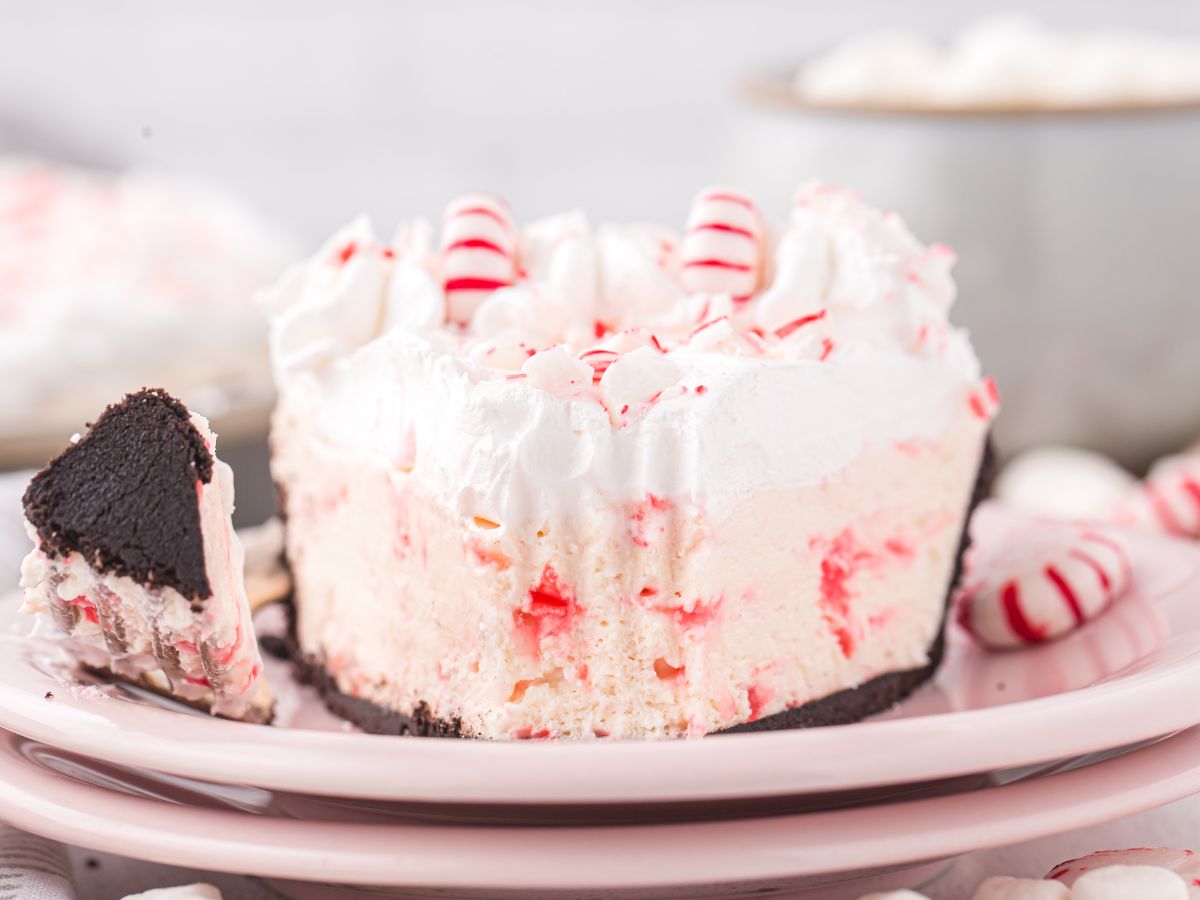
- Whipped Cream + Peppermint Candies : Buy a spray can of whipped cream (or make your own) and pipe some extra whipped cream along the edges of the pie. Garnish with a round peppermint candy or a small candy cane, or chop up some additional candy canes for garnish.
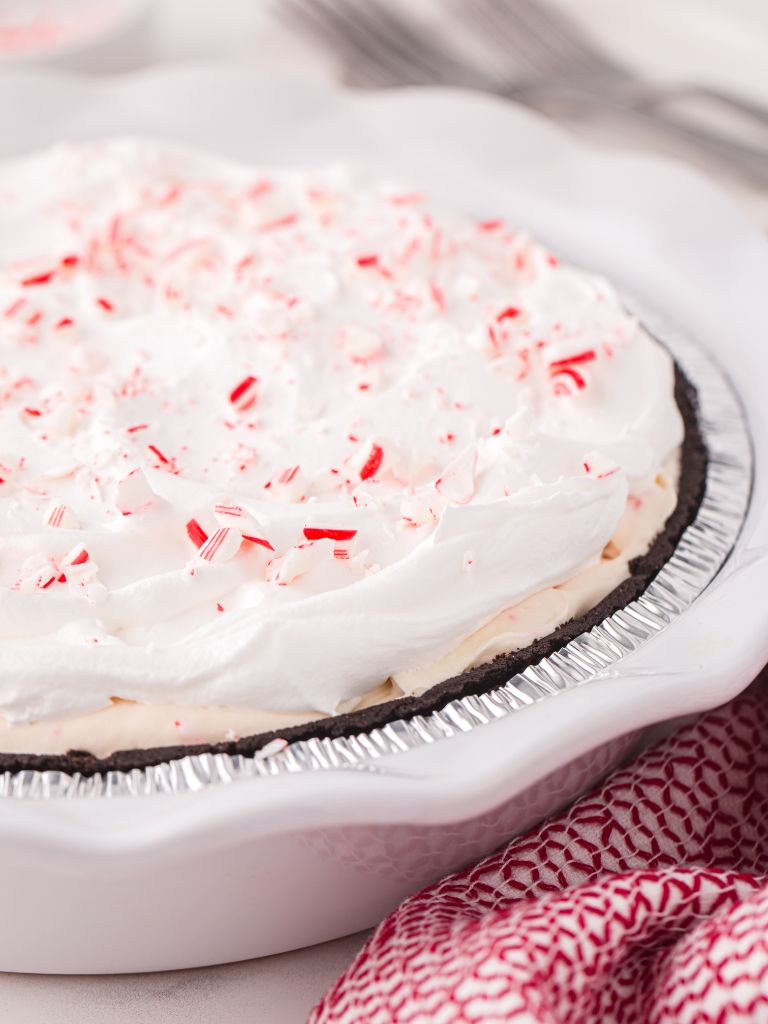
- Eat It As Is : Serve and eat as is! With the simple Cool Whip layer on top and crushed peppermint candy canes.
- White Chocolate Drizzle : Try serving each slice with a white chocolate drizzle using additional white chocolate baking bars that have been melted.
- There are several ways to serve this no bake white chocolate peppermint pie. Here are some ideas!
Recipe Tips
Here are a few of my helpful tips so that you can have success recreating this peppermint pie in your own kitchen for your family & friends ♥
- High Quality White Chocolate : Make sure that you are using a high quality white chocolate baking bar so your chocolate doesn’t seize. I do not recommend using white chocolate chips, almond bark, or melting wafers. Use a white chocolate baking bar (Baker’s brand, Ghirardelli brand). This recipe won’t work as well with white chocolate chips.
- Don’t Overheat The Chocolate : It’s important to not put the white chocolate into the microwave for a long period of time and let it cook without stirring. Instead, start with 30 seconds and heat in small increments instead of a large one. If the chocolate is overheated it will seize, which means it won’t mix smoothly, and you’ll need to start over.
- Allow Melted White Chocolate To Cool Slightly : It’s important that the melted white chocolate cool slightly before adding it into the cream cheese. Also, be sure to add it slowly rather than just dump it all in at once. To avoid lumps or chocolate seizing, add it slowly and add it once it has cooled slightly.
- Pie Crust : Around Christmastime they sell a mint chocolate pie crust, which is fabulous in this recipe, but if you can’t find that one go ahead and use a shortbread crust, graham cracker crust, or a chocolate Oreo crust instead.
- Use Heavy Cream : Please do not substitute the heavy cream called for in the recipe below. Any other milk has too much water in it which may cause the chocolate to seize.
- Make Your Own Whipped Topping (Cool Whip) : To make your own beat 1.5 cups of heavy whipping cream + 1/4 cup powdered sugar in a mixing bowl until stiff peaks form. This takes about 5-6 minutes. Use it in the recipe in place of the whipped topping.
More No Bake Pies You’ll Love
- No Bake Jello Pie – Use any flavor of jello that you want!
- No Bake Black Forest Pie – Layers of white cheesecake, chocolate cheesecake, and topped with cherry pie filling.
- No Bake Coconut Cream Pie – Easy to make with boxes of instant coconut cream pudding. My favorite way to make this classic pie.
- No Bake Banana Cheesecake Pie – Banana cream pudding combined with cream cheese and cool whip for a thick and creamy pie.
- No Bake Key Lime Pie – Love this one! Graham cracker crust filled with tart and sweet key lime filling.
- No Bake Chocolate Cream Pie – Chocolate pudding topped with whipped cream and Hershey’s milk chocolate squares.
- White Chocolate Berries & Cream Pie – Fresh berries + vanilla pudding + white chocolate! This one is so good.

White Chocolate Peppermint Pie
Equipment
Ingredients
- 1 (6 oz) Ready Crust Mint Chocolate Crust (*see notes)
- 2 bars (4 oz each) white chocolate baking bar
- 1/4 cup heavy cream
- 1 tub (8 oz) whipped cream cheese spread
- 1 tub (8 oz) Cool Whip thawed & divided
- 1/2 cup chopped/crushed peppermint candy canes divided
Instructions
- Break up the white chocolate baking bars into squares and place them into a microwave-safe bowl. Add in the heavy cream.
- Heat it in the microwave for 30 seconds and mix it well. Continue heating in 15 second increments, mixing after each, until it's melted and smooth. * It's important to not overheat the chocolate or else it can seize up. Just heat in the small increments until it's smooth and melted.
- Allow the melted white chocolate to cool at room temperature for 2 minutes.
- Beat the whipped cream cheese spread in a mixing bowl with an electric hand mixer until light and fluffy. Slowly add the melted white chocolate into the cream cheese, while beating. * Do not add all the white chocolate at once. Pour it slowly in while beating with the hand mixer.
- Add in 1½ cups of the Cool Whip along with 1/3 cup of the peppermint candy cane pieces. Gently mix together with a silicone spatula or wooden spoon just until combined well.
- Spread the mixture into the pie crust and smooth out the top. Add the remaining Cool Whip on top and smooth it out.
- Cover the pie with the enclosed plastic lid from the crust and let refrigerate for at least 4 hours before slicing & serving. * Save the final chopped peppermint candy pieces for after the refrigeration time.
- Right before serving add the remaining chopped peppermint candy pieces on top of the Cool Whip layer. Serve as is or add a chocolate drizzle, white chocolate drizzle, or additional whipped cream + more peppermint candy pieces.
Notes
- This pie should be stored, covered in the refrigerator, and eaten within 3-4 days for best results.
- Please be aware that if the pie is stored with the peppermint pieces on top, the peppermint will create pools of red colored liquid underneath them. This may look strange but it won't affect the flavor of the pie at all.
- If serving at a party or family dinner, I would suggest just making the pie the morning of and letting it refrigerate all day (without the peppermint candy topping). Right before serving, put the garnish of chopped candy canes on top of the Cool Whip layer.
- The store bought 'Ready Crust' comes with a plastic lid as part of the packaging. I always use this to cover the pie in the fridge.
- High Quality White Chocolate : Make sure that you are using a high quality white chocolate baking bar so your chocolate doesn't seize. I do not recommend using white chocolate chips, almond bark, or melting wafers. Use a white chocolate baking bar (Baker's brand, Ghirardelli brand). This recipe won't work as well with white chocolate chips.
- Don't Overheat The Chocolate : It's important to not put the white chocolate into the microwave for a long period of time and let it cook without stirring. Instead, start with 30 seconds and heat in small increments instead of a large one. If the chocolate is overheated it will seize, which means it won't mix smoothly, and you'll need to start over.
- Allow Melted White Chocolate To Cool Slightly : It's important that the melted white chocolate cool slightly before adding it into the cream cheese. Also, be sure to add it slowly rather than just dump it all in at once. To avoid lumps or chocolate seizing, add it slowly and add it once it has cooled slightly.
- Pie Crust : Around Christmastime they sell a mint chocolate pie crust, which is fabulous in this recipe, but if you can't find that one go ahead and use a shortbread crust, graham cracker crust, or a chocolate Oreo crust instead.
- Use Heavy Cream : Please do not substitute the heavy cream called for in the recipe below. Any other milk has too much water in it which may cause the chocolate to seize.
- Make Your Own Whipped Topping (Cool Whip) : To make your own beat 1.5 cups of heavy whipping cream + 1/4 cup powdered sugar in a mixing bowl until stiff peaks form. This takes about 5-6 minutes. Use it in the recipe in place of the whipped topping.
- Chocolate Drizzle : Use some chocolate syrup or ice cream sauce to drizzle over the pie. Peppermint + chocolate is really good together so this is a great serving choice.
- Whipped Cream + Peppermint Candies : Buy a spray can of whipped cream (or make your own) and pipe some extra whipped cream along the edges of the pie. Garnish with a round peppermint candy or a small candy cane, or chop up some additional candy canes for garnish.
- Eat It As Is : Serve and eat as is! With the simple Cool Whip layer on top and crushed peppermint candy canes.
- White Chocolate Drizzle : Try serving each slice with a white chocolate drizzle using additional white chocolate baking bars that have been melted.
Nutrition
Did You Make This Recipe?
I'd love to see it! You can share it with me on @togetherasfamilyblog and follow on Pinterest @together-as-family-blog-recipes or Facebook @togetherasfamilyblog for more!




Did you love this recipe?
Make sure to comment below so we can chat about it! Or follow on your favorite social network for even more family recipes.