
This post may contain affiliate links, view our disclosure policy.
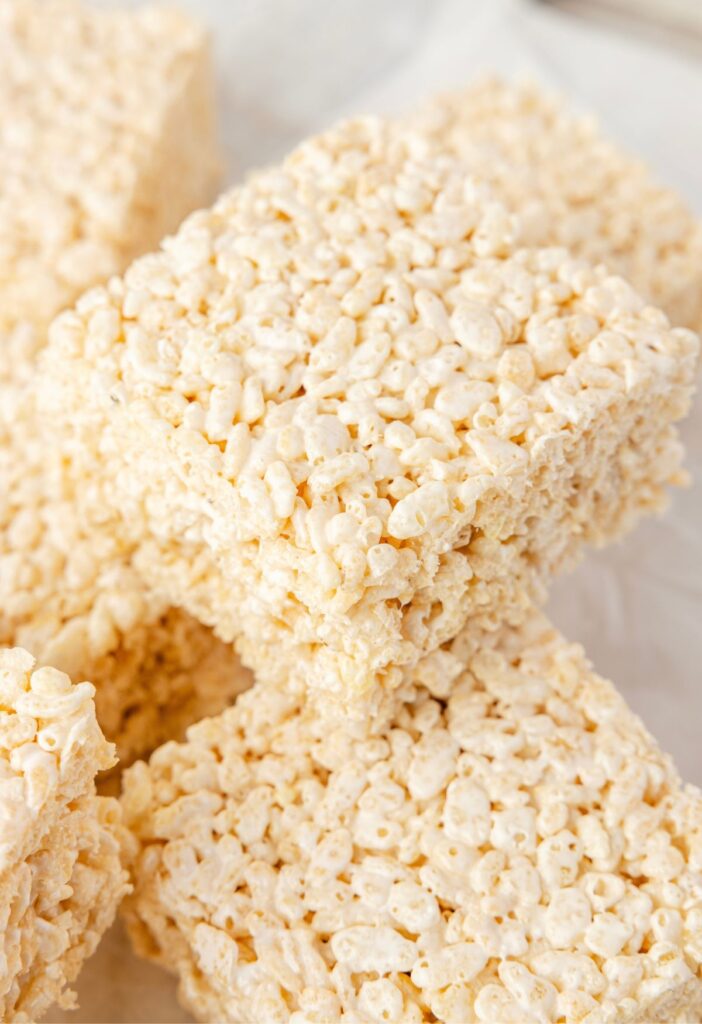
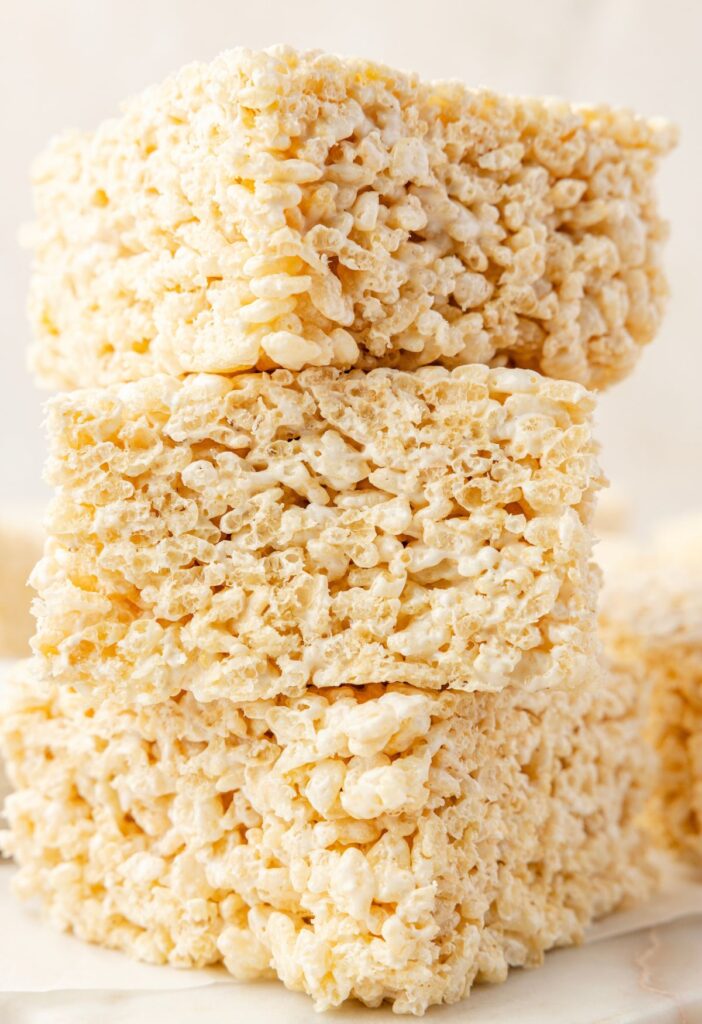
Marshmallow Cream Rice Krispie Treats are extra soft, gooey, and packed with marshmallow flavor from a surprise ingredient – marshmallow fluff! Using marshmallow fluff makes the Rice Krispie treats smoother and even more melt-in-your-mouth than the classic version.
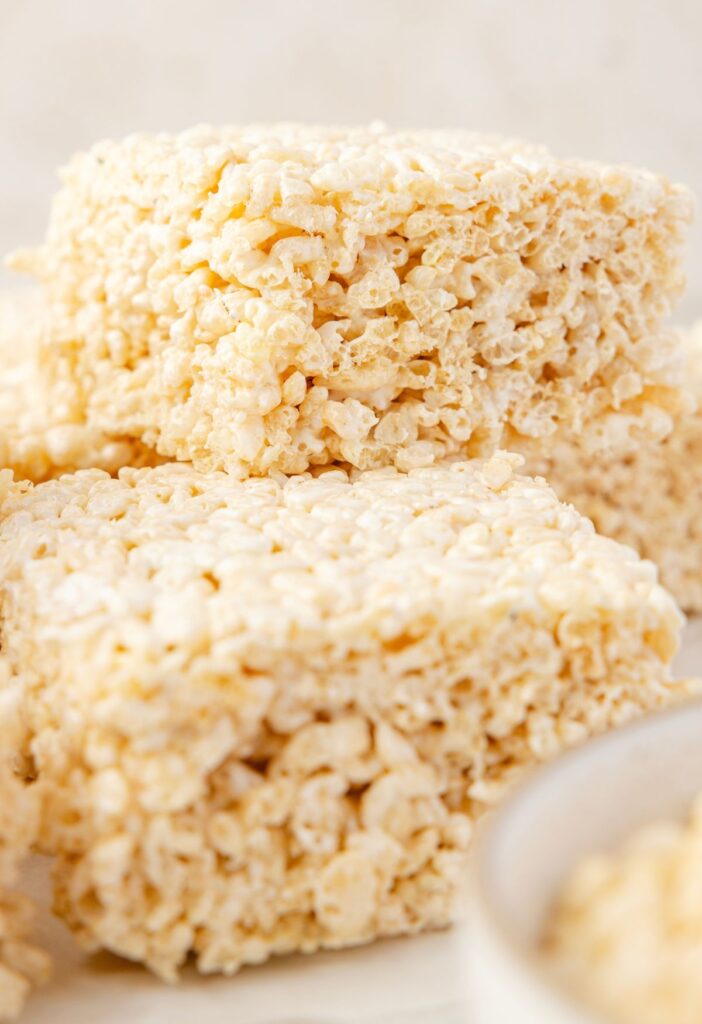
Marshmallow Cream Rice Krispie Treats Recipe
These marshmallow cream Rice Krispie treats are one of those easy desserts you’ll want to make again and again. With just a handful of ingredients (only 4!) and no oven required, they’re perfect when you need a quick homemade treat. The marshmallow cream gives them a wonderfully soft and chewy texture that makes every bite irresistible.
Made with crispy rice cereal, butter, marshmallow cream, and vanilla extract – this simple no-bake dessert is a fun twist to on classic Rice Krispies treats. They are perfect for school lunches, after school snacks, holidays (add some festive sprinkles), bake sales, or whenever you need a quick and delicious sweet treat.
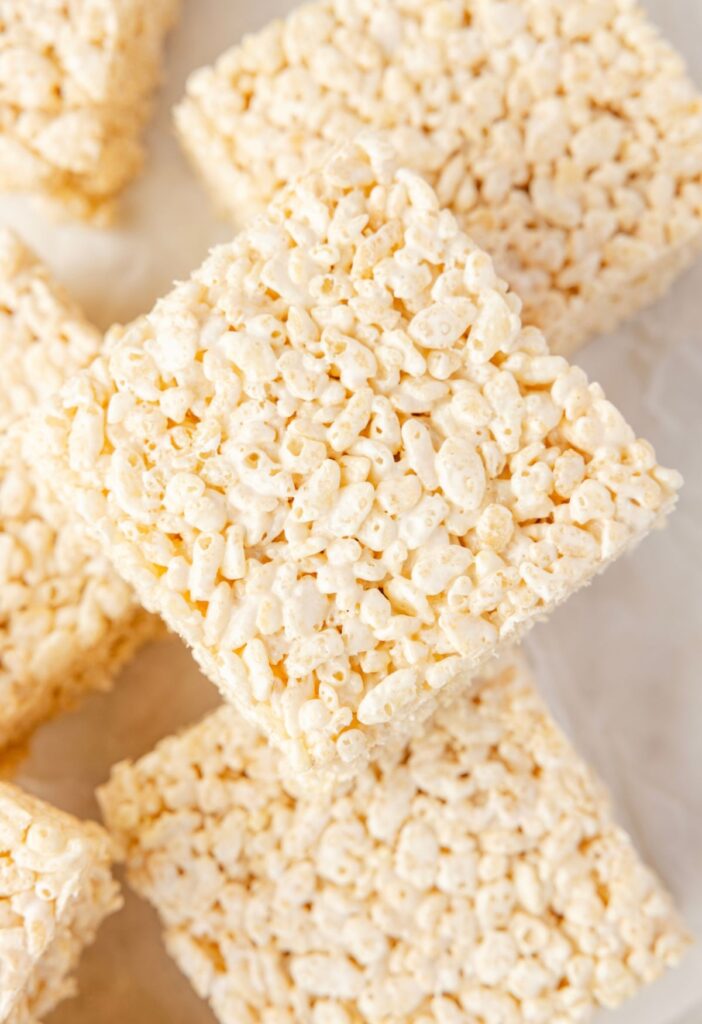
Why You’ll Love Marshmallow Fluff Rice Krispies
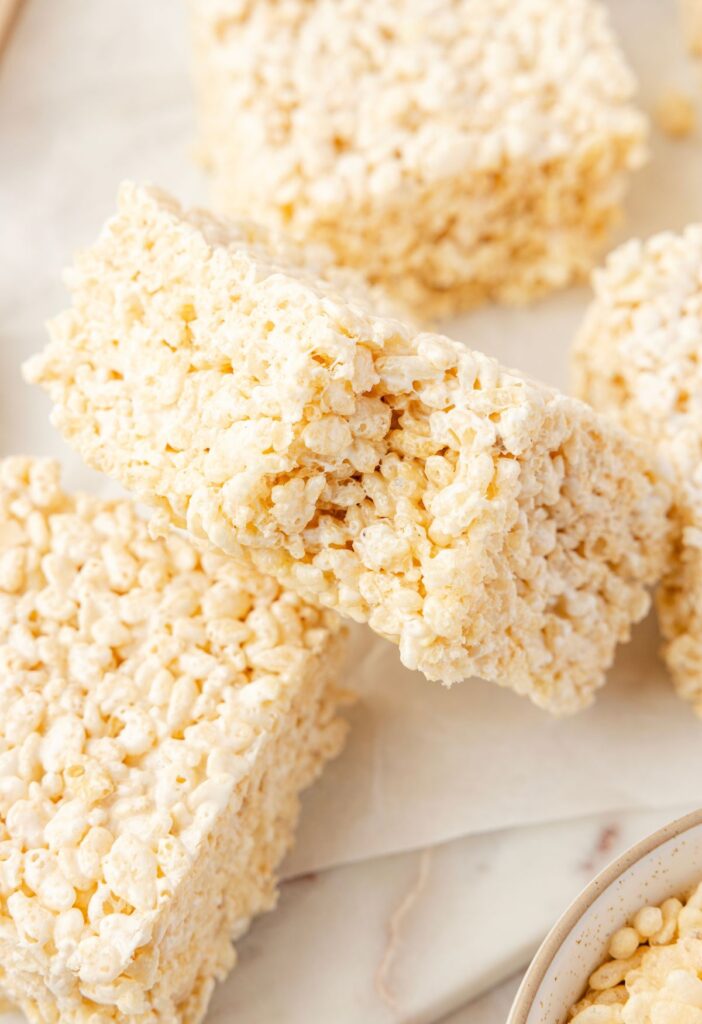
If you love classic Rice Krispies treats, you’re going to love this marshmallow cream version. Using marshmallow cream creates an extra-soft, gooey texture that makes these treats especially delicious.
- Only 4 easy, simple ingredients
- No oven required!
- Soft, smooth, and chewy instead of dry and hard
- Perfect for holidays by simply adding some festive sprinkles
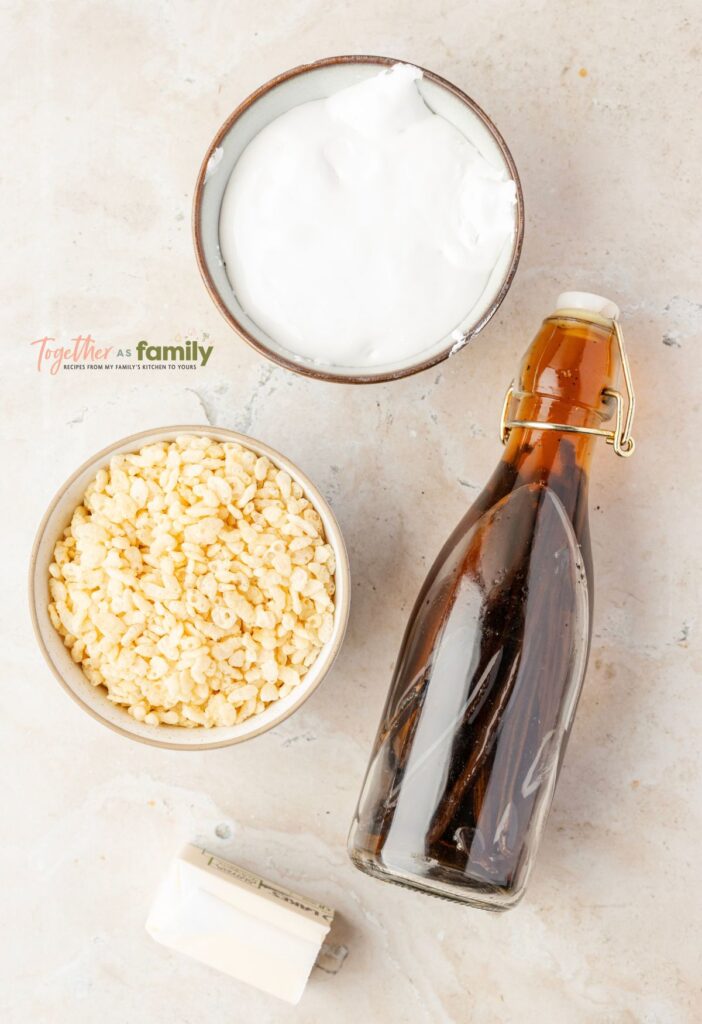
Only 4 Ingredients Needed
- Salted Butter : If using unsalted butter, I recommend adding a pinch of salt in with the butter.
- Marshmallow Cream : This is the creamy, fluffy marshmallow cream that comes in a container. It’s sometimes also labeled or referred to as ‘marshmallow fluff’.
- Pure Vanilla Extract
- Rice Krispies Cereal : 9 cups of cereal is needed
How To Make Marshmallow Cream Rice Krispie Treats
Spray a 9×9-inch square baking pan with nonstick spray and then line it with parchment paper.
In a large pot, over medium heat, melt the butter.
Once the butter has melted, add the marshmallow cream and cook, while stirring constantly, until everything is smooth and completely melted together.
Remove the pan from the heat and stir in the vanilla extract.
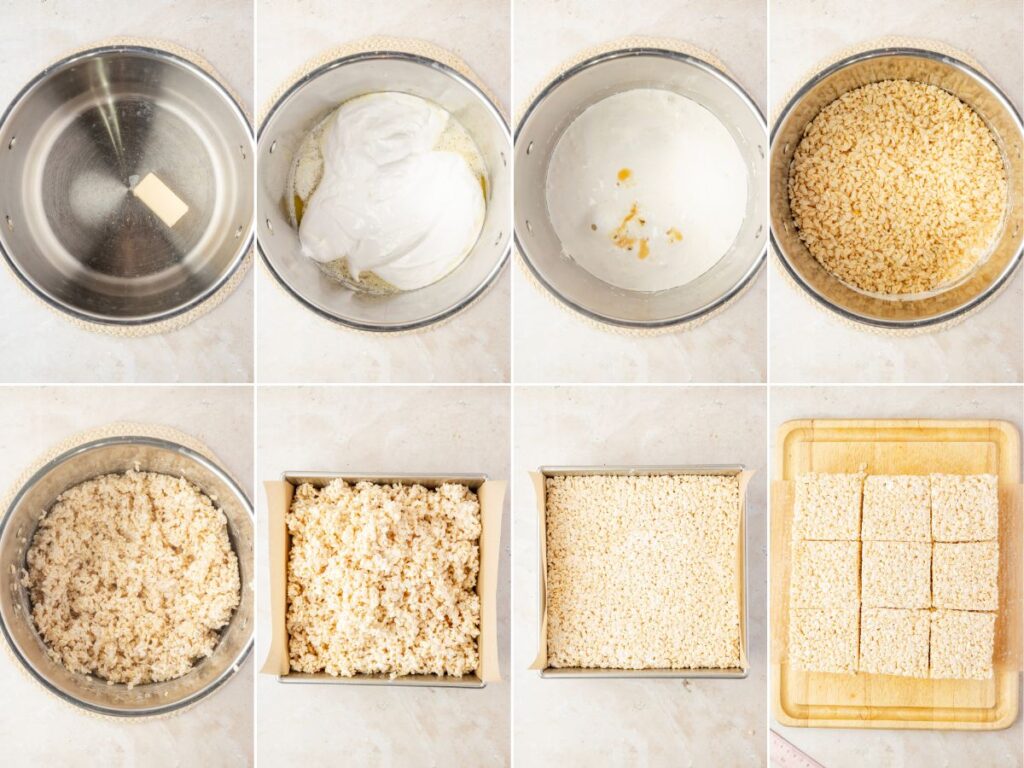
Mix in the Rice Krispies cereal until well incorporated and all the cereal is coated thoroughly in the marshmallow mixture.
Gently press the mixture into the prepared baking pan into an even layer. If the mixture is really sticky, lightly spray your hands with cooking spray OR you can use the back of a plastic spoon to press the treat mixture down.
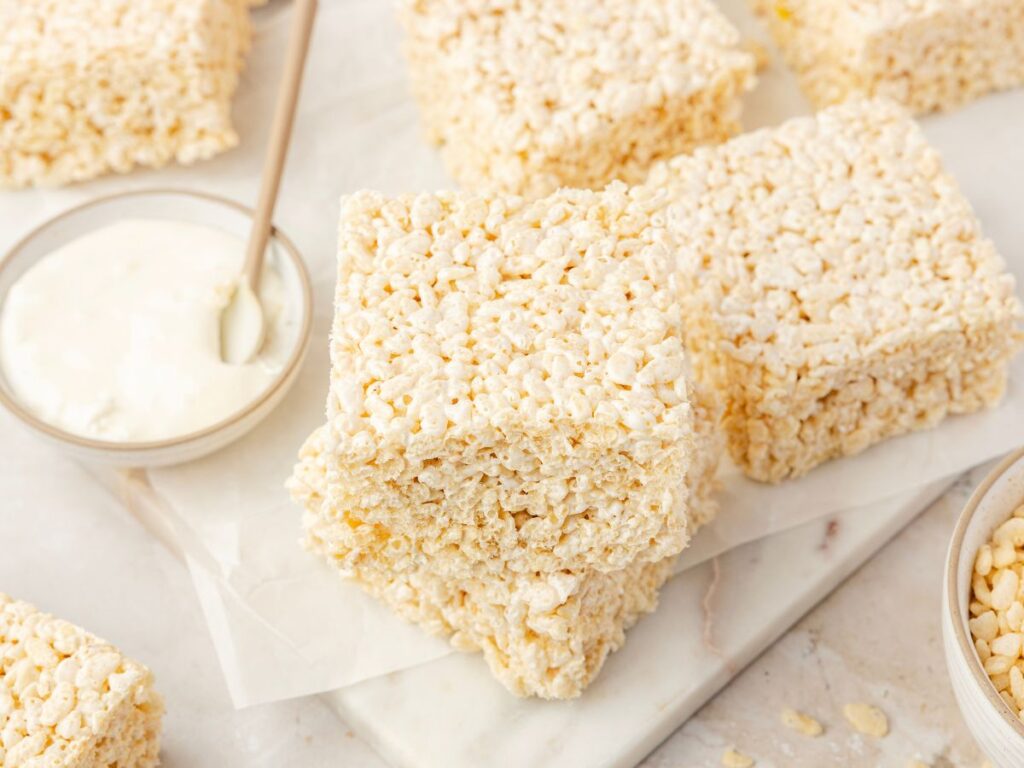
Let the Rice Krispies set at room temperature for about 1 hour, or you can refrigerate for 30 minutes, before slicing and eating. Enjoy!
How To Store Rice Krispy Treats
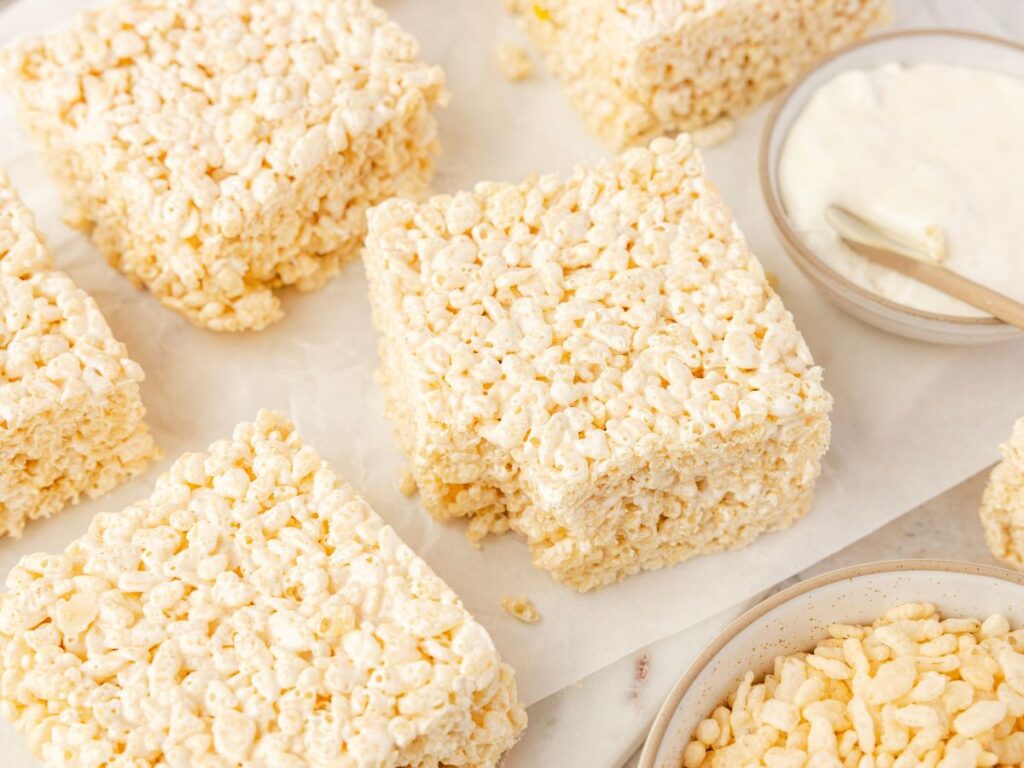
These marshmallow cream Rice Krispie treats should be stored covered, at room temperature, for up to 3 to 4 days. Either cover the pan tightly with plastic wrap, a lid, or aluminum foil. Or remove individual treats to an airtight container or Ziploc bag for storage.
Pro Tips From The Test Kitchen
- The brand of rice krispies doesn’t matter; what does matter, is that the cereal is fresh and newly opened for the best texture. Stale rice krispies cereal will impact the texture of the rice krispie treats.
- If you only have unsalted butter on hand, add a small pinch of salt (I use sea salt) to the pot when you melt the butter.
- Making Rice Krispies is all a very fast process so I always recommend having everything measured out and ready to immediately add when needed. Especially the cereal! I measure out 9 cups of cereal and put it into a large bowl so it’s ready to dump in when needed.
- Rice Krispies can become hard if the marshmallows get overheated or cooked for too long. It’s best to leave the temperature at medium-low and do not change it, not even to speed up the process. Heat the butter and then the marshmallow cream low and slow just until melted and thoroughly smooth and combined.
- If pressing the treats into the pan becomes a huge sticky mess, here are some option; use the back of a plastic spoon to gently push them down, lightly spray your fingers with cooking spray, or you can use a rubber silicone spatula to help.
- Don’t aggressively or firmly pack the treats down into the pan. Gently pressing the mixture into the pan helps keeps the treats light and chewy.
- I like to individually wrap the treats in plastic wrap and then put the wrapped treats inside a gallon-size Ziplock bag, and store them out at room temperature. This way, they are ready to grab-and-go for lunches or snacks. Wrapping them first makes sure that the treats remain soft and fresh.
- Marshmallow fluff and marshmallow fluff can be used interchangeably.




More Rice Krispies Treats You’ll Love
- Cake Batter Rice Krispie Treats (Viral Dot Cake Rice Krispies)
- Funfetti Rice Krispie Treats
- Cocoa Rice Krispie Treats (Chocolate Krispy Treats)
- Funfetti Rice Krispie Treats
- Rainbow Rice Krispie Treats
- Scotcheroos Recipe
- Easy No Bake Avalanche Cookies
- Reese’s Peanut Butter Cup Stuffed Rice Krispie Treats
- Oreo Rice Krispie Treats

Marshmallow Cream Rice Krispie Treats
Equipment
Ingredients
- 4 tablespoons salted butter
- 1 jar (13 oz) marshmallow cream
- 1 teaspoon pure vanilla extract
- 9 cups Rice Krispies cereal
Instructions
- Spray a 9×9-inch square baking pan with nonstick spray and then line it with parchment paper.
- In a large pot, over medium-low heat, melt the butter.4 tablespoons salted butter
- Once the butter has melted, add the marshmallow cream and cook, while stirring constantly, until everything is smooth and completely melted together.1 jar (13 oz) marshmallow cream
- Remove the pan from the heat and stir in the vanilla extract.1 teaspoon pure vanilla extract
- Mix in the Rice Krispies cereal until well incorporated and all the cereal is coated thoroughly in the marshmallow mixture.9 cups Rice Krispies cereal
- Gently press the mixture into the prepared baking pan into an even layer. If the mixture is really sticky, lightly spray your hands with cooking spray OR you can use the back of a plastic spoon to press the treat mixture down.
- Let the Rice Krispies set at room temperature for about 1 hour, or you can refrigerate for 30 minutes, before slicing and eating. Enjoy!
Notes
- The brand of rice krispies doesn’t matter; what does matter, is that the cereal is fresh and newly opened for the best texture. Stale rice krispies cereal will impact the texture of the rice krispie treats.
- If you only have unsalted butter on hand, add a small pinch of salt (I use sea salt) to the pot when you melt the butter.
- Making Rice Krispies is all a very fast process so I always recommend having everything measured out and ready to immediately add when needed. Especially the cereal! I measure out 9 cups of cereal and put it into a large bowl so it’s ready to dump in when needed.
- Rice Krispies can become hard if the marshmallows get overheated or cooked for too long. It’s best to leave the temperature at medium-low and do not change it, not even to speed up the process. Heat the butter and then the marshmallow cream low and slow just until melted and thoroughly smooth and combined.
- If pressing the treats into the pan becomes a huge sticky mess, here are some option; use the back of a plastic spoon to gently push them down, lightly spray your fingers with cooking spray, or you can use a rubber silicone spatula to help.
- Don’t aggressively or firmly pack the treats down into the pan. Gently pressing the mixture into the pan helps keeps the treats light and chewy.
- I like to individually wrap the treats in plastic wrap and then put the wrapped treats inside a gallon-size Ziplock bag, and store them out at room temperature. This way, they are ready to grab-and-go for lunches or snacks. Wrapping them first makes sure that the treats remain soft and fresh.
- Marshmallow fluff and marshmallow fluff can be used interchangeably.
Did You Make This Recipe?
I’d love to see it! You can share it with me on @togetherasfamilyblog and follow on Pinterest @together-as-family-blog-recipes or Facebook @togetherasfamilyblog for more!







Did you love this recipe?
Make sure to comment below so we can chat about it! Or follow on your favorite social network for even more family recipes.