
This post may contain affiliate links, view our disclosure policy.
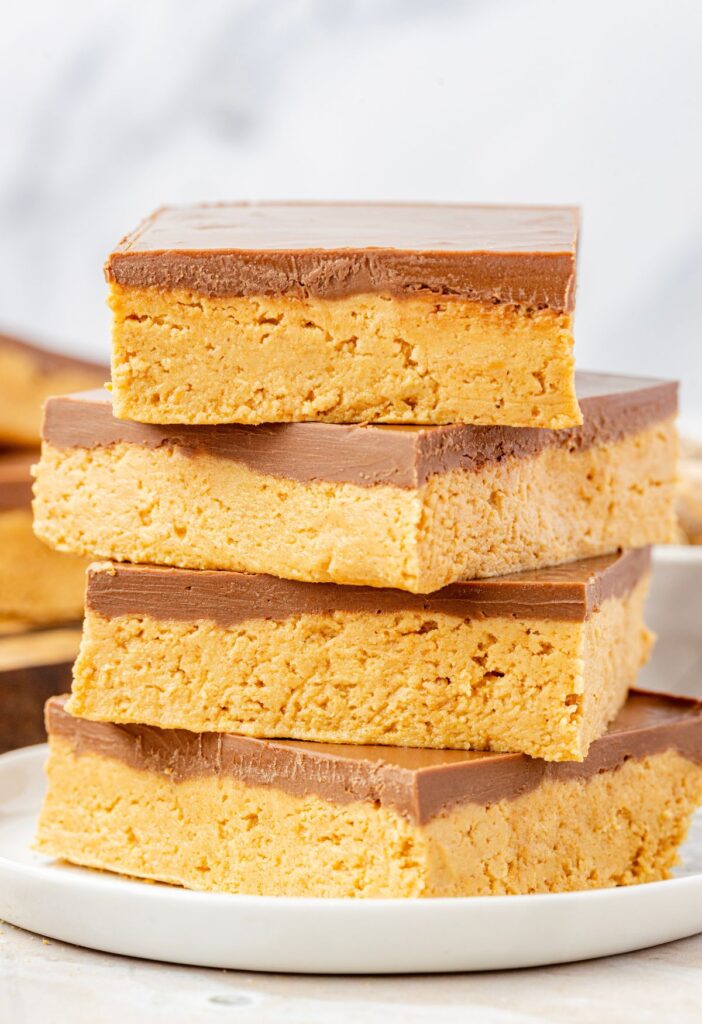
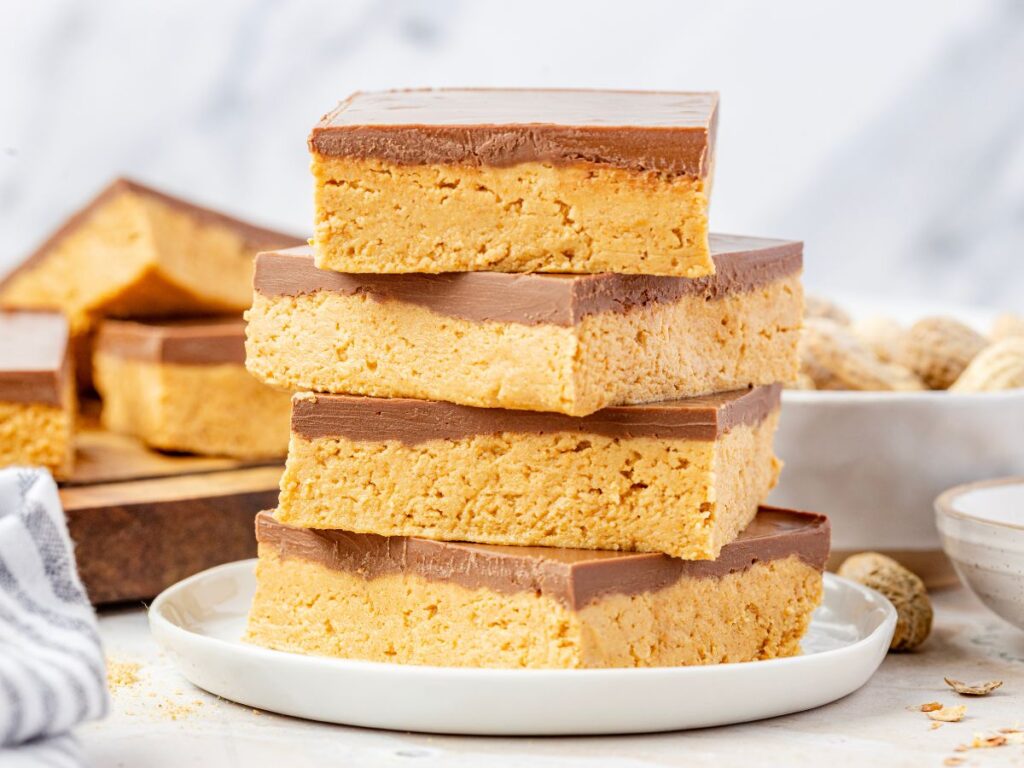
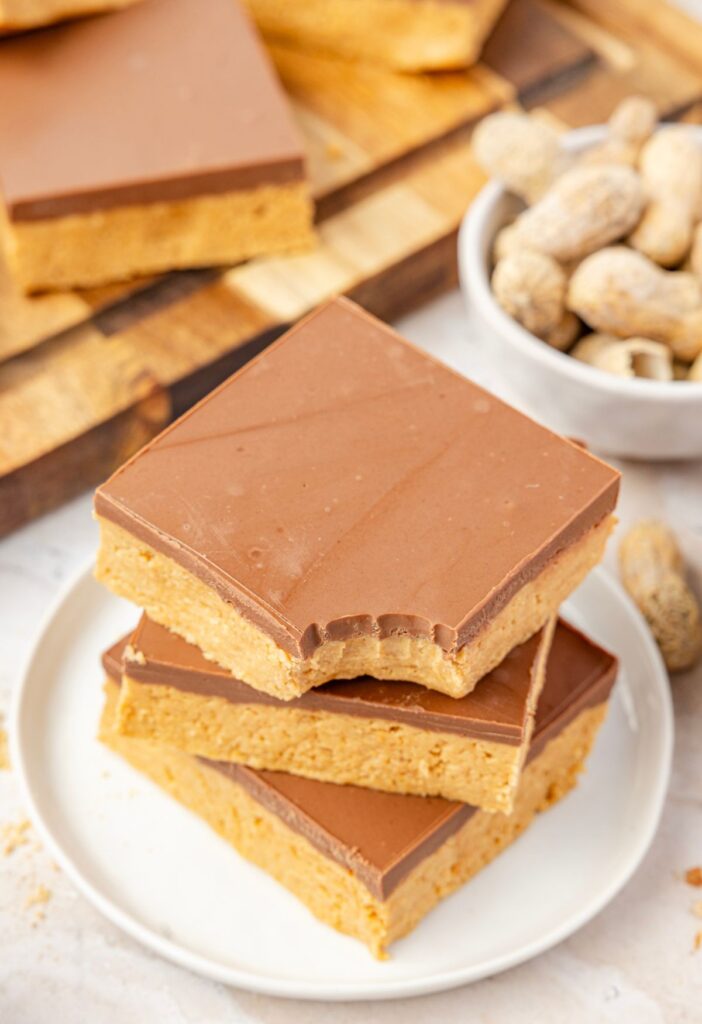
These No Bake Peanut Butter Bars are rich, creamy, and dangerously easy to make. A smooth peanut butter graham cracker crumb base, topped with a thick layer of chocolate makes the taste just like a homemade Reese’s bar. They come together fast with no oven required – which makes them perfect for parties, quick gatherings, sweet afternoons treat, or whenever that chocolate + peanut butter craving hits.

No Bake Peanut Butter Bars (Tastes Like Reese’s Peanut Butter Cups)
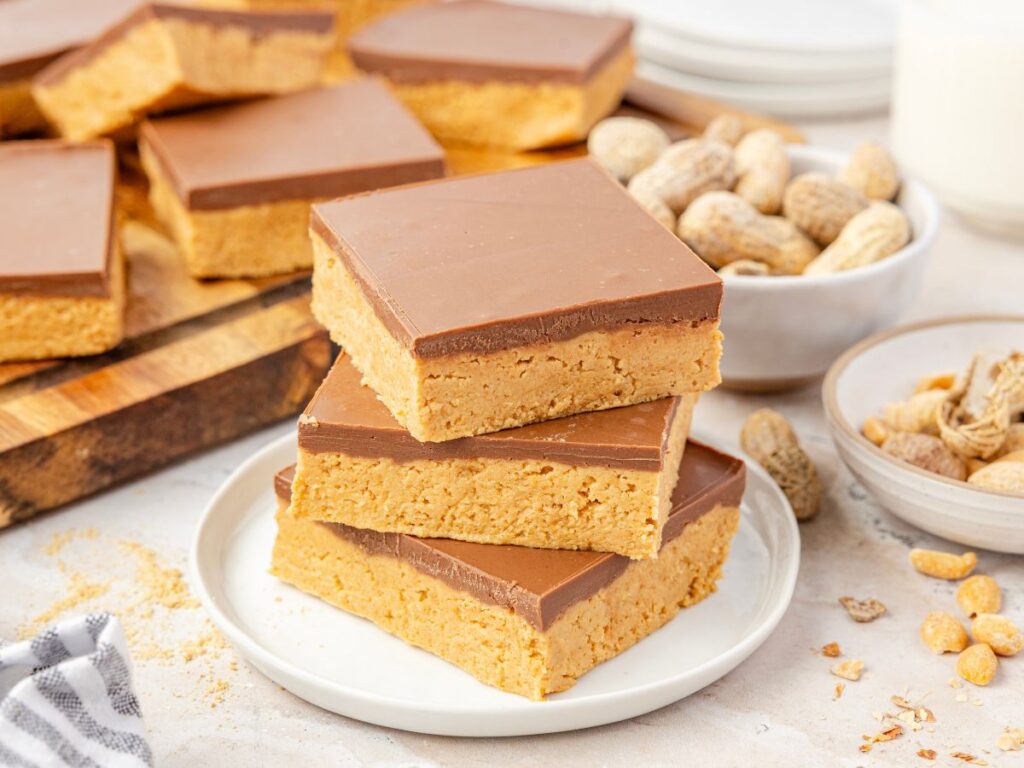
Chocolate + peanut butter always seems to be the combo I crave the most! These no bake bars are the perfect way to cure that craving – no bake, simple prep, and only 5 ingredients.
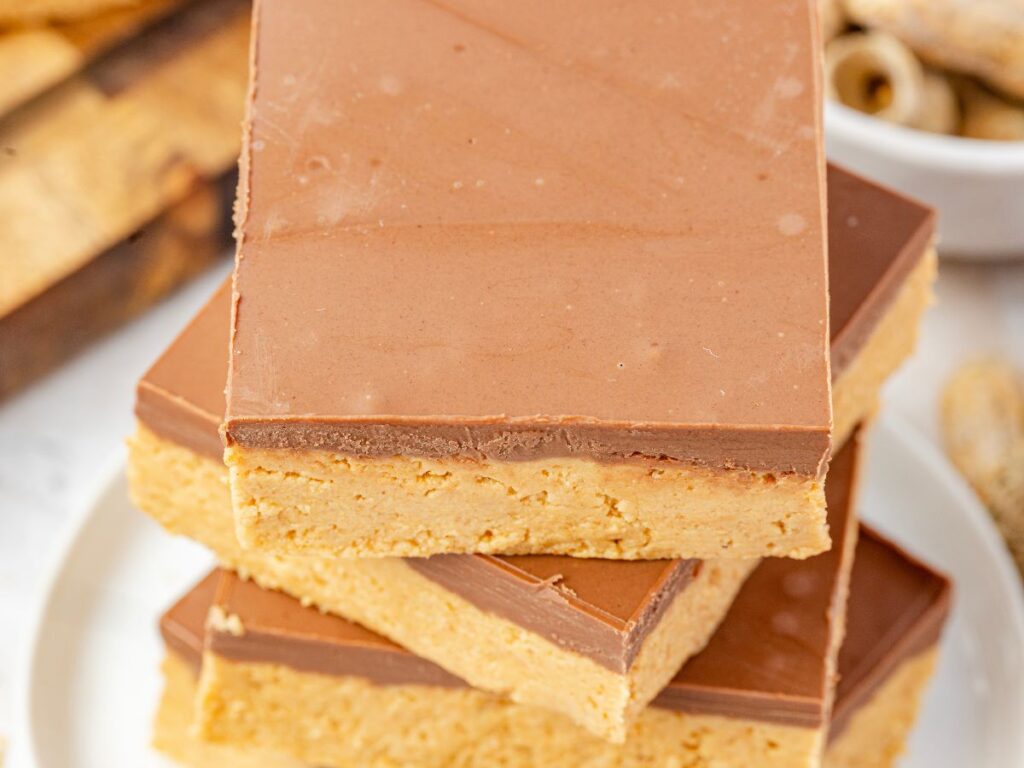
They taste just like a Reese’s peanut butter cup thanks to the crushed graham cracker crumbs and powdered sugar. Of course the creamy peanut butter is the best ingredients and that smooth, creamy chocolate peanut butter topping. These are a must-make 🍫🥜
Why You’ll Love This Easy Recipe
- ❤︎ Simple & easy no bake treat
- ❤︎ Tastes just like a Reese’s Peanut Butter Cup
- ❤︎ Only 5 ingredients!
- ❤︎ The best cure for that chocolate + peanut butter craving
Only 5 Ingredients Needed
- Graham Cracker Crumbs : You can buy a box of crushed graham cracker crumbs at the store – found in the baking aisle. Another option is to use whole graham crackers and crush them into fine crumble using a food processor food chopper.
- Powdered Sugar
- Creamy Peanut Butter : Do not use all natural peanut butter or any peanut butter that has a thick oil layer on top. These peanut butters tend to dry out baked goods. Stick to classic creamy peanut butter – I love the Peter Pan brand or Reese’s makes a creamy peanut butter that is really good as well.
- Salted Butter
- Milk Chocolate Chips

How To Make Chocolate Peanut Butter Bars (Printable Recipe Card)
Spray a 9×13-inch baking pan with nonstick spray. You can also line the pan with parchment paper for easy removal for cutting and serving. I like to spray the pan before laying down parchment paper as the spray helps it stick and stay in the pan.
In the bowl of a stand mixer using the paddle attachment, or use a large mixing bowl and an electric hand mixer, beat the graham crackers, powdered sugar, peanut butter, and melted butter until smooth and creamy; about 1-2 minutes.
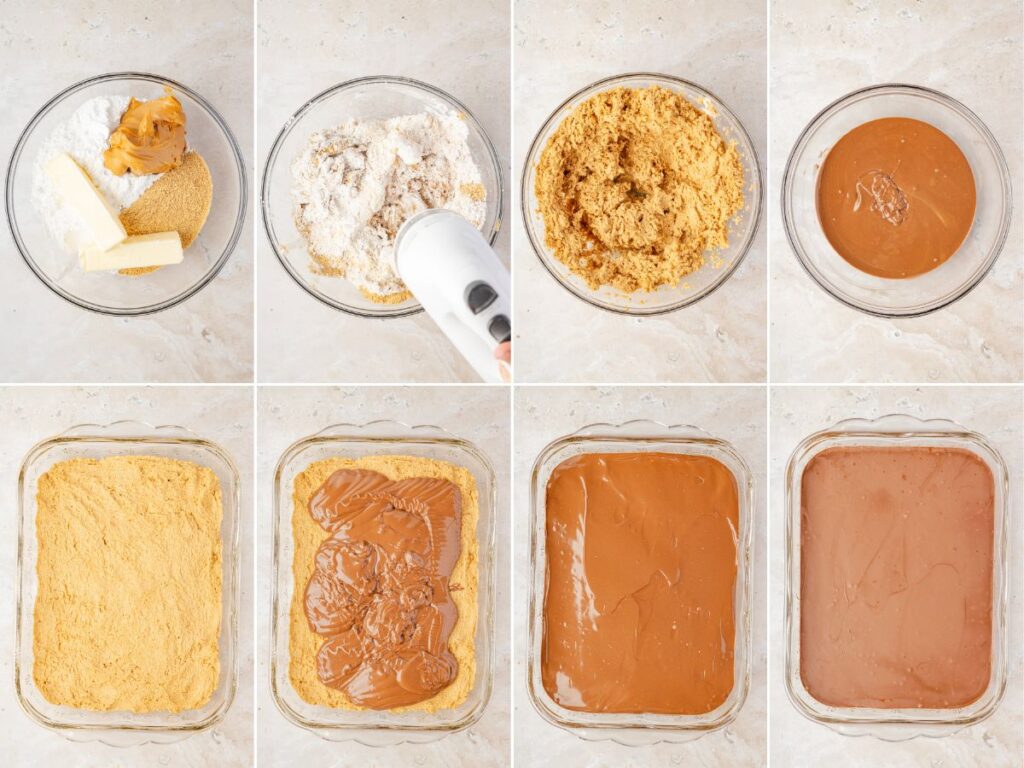
Dump the mixture into the prepared pan and lightly grease your clean hands with nonstick spray. Press the mixture into an even layer inside the pan.
In a microwave-safe bowl, add the creamy peanut butter and milk chocolate chips. Microwave in 30-second intervals, stirring between each, until the chocolate is fully melted and smooth.
Pour the melted chocolate over the peanut butter layer in the pan and spread it out evenly.
Place the bars in the refrigerator for at least 1 hour to set.
Cut into squares and serve. Enjoy!
How To Store No Bake Chocolate Peanut Butter Bars
These bars should be kept stored covered, in the refrigerator, for up to 1 week. You can leave the bars inside the pan and cover it with a lid or plastic wrap, or transfer the sliced bars to an airtight container for storage.
They will soften once at room temperature so I recommend not leaving them out at room temperature for too long. The bars are best served chilled from the fridge, but can also be eaten closer to room temperature for a softer textured treat.
To freeze leftovers, wrap each bar individually in plastic wrap and then place the wrapped bars in a freezer-safe bag or container and freeze for up to 3 months. Defrost in the refrigerator overnight, or at room temperature for a few hours.
Recipe FAQs
What Is The Best Way To Crumble The Graham Crackers?
You can either buy a box of finely crushed graham cracker crumbs that are ready to measure and use. Another option is to use whole graham cracker sheets and either use a food processor, food chopper, or a large Ziploc bag with a meat pounder to crush the crackers into fine crumbs. I buy the box the ready-to-use graham cracker crumbs.
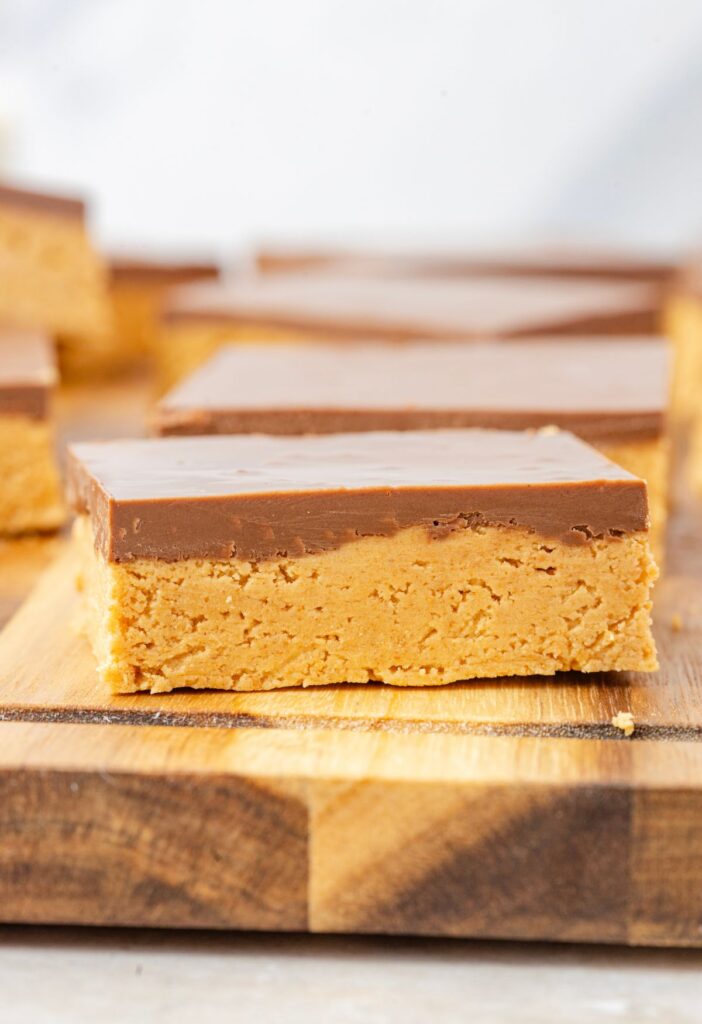
How Can I Get Smooth, Clean Cuts When Cutting The Bars?
To get smooth, clean cuts when cutting the bars; first, ensure they have chilled for the proper amount of time. This will greatly affect how well they cut. Once they are fully chilled, use a sharp straight-bladed knife to cut the bars. For extra clean and perfect cuts, wipe the knife blade with paper towel between each cut. It’s also much easier to get straight and even cuts when you use parchment paper, this way you can pull the bars out and make one continuous knife cut when cutting them.
Should I Cut The Bars In The Pan or Out?
The bars can be cut while still in the pan, however, it is much easier to cut them if you use the parchment paper overhand to lift them out of the pan and onto a cutting board for slicing. This is why I recommend spraying the pan with cooking spray and then lining it with parchment paper. That way the spray helps the parchment paper stick, and you can easily lift the bars out when it’s time to cut them.
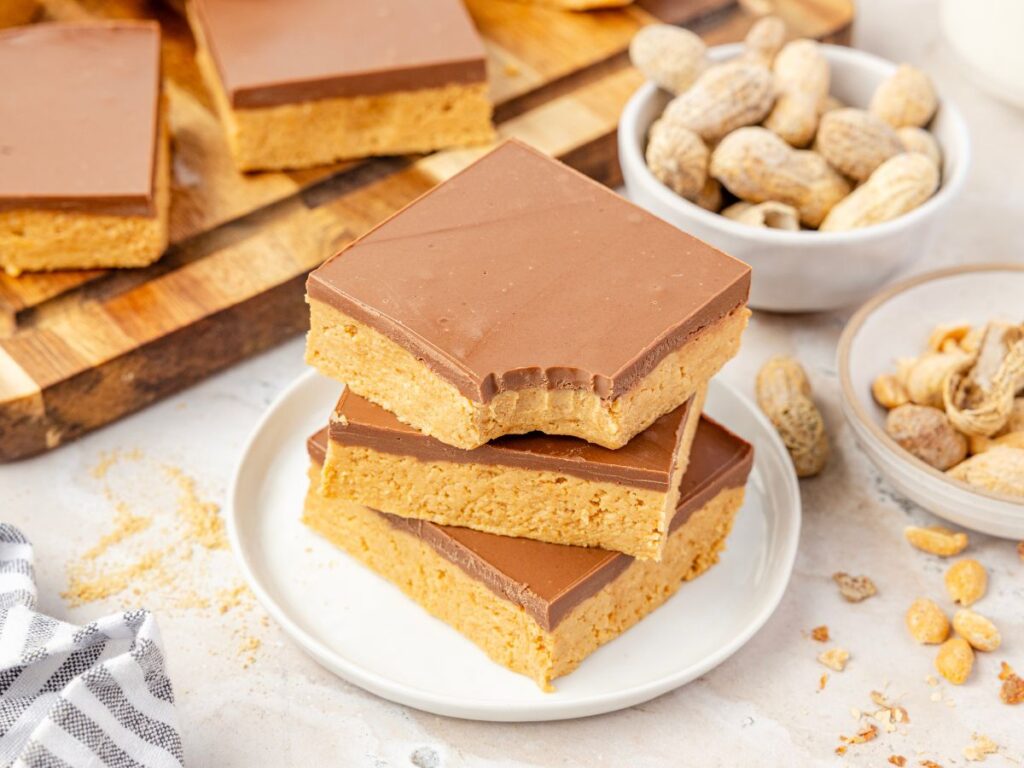
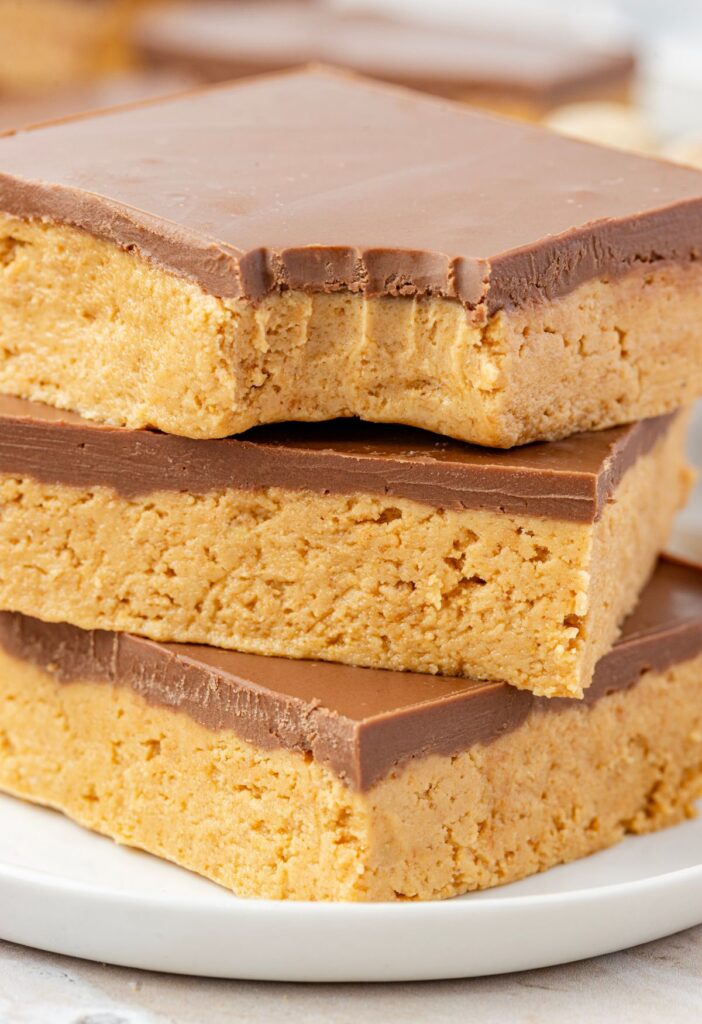
What Do They Taste Like?
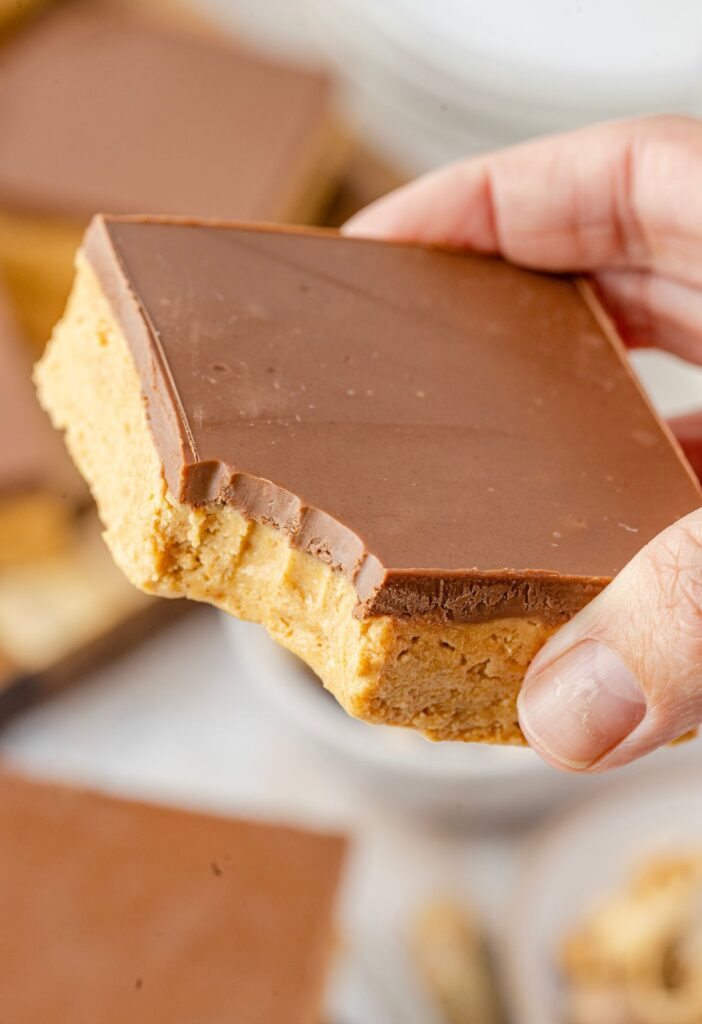
These no bake peanut butter bars are reminiscent of a buckeye (the peanut butter balls dipped in chocolate) or a Reese’s peanut butter cup. Most people say they taste just like a Reese’s whenever they eat one. The graham cracker crumbs give it that Reese’s taste and texture.
Pro Tips From The Test Kitchen
- You can use classic crunchy peanut butter for some added texture if wanted.
- If you are using unsalted butter add a pinch of salt in with the graham cracker mixture.
- These bars are delicious eaten chilled from the fridge, or set them out at room temperature for a softer texture.
- Dark chocolate chips, semi-sweet chocolate chips, or even peanut butter chips can all be used instead of milk chocolate depending on taste/sweetness preference.
- These bars are rich, sweet, and decadent as is – but if you want something extra you could sprinkle some chopped miniature Reese’s cups or mini peanut butter m&m’s on top of the melted chocolate layer, before refrigerating.
More Peanut Butter Chocolate Recipes
- Chocolate Peanut Butter Lush
- Chocolate Peanut Butter Icebox Cake
- No Bake Peanut Butter Chocolate Pie
- Peanut Butter Chocolate Chip Banana Bread
- Oatmeal Chocolate Chip Peanut Butter Bars
- Peanut Butter Brownie Pizza
- Easy Peanut Butter Pie
- Nutter Butter Peanut Butter Icebox Cake

No Bake Peanut Butter Bars
Ingredients
Peanut Butter Bars
- 2 cups finely crushed graham cracker crumbs
- 2 cups powdered sugar
- 1 cup creamy peanut butter
- 1 cup (2 sticks) salted butter melted
Chocolate Peanut Butter Topping
- 2 cups milk chocolate chips
- 1/2 cup creamy peanut butter
Instructions
- Spray a 9×13-inch baking pan lightly with nonstick spray. You can also line the pan with parchment paper for easy removal for cutting and serving.*I like to spray the pan before laying down parchment paper as the spray helps it stick and stay in the pan, and then lightly spray the parchment paper.
Peanut Butter Bars
- In the bowl of a stand mixer using the paddle attachment, or use a large mixing bowl and an electric hand mixer, beat the graham crackers, powdered sugar, peanut butter, and melted butter until smooth and creamy; about 1-2 minutes.2 cups finely crushed graham cracker crumbs, 2 cups powdered sugar, 1 cup creamy peanut butter, 1 cup (2 sticks) salted butter
- Dump the mixture into the prepared pan and lightly grease your clean hands with nonstick spray. Press the mixture into an even layer inside the pan.
Chocolate Peanut Butter Topping
- In a microwave-safe bowl, add the milk chocolate chips and creamy peanut butter. Microwave in 30-second intervals, stirring between each, until the chocolate is fully melted and smooth.2 cups milk chocolate chips, 1/2 cup creamy peanut butter
- Pour the melted chocolate over the peanut butter layer in the pan and spread it out evenly.
- Place the bars in the refrigerator for at least 1 hour to set.
- Cut into squares and serve. Enjoy! Keep the bars stored in the fridge for best results. They will soften if kept out at room temperature.
Notes
- You can use classic crunchy peanut butter for some added texture if wanted.
- If you are using unsalted butter add a pinch of salt in with the graham cracker mixture.
- These bars are delicious eaten chilled from the fridge, or set them out at room temperature for a softer texture.
- Dark chocolate chips, semi-sweet chocolate chips, or even peanut butter chips can all be used instead of milk chocolate depending on taste/sweetness preference.
- These bars are rich, sweet, and decadent as is – but if you want something extra you could sprinkle some chopped miniature Reese’s cups or mini peanut butter m&m’s on top of the melted chocolate layer, before refrigerating.
Nutrition
Did You Make This Recipe?
I’d love to see it! You can share it with me on @togetherasfamilyblog and follow on Pinterest @together-as-family-blog-recipes or Facebook @togetherasfamilyblog for more!


Did you love this recipe?
Make sure to comment below so we can chat about it! Or follow on your favorite social network for even more family recipes.