This post may contain affiliate links, view our disclosure policy.
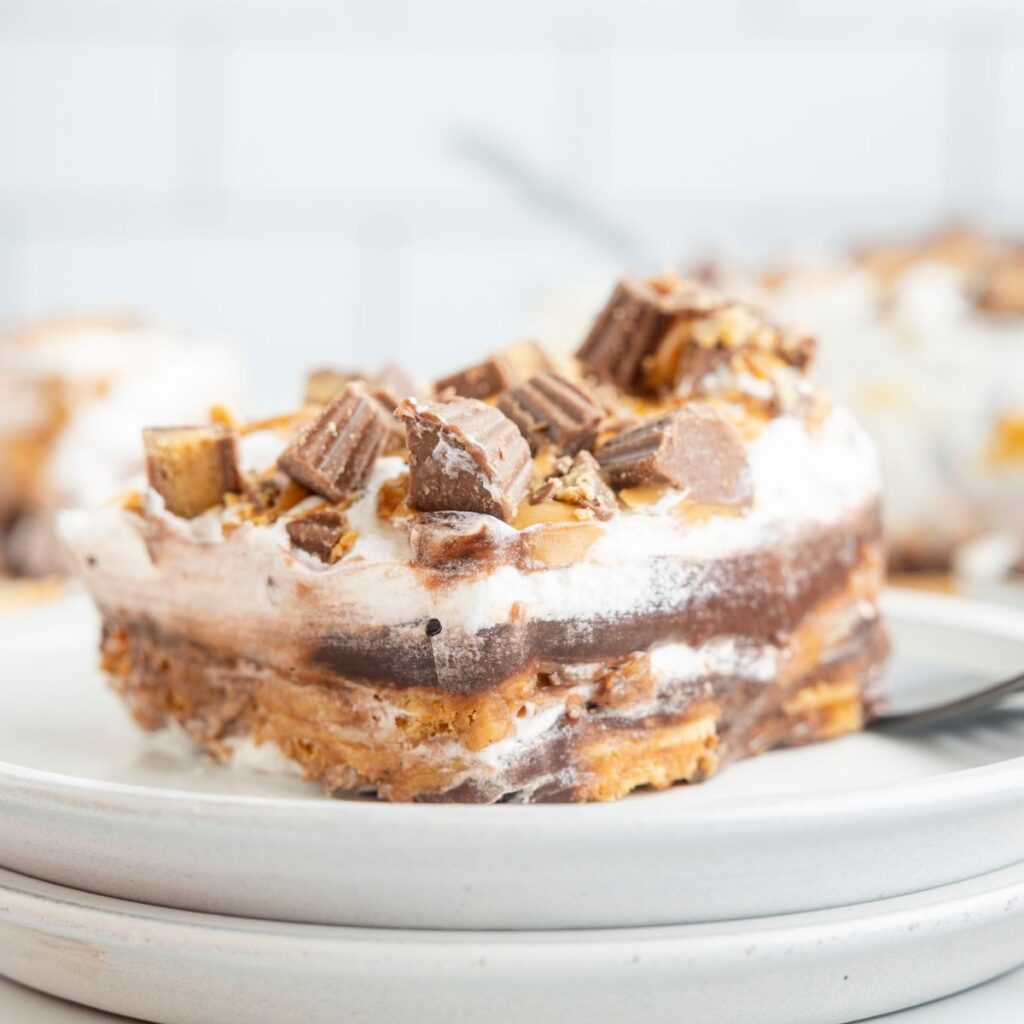
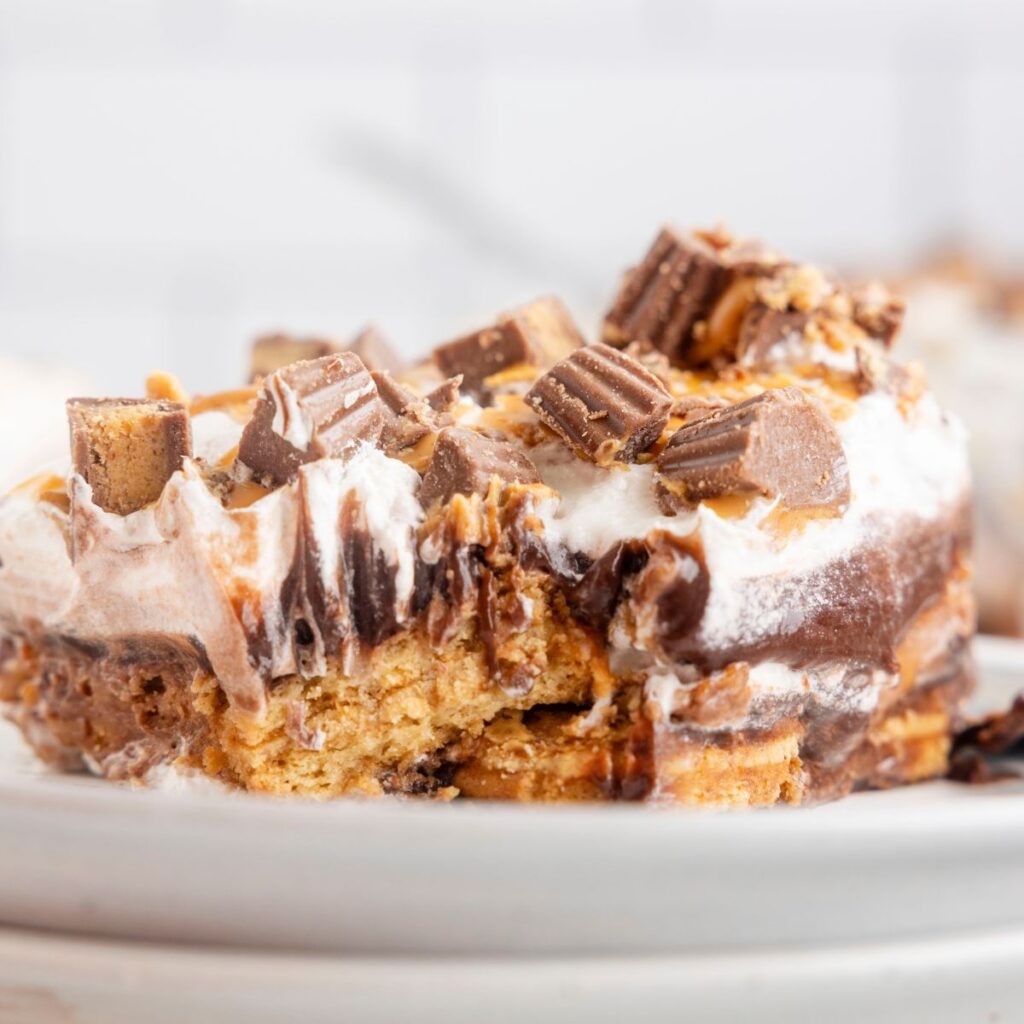
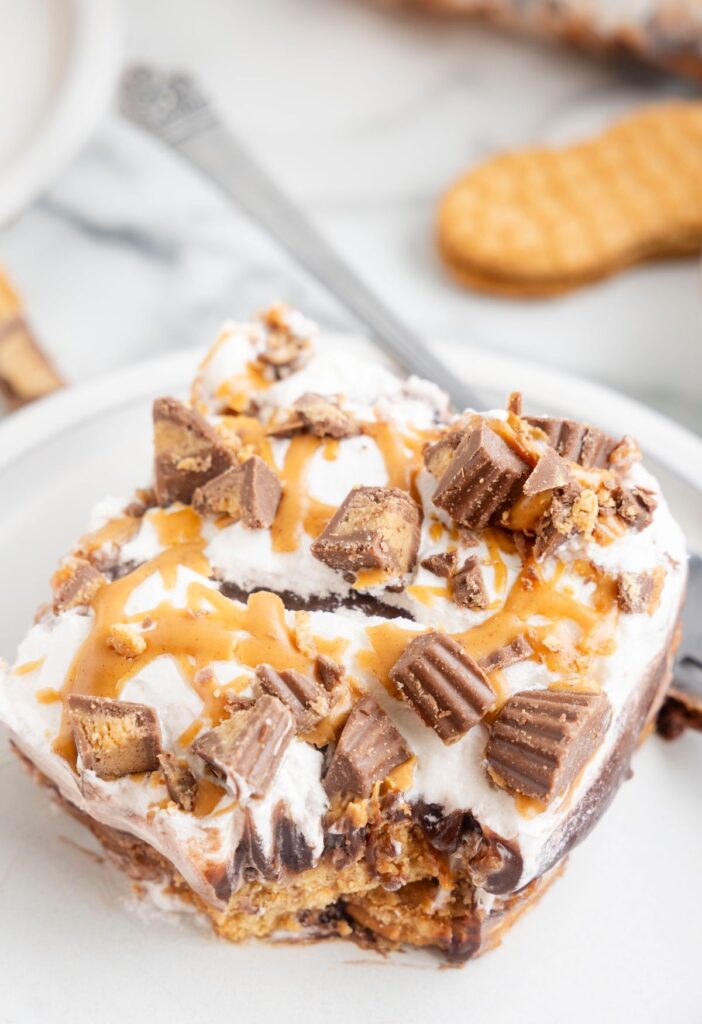
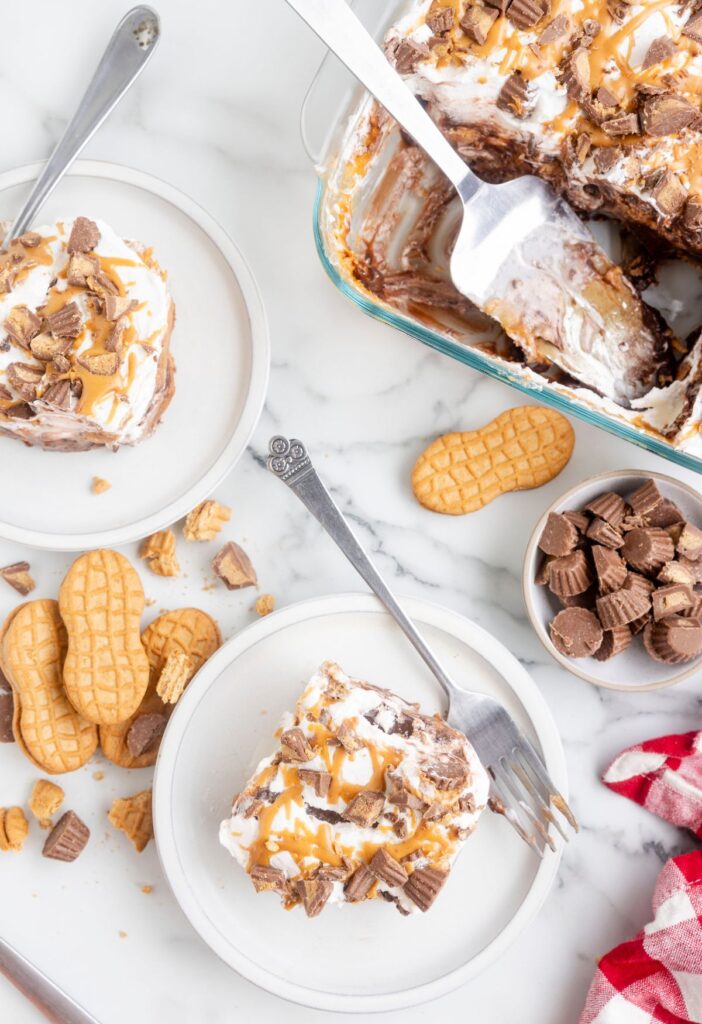
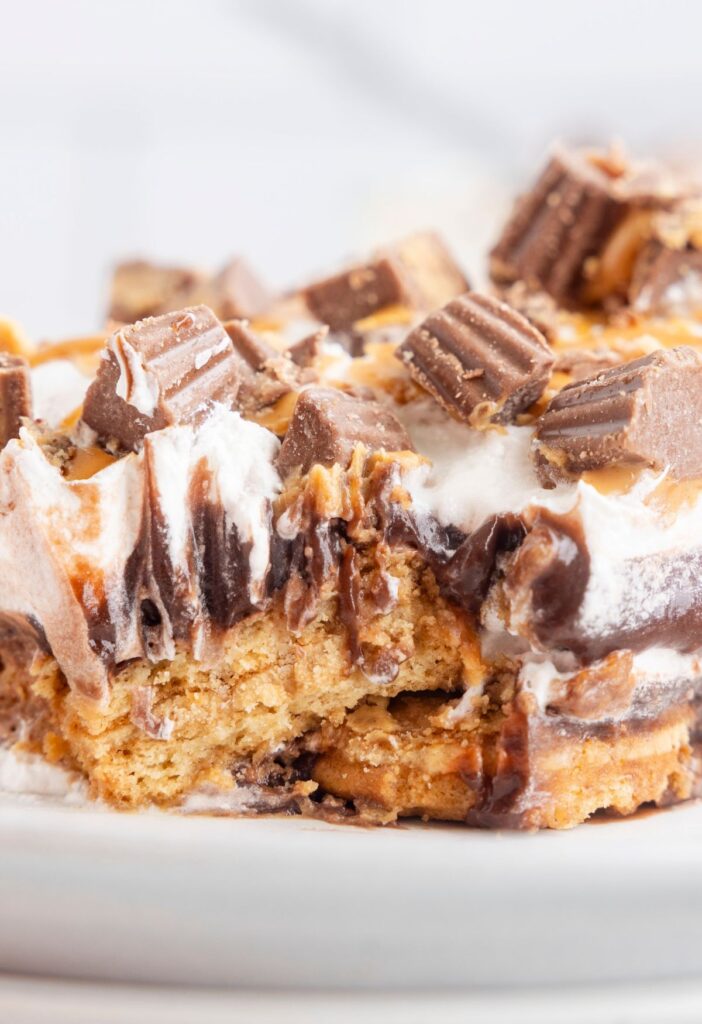
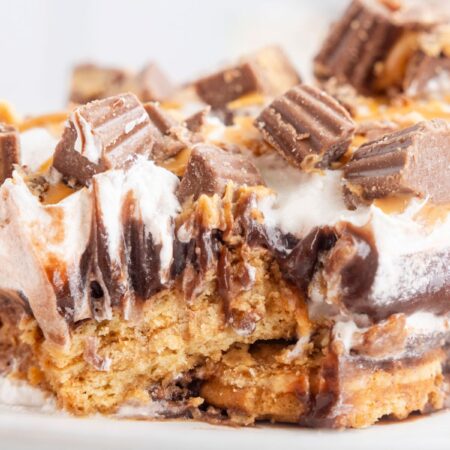
Nutter Butter Icebox Cake is a playful spin on the classic no bake, layered icebox cake. Layers of creamy peanut butter, chocolate pudding, whipped cream, Nutter Butter peanut butter cookies, and finished off with mini sized peanut butter cups.
For more no bake layered icebox cakes be sure and try my Oreo Icebox Cake, Strawberry Icebox Cake, Eclair Icebox Cake, or this Banana Split Icebox Cake.
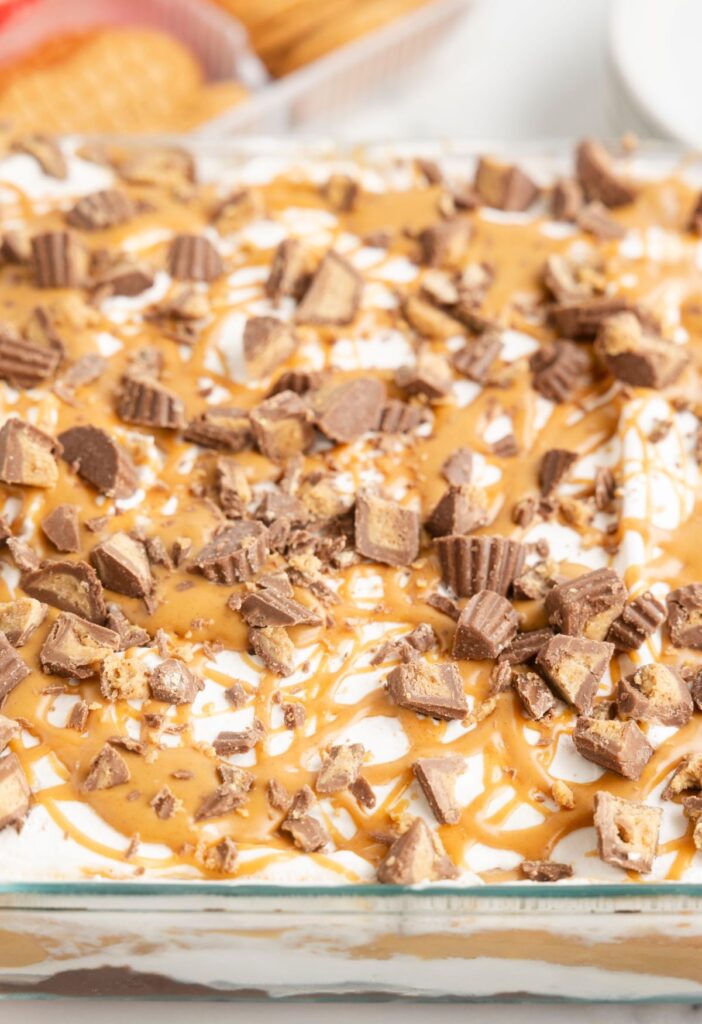
No Bake Layered Nutter Butter Cookie Icebox Cake Recipe
Icebox cakes are one of the easiest one pan desserts that you’ll ever make! They are layered desserts that usually consist of a cookie base, instant pudding, whipped cream, and some sort of garnish on top.
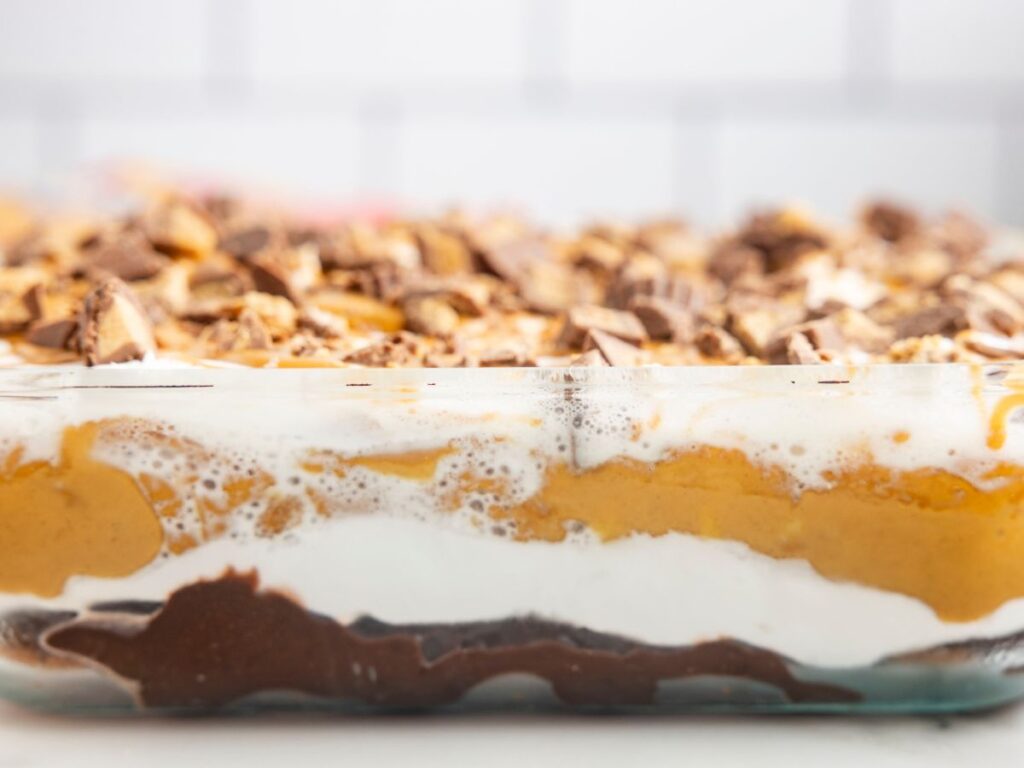
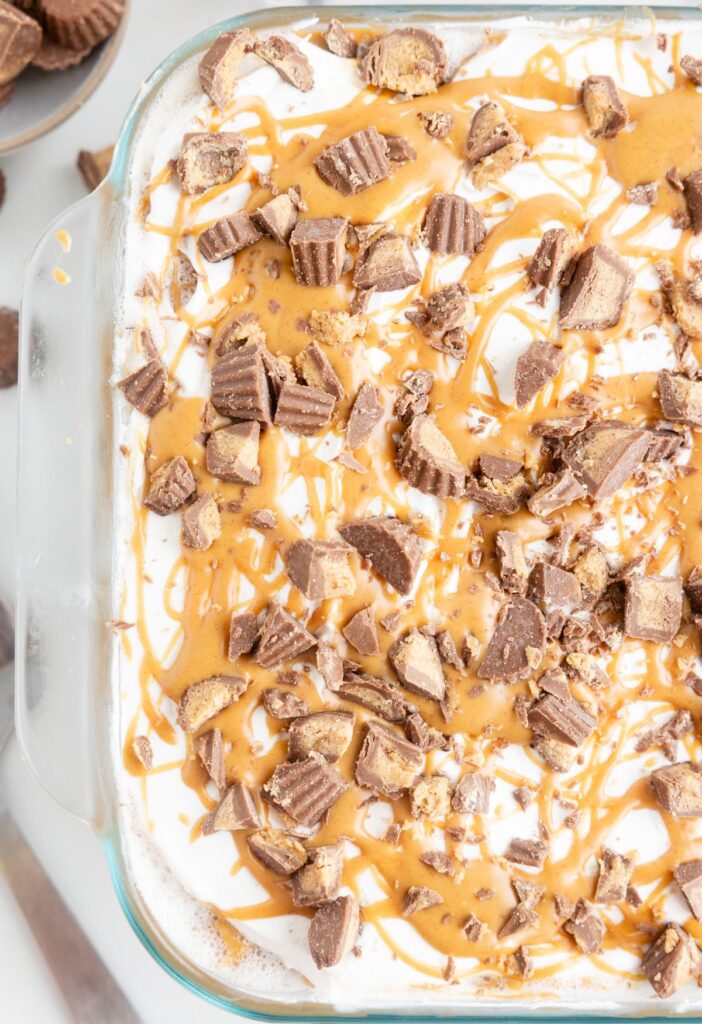
This nutter butter version starts with peanut butter Nutter Butter cookies, chocolate instant pudding, creamy peanut butter, whipped cream, and finished off with mini Reese’s peanut butter cups.
The cookies get soft and the flavors meld together perfectly with fridge time. If you prefer a crispier, crunchier cookie layer then don’t refrigerate the icebox cake as long.
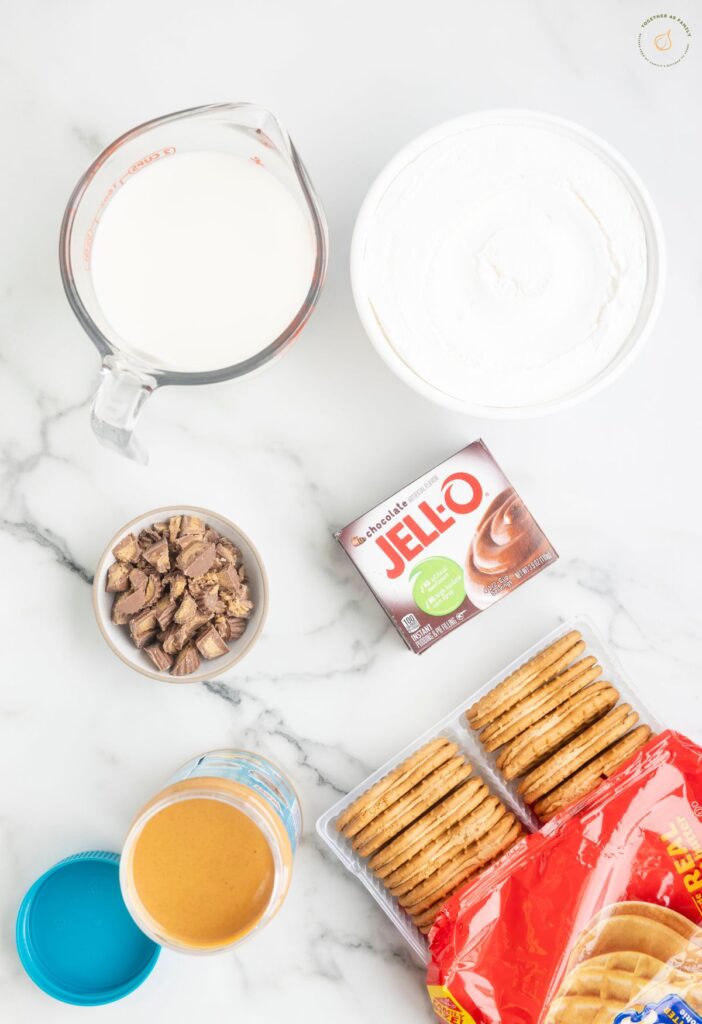
Ingredients Needed (Only 6 Easy Ingredients!)
- Creamy Peanut Butter – For best results use regular creamy peanut butter and not anything that says ‘no-stir’ or ‘natural’ on the front of the container. Use regular creamy peanut butter from Skip, Jiffy, or Peter Pan.
- Instant Chocolate Pudding Mix – Instant vanilla pudding mix can also be used for a different look and flavor to the icebox cake.
- Half and Half – This is the best milk to use because of the higher fat content in it; which will help the pudding + peanut butter layer thicken up nicely while in the fridge. It also makes it extra creamy.
- Nutter Butter Cookies – An entire 16 ounce package of cookies is what the recipe needs.
- Cool Whip – If you don’t want to use Cool Whip then make your own by beating 1.5 cups heavy whipping cream + 1/3 cup powdered sugar together until stiff peaks form. This takes about 4-5 minutes of beating on low speed and then increasing the speed as needed.
- Mini Peanut Butter Cups – These are the unwrapped Reese’s mini peanut butter cups. chop them up into smaller pieces or half them.
How To Make An Icebox Cake With Nutter Butter Cookies & Peanut Butter
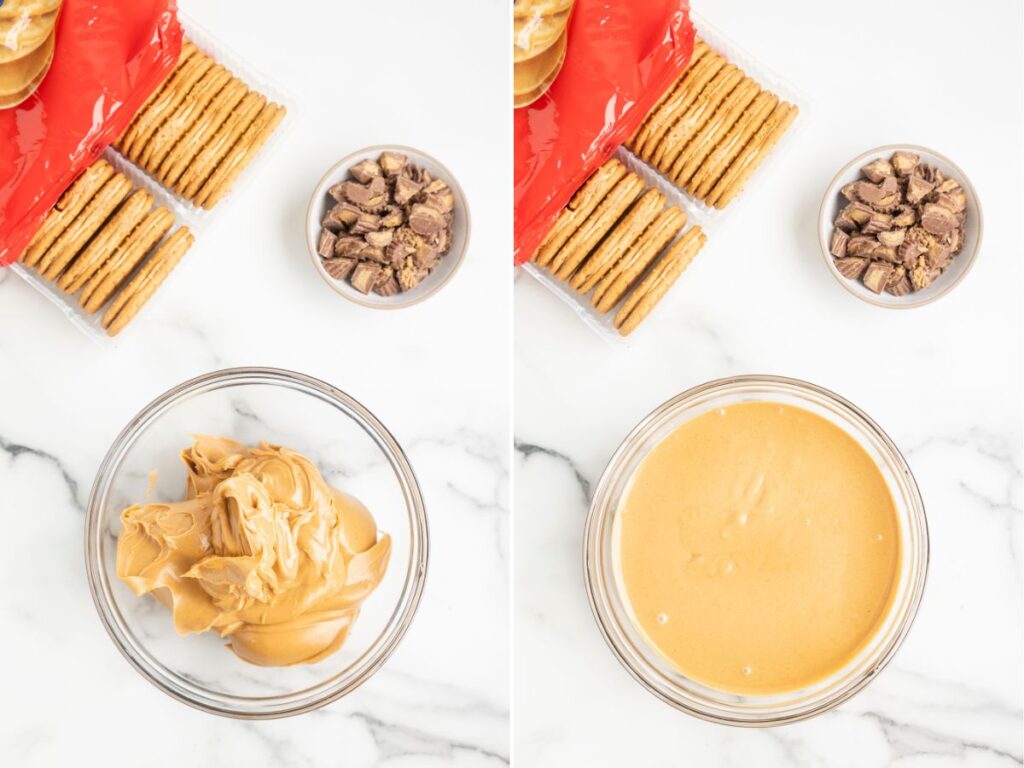
Place the peanut butter in a microwave-safe bowl and microwave for 2 minutes or until the peanut butter is pourable but not super hot.
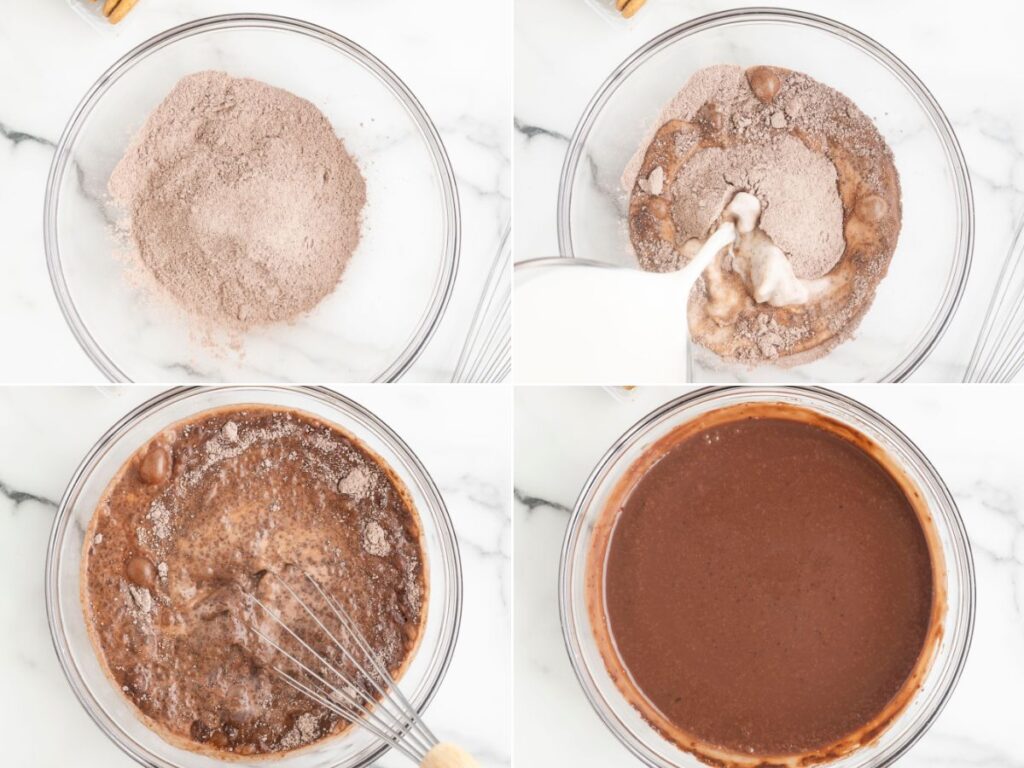
In a large mixing bowl, whisk together the chocolate instant pudding mix and half and half until it’s well combined and starts to thicken. Let it sit for about 3-5 minutes so it can thicken up even more.
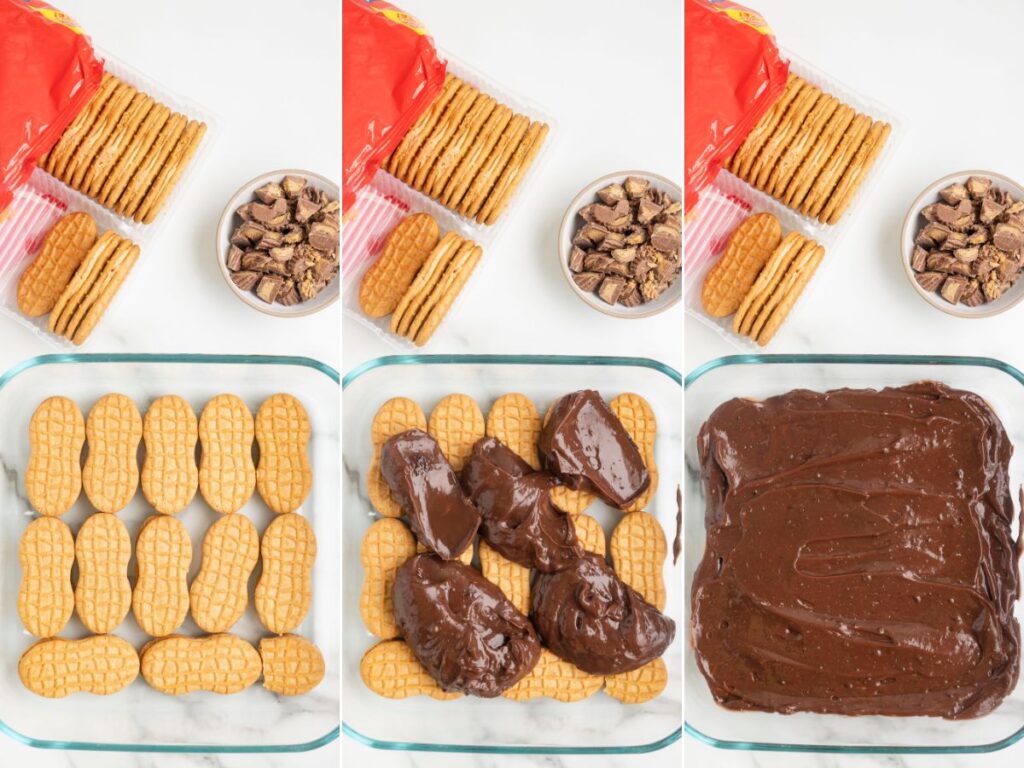
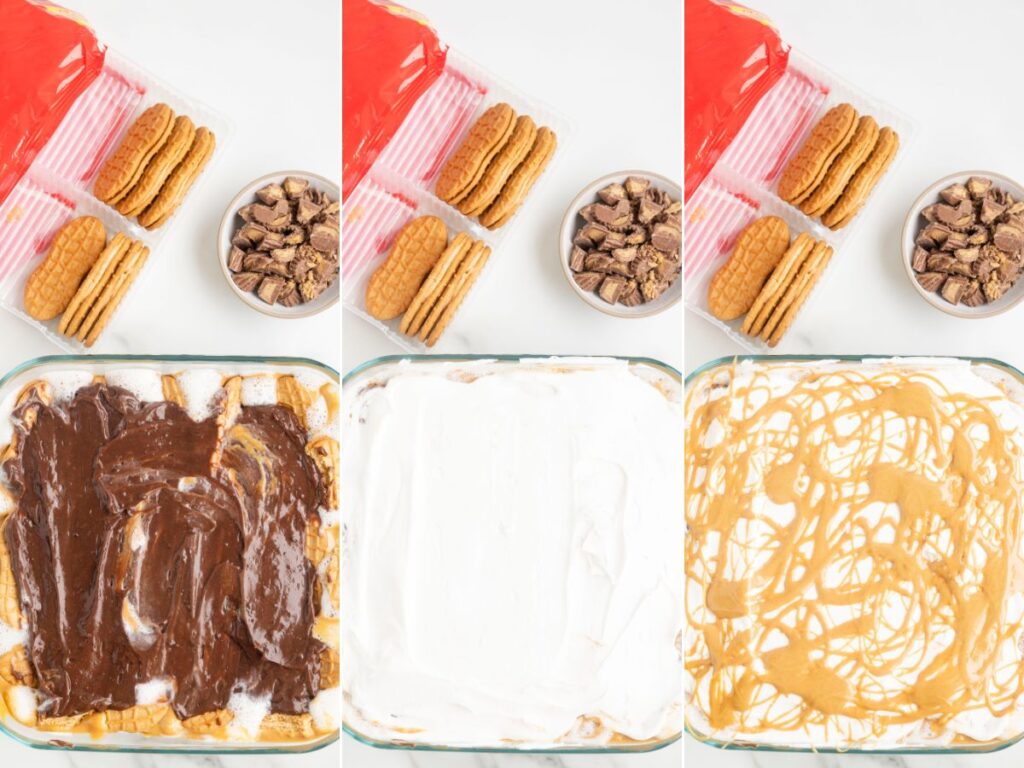
Place the nutter butter cookies in a single layer on the bottom of a 9×9 baking pan. Spread half the pudding mix over top the cookies and spread it out so it covers all the cookies.
Top the pudding with half of the Cool Whip and spread it out evenly.
Pour 3/4 cup of the warmed peanut butter over top the Cool Whip layer.
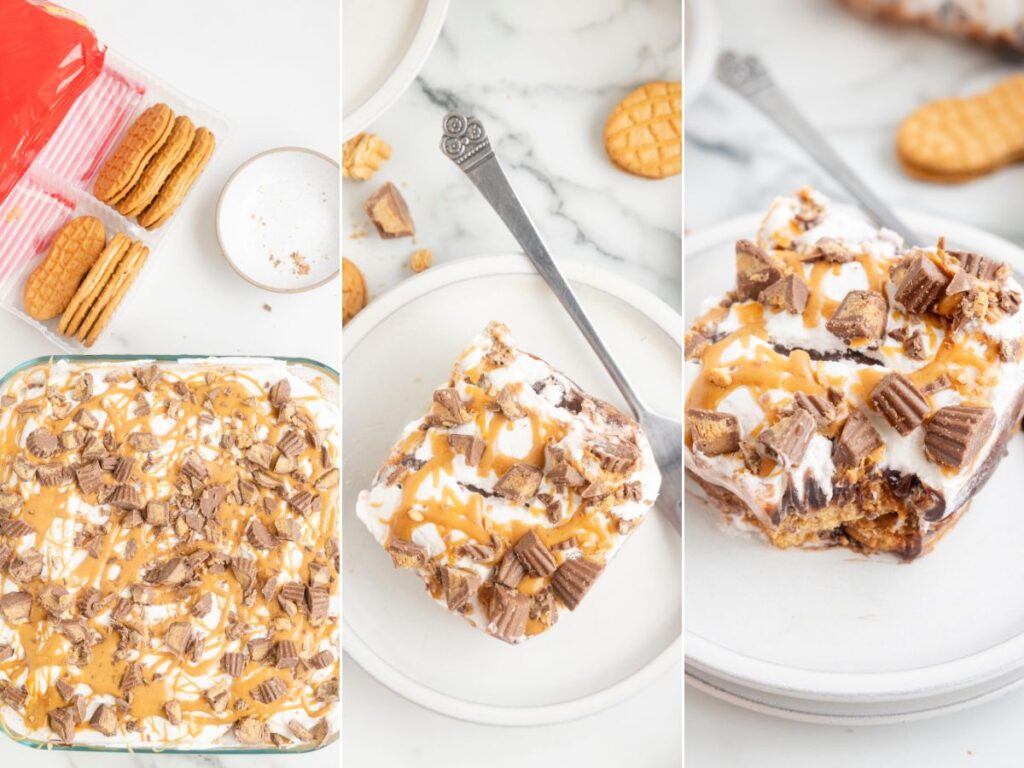
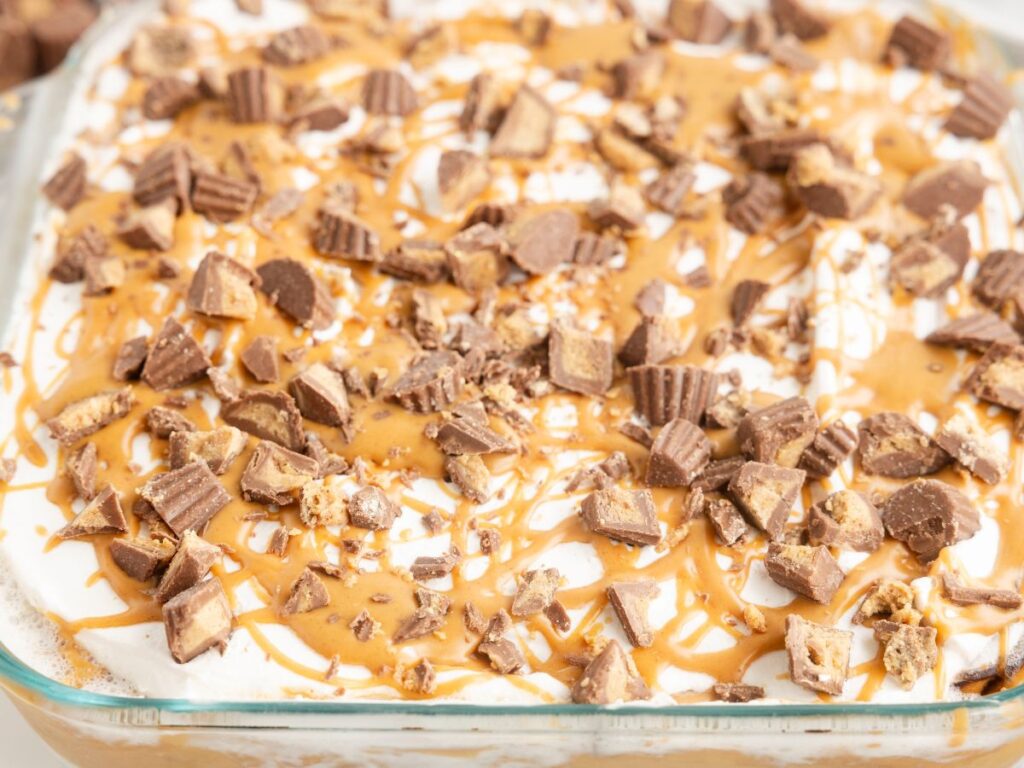
Repeat the layers one more time, ending with sprinkling the chopped mini peanut butter cups on top.
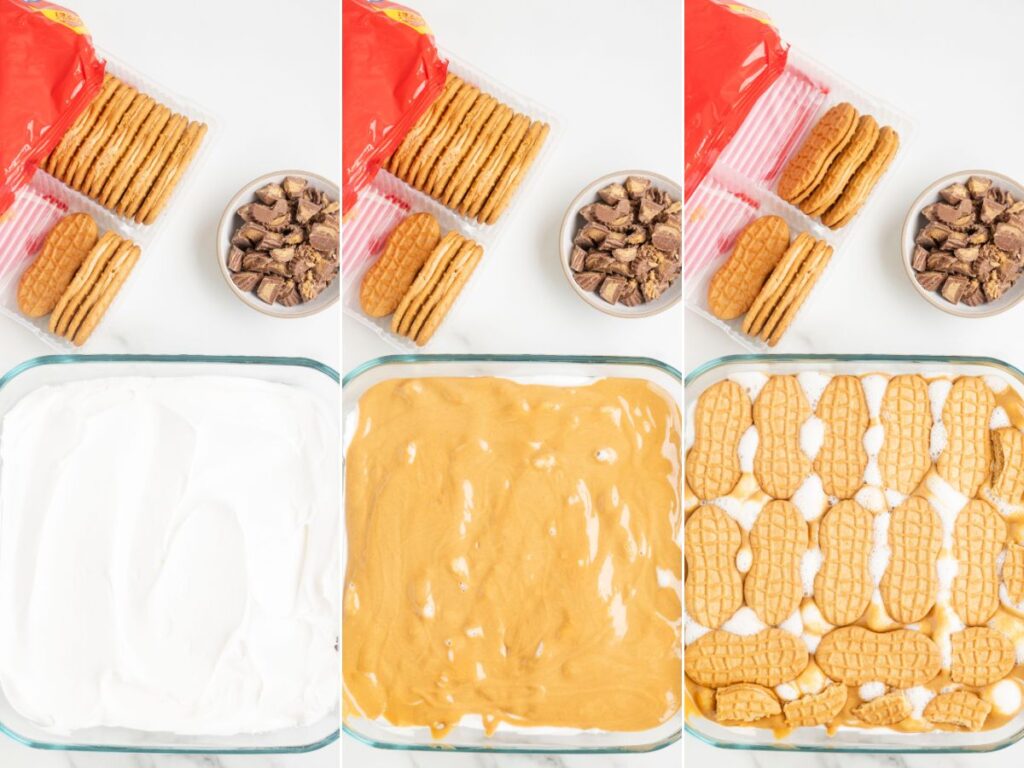
Cover the pan with a lid or plastic wrap and refrigerate for at least 4 hours before serving, or up to overnight. If refrigerating for longer than 4 hours then I recommend not adding the mini peanut butter cups on top until right before serving.
Can I Use Vanilla Pudding Instead?
Yes! If you prefer more of that peanut butter flavor without the chocolate then substitute the chocolate pudding mix with a box of vanilla pudding mix. Same sized box as what the recipe calls for.
Can I Make An Icebox Cake Ahead of Time?
Yes you can. In fact, many people prefer to make icebox cakes at least 12-24 hours ahead of time so that way the fridge has time to work it’s magic and soften the cookies and infuses the flavors throughout the layers.
This icebox cake needs at least 4 hours in the fridge but you can make it up to 24 hours ahead of time and store it in the fridge until you’re ready to eat it.
How To Store Leftovers
Store any remaining icebox cake inside the pan, covered with a lid or plastic wrap, in the fridge for up to 4 days. You can also place individual servings inside airtight containers.
More No Bake Desserts You’ll Love
- White Chocolate Lasagna
- Oreo Lush Dessert
- Cherry Delight
- No Bake Lemon Cheesecake
- Peanut Butter Pie
- Lemon Blueberry Delight
- Chocolate Peanut Butter Lush
- Heaven On Earth Cake

Nutter Butter Icebox Cake
Equipment
Ingredients
- 1 cup peanut butter
- 1 box (3.9 oz) instant chocolate pudding mix
- 2 cups half & half
- 1 package (16 oz) Nutter Butters
- 8 ounces Cool Whip thawed
- 1/2 cup chopped mini peanut butter cups (Reese's unwrapped minis)
Instructions
- Place the peanut butter in a microwave-safe bowl and microwave for 2 minutes or until the peanut butter is pourable but not super hot.1 cup peanut butter
- In a large mixing bowl, whisk together the chocolate instant pudding mix and half and half until it's well combined and starts to thicken. Let it sit for about 3-5 minutes so it can thicken up even more.1 box (3.9 oz) instant chocolate pudding mix, 2 cups half & half
Assemble The Icebox Cake
- Place the nutter butter cookies in a single layer on the bottom of a 9×9 baking pan.1 package (16 oz) Nutter Butters
- Spread half the pudding mix over top the cookies in an even layer all the way to the edges of the pan.
- Top the pudding layer with half of the Cool Whip and spread it out evenly.8 ounces Cool Whip
- Pour 3/4 cup of the warmed peanut butter over top the Cool Whip layer.
- Repeat the layers one more time, ending with the chopped mini peanut butter cups on top.1/2 cup chopped mini peanut butter cups
Chill Time
- Cove the pan with a lid or plastic wrap and refrigerate for at least 4 hours before serving, or up to overnight. *If refrigerating for longer than 4 hours then I recommend not adding the mini peanut butter cups on top until right before serving.
Notes
Nutrition
Did You Make This Recipe?
I’d love to see it! You can share it with me on @togetherasfamilyblog and follow on Pinterest @together-as-family-blog-recipes or Facebook @togetherasfamilyblog for more!


Did you love this recipe?
Make sure to comment below so we can chat about it! Or follow on your favorite social network for even more family recipes.