
This post may contain affiliate links, view our disclosure policy.
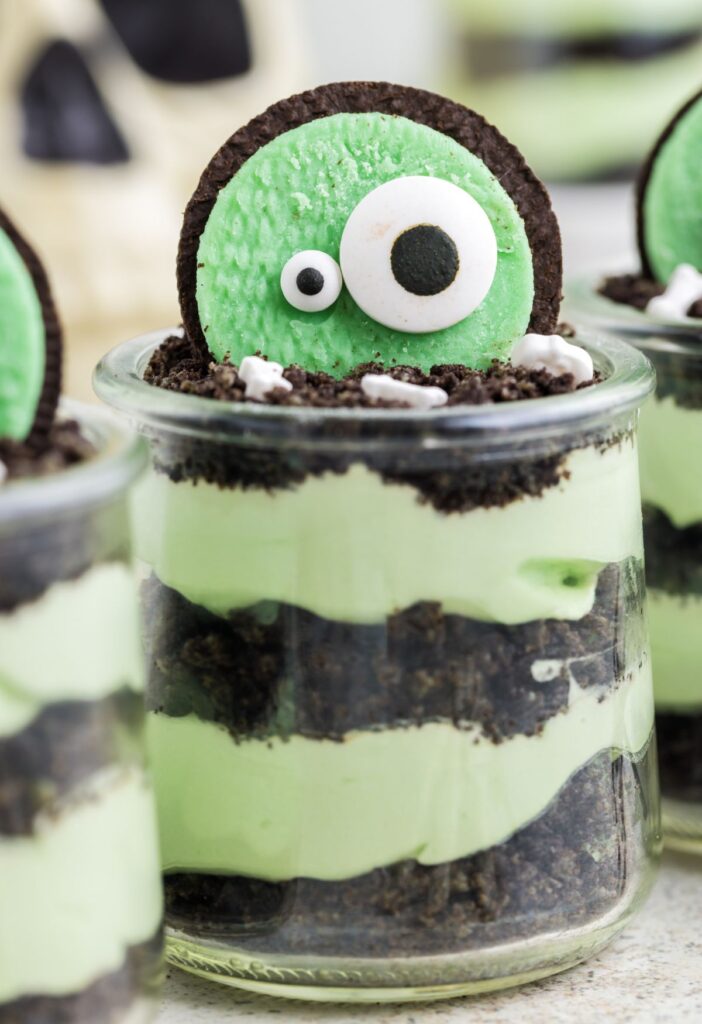
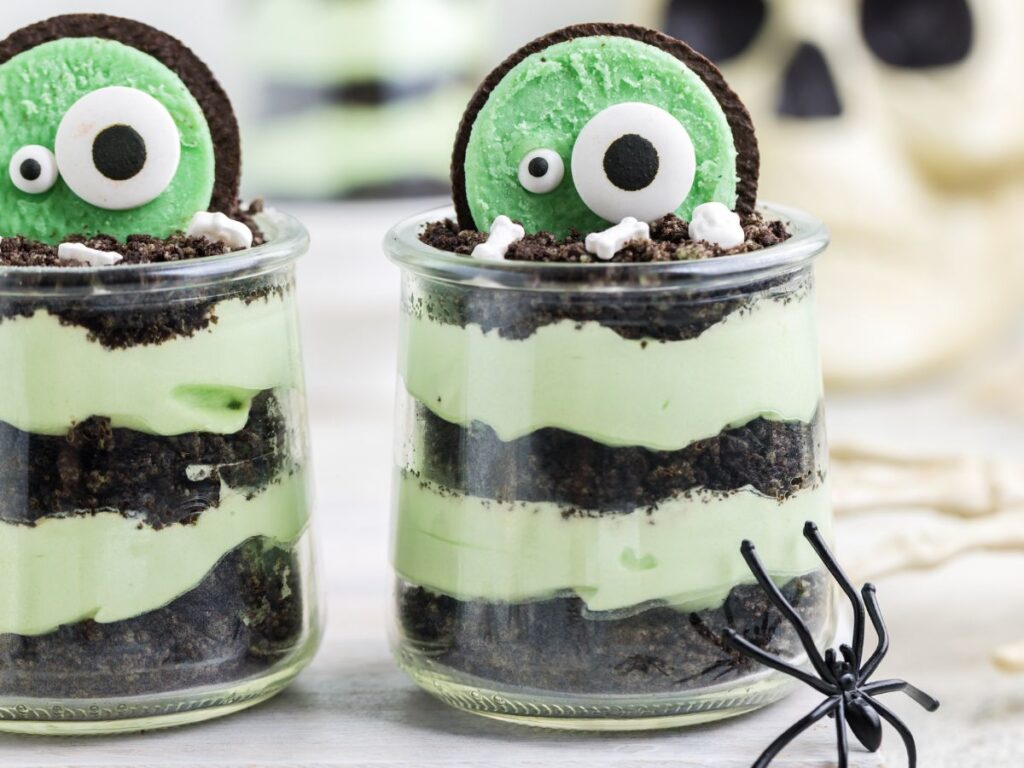
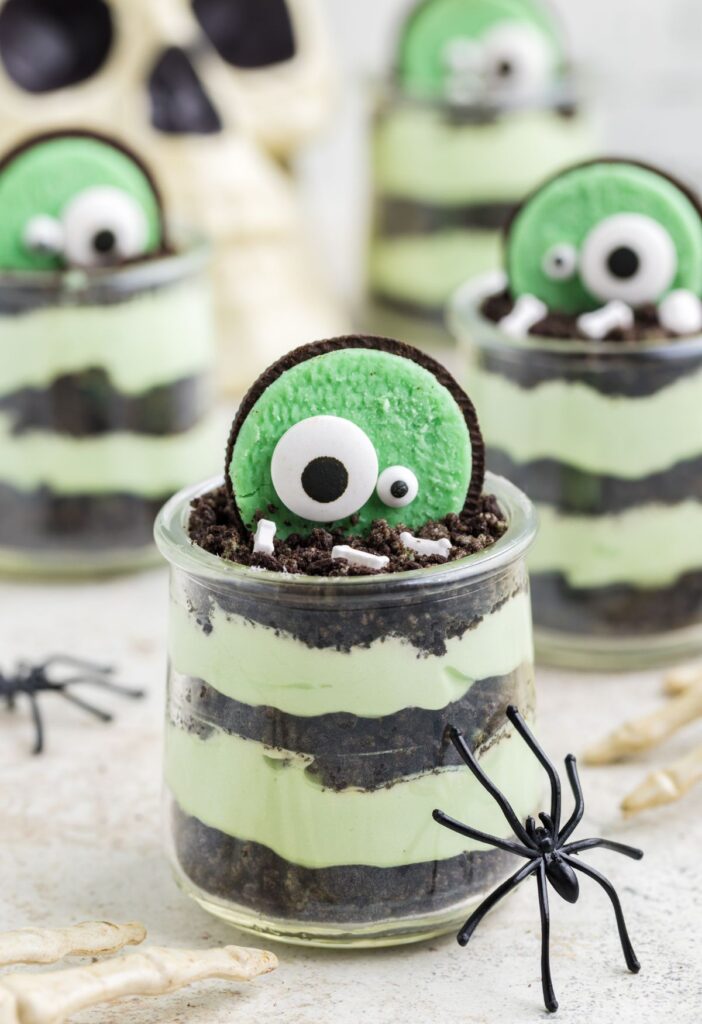
These green layered Zombie Dirt Pudding Cups are the yummiest and most festive Halloween treat recipe! With layers of Mint Oreo cookies, instant pudding, Cool Whip, and candy eyeballs – these pudding dirt cups are always a hit!
For more Oreo dirt recipes be sure and also try my Oreo Dirt Pie and this Easy Oreo Dirt Cake.
Zombie Dirt Cups Recipe – BEST Halloween Party Food Idea
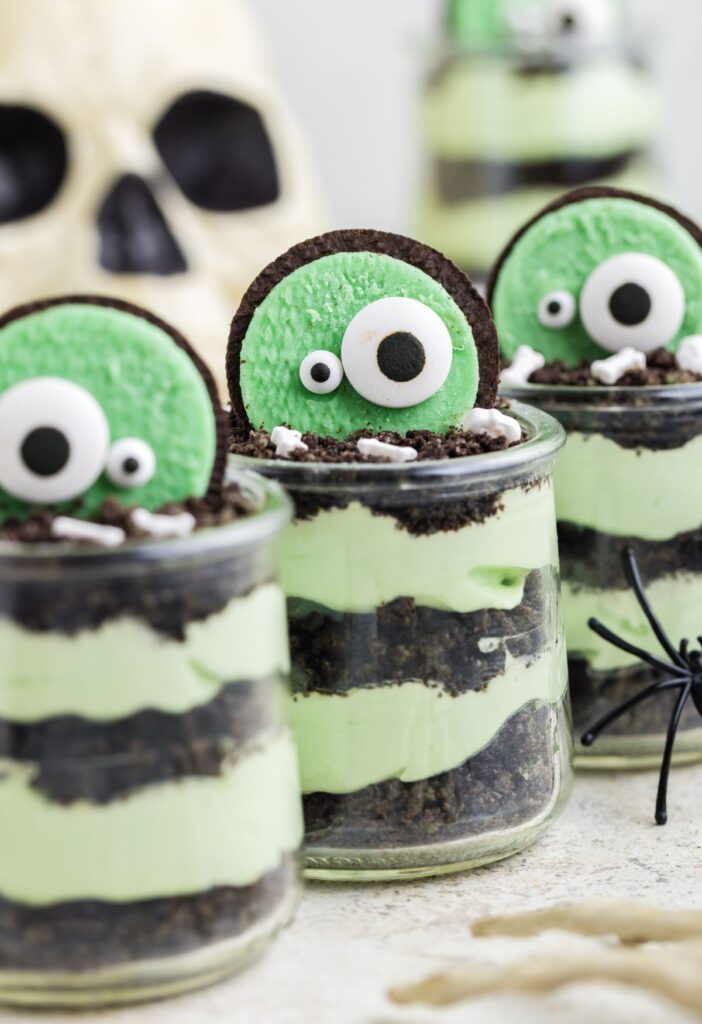
If you’re wanting a fun, festive, and totally ‘spooky’ zombie treat for your Halloween party – then this is it! These easy-to-make zombie dirt pudding cups have layers of crushed mint Oreo cookies, whipped white chocolate pudding, and then they’re decorated with a zombie-inspired cookie on top with eyeballs.
This no bake Halloween treat is always a hit at any classroom party, gatherings & parties, or for a fun family dessert for Halloween night.
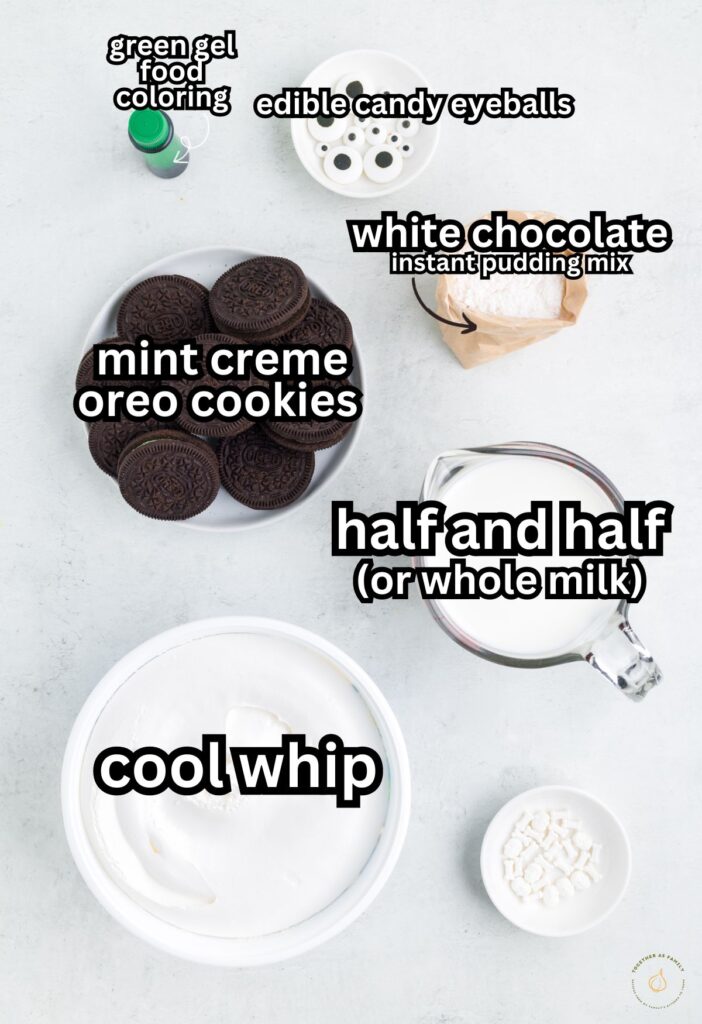
Ingredients Needed For Halloween Dirt Pudding Cups (Zombie Style With Mint Oreos)
- Mint Creme Oreo Cookies : The recipe calls for 12 cookies so be sure to buy a package of the Oreos, like an 18.7 oz package of cookies.
- Instant White Chocolate Pudding : White chocolate pudding is preferred, over vanilla, because we want to dye it green. But vanilla instant pudding will work if wanted.
- Whole Milk or Half & Half : These are the best milks to use when making pudding. They have the fat in them which will help the pudding mixture set and thicken nicely.
- Green Food Coloring
- Cool Whip
- Large Edible Candy Eyeballs
- Small Edible Candy Eyeballs
- Sprinkles : Use halloween sprinkles, bone sprinkles, or Skelton sprinkles. Or just leave them off completely if you can’t find them.
How To make Zombie Dirt Halloween Pudding Cups (Printable Recipe Card Below)
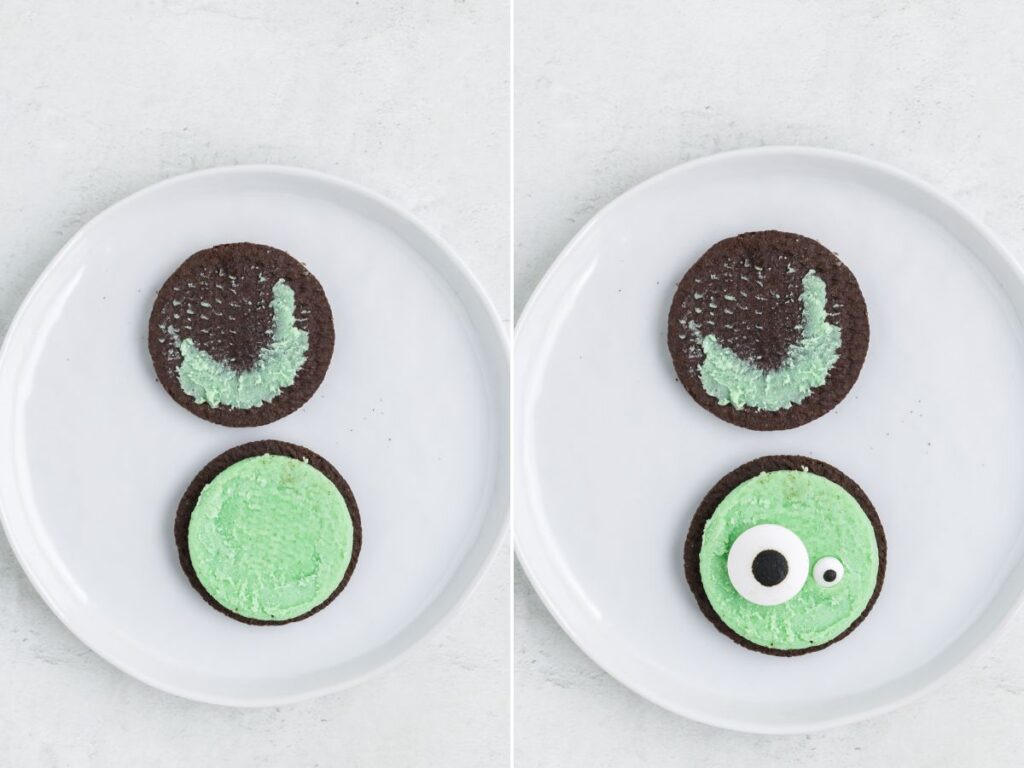
Gently twist one side off of 12 Oreo cookies. Make sure that the filling remains intact on one side. Set the 12 cookie sides with the exposed filling off to the side. If you are making more than 12 zombie cups then separate as many cookies as you need so each pudding cup has a Zombie cookie topper half.
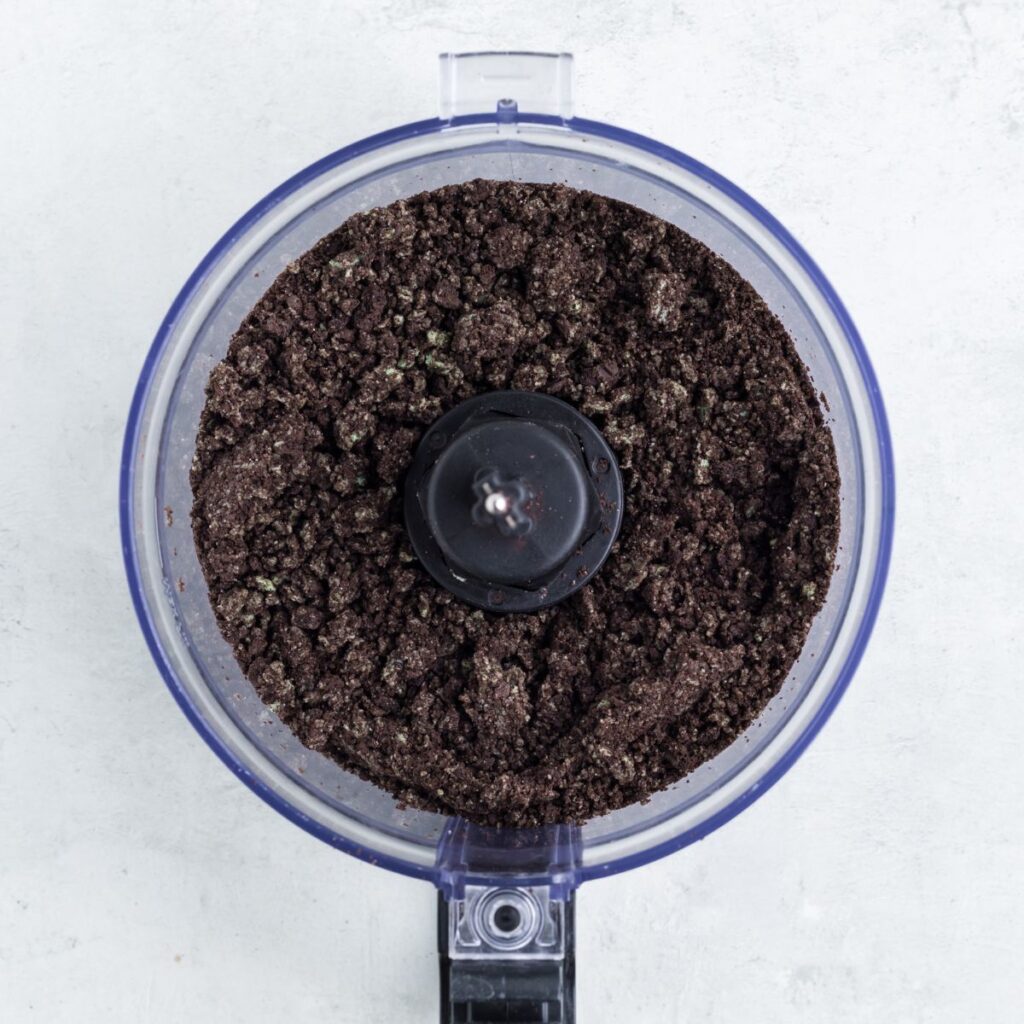
Crush the remaining Oreo cookies (plus the other halves from when you separated them, reserve the half with filling on it for later) into fine dirt-like pieces (either use a food processor OR a Ziploc bag and a rolling pin to pound them) and set it aside for later.
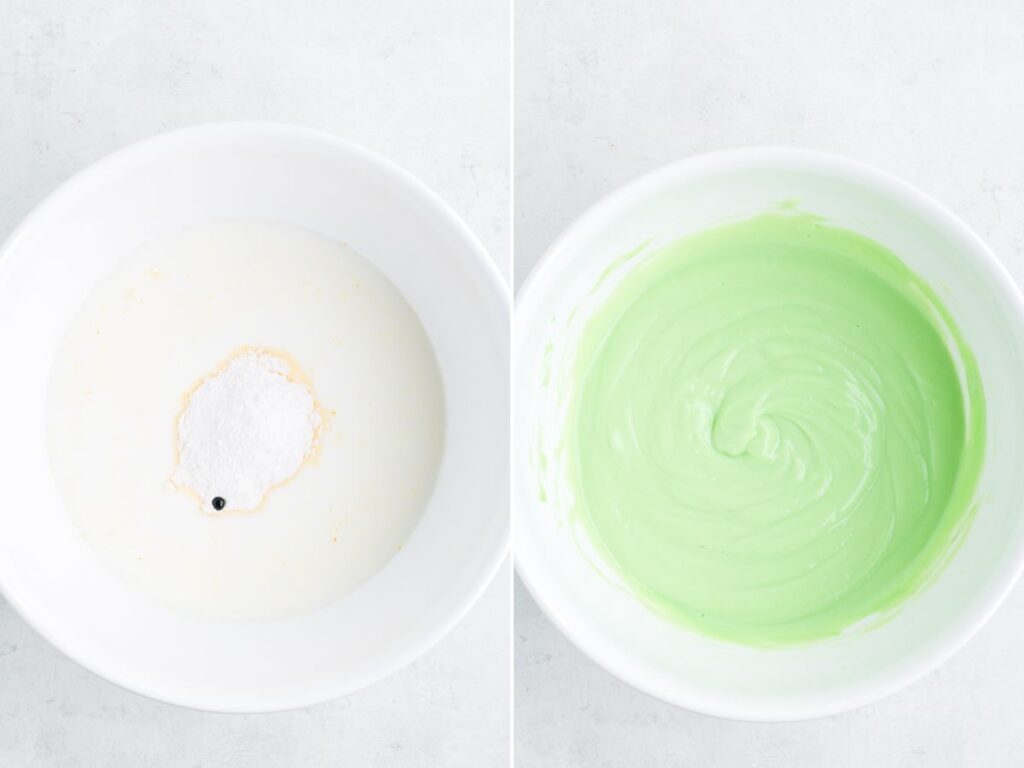
In a medium mixing bowl, whisk together the instant pudding mix, milk, and green food dye for 1-2 minutes until it starts to thicken. Let the pudding sit for 5 minutes to thicken even more.
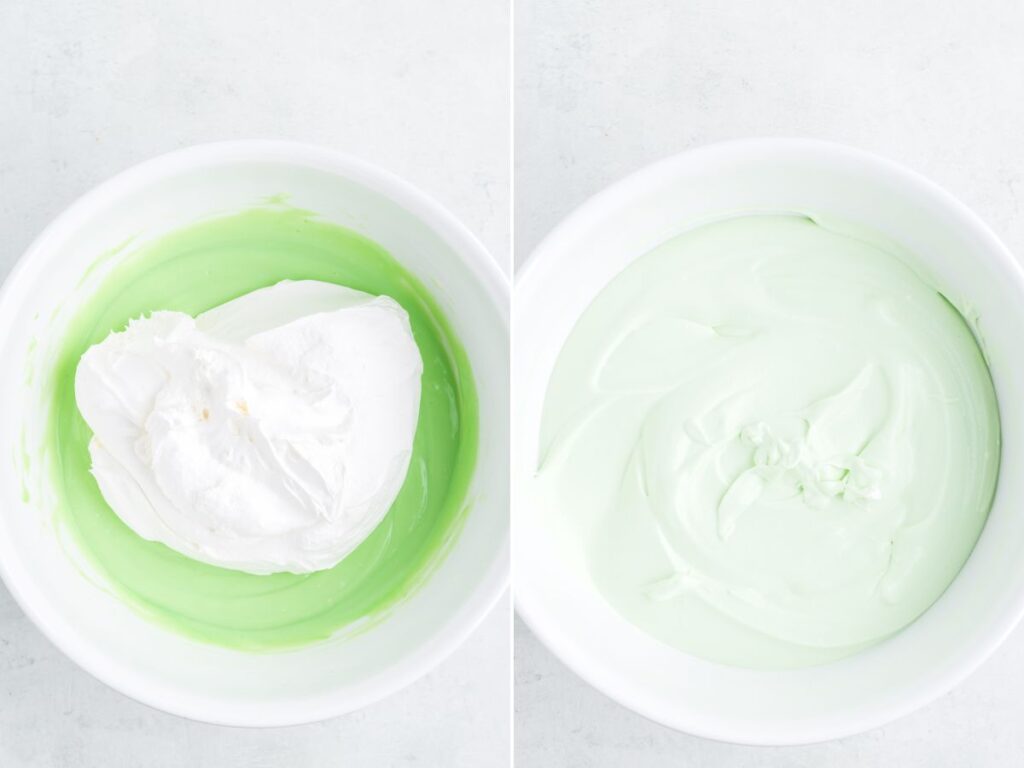
Stir the Cool Whip into the green pudding mixture.
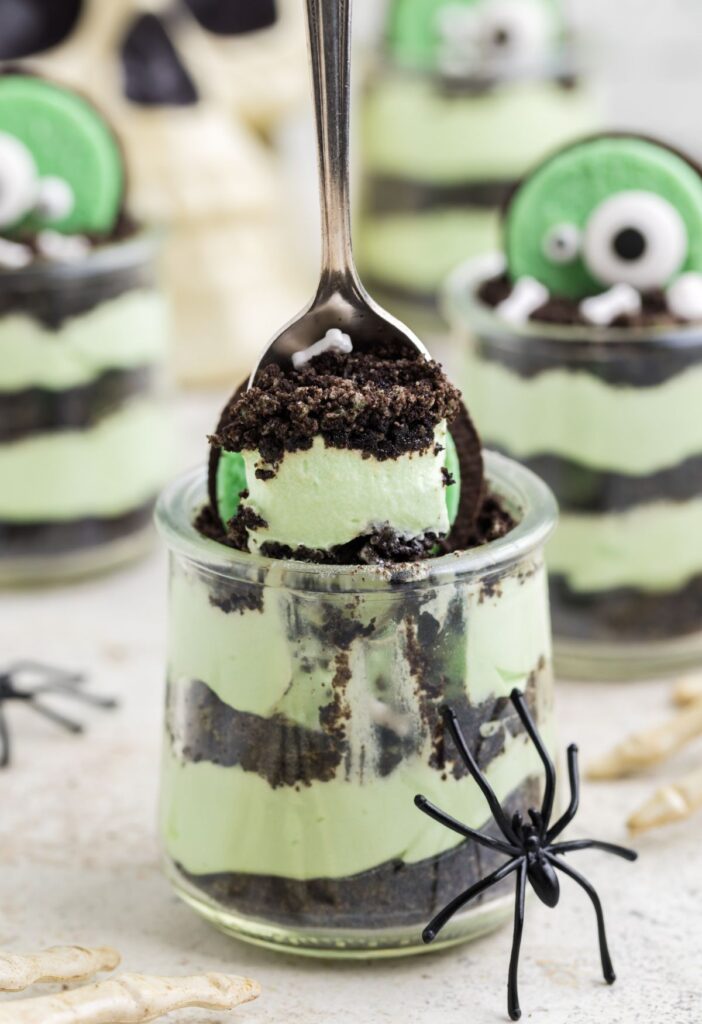
Sprinkle 1-2 tablespoons of the cookie crumbs into the bottom of each cup. Add a layer of pudding over top. Continue creating layers of crushed cookies and pudding, making sure to end with a cookie layer on top.
Chill the pudding cups (covered) for 1 hour to set and thicken.
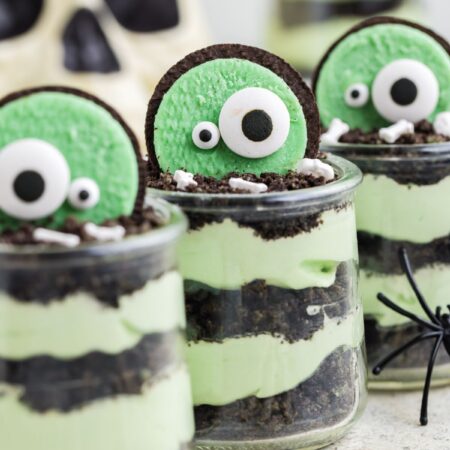
When ready to serve, gently press one large and one small eyeball into the exposed Oreo filling of the separated cookies to create the zombies. Press the Oreo cookie (eyeballs and frosting up) on top of each zombie pudding cup right before serving.
Decorate the top with additional sprinkles, bone sprinkles, skeleton toothpicks, etc if wanted.

Recipe Tips For Success
- Milk : For the best and thickest results, make sure you are using half and half. Whole milk is another really good option that works well. Those milks have the fat needed to help the pudding thicken so it makes a really creamy and thick layer in the pudding cups. I don’t recommend using anything lower than whole milk.
- Serving Size : Depending on what size cup you use, will determine how many zombie pudding cups you get from one recipe. The recipe can easily be doubled or made in small cups. I like to buy the smaller clear plastic cups when I make these zombie cups.
- Pudding Color : Instead of green you can use orange or purple. I would recommend the neon gel food coloring if doing one of those other colors. You can also divide the pudding mixture into several different bowls and add a different food coloring to each. Then you can layer the pudding colors in-between the cookie crumb layers.
- Zombie Cookie Toppers : Only separate the Oreo halves of the amount of servings you are making. Each zombie cups gets one Oreo cookies (the the filling attached to it). So if you’re making larger dirt cups and only make 8-10 zombie cups, then you’ll only need to separate 8 or 10 cookies.
- Garnish Ideas : You can either just leave the zombie cookie on top or try some of these other ideas to decorate the pudding cups; halloween mix sprinkles, bone or skeleton sprinkles, or place a halloween-themed toothpick topper into each pudding cup for a decorative touch.
What Size Cup Is Best To Use For Halloween Pudding Cups?
To create the most layers, which ultimately looks the best, I recommend using smaller cups that are clear. They can be glass cups or clear plastic cups. If you are using larger cups that have a wider diameter than you may want to double the recipe so you have enough cookie crumbs and pudding to create the layers within the cup.
I use a 5 ounce clear plastic cup or a 9 ounce clear plastic cup that I find on Amazon. Other great options are the small dessert cups or the clear plastic cups from any grocery store or Amazon. Just note that depending on the size of cup you are using, you may not get the 12 servings from the recipe called for – you could get less or more.


Zombie Dirt Pudding Cups
Ingredients
- 1 package (18.7 oz) Mint Creme Oreo Cookies (family-size)
- 1 box (3.3 oz) white chocolate instant pudding mix
- 2 cups half and half (or whole milk)
- 6-8 drops green gel food coloring
- 8 ounces Cool Whip thawed
- 12 large candy eyeballs
- 12 small candy eyeballs
- bone, skeleton, or halloween mix sprinkles (optional garnish)
Instructions
- Gently twist one side off of 12 Oreo cookies. Make sure that the filling remains intact on one side. Set the 12 cookie sides with the exposed filling off to the side.1 package (18.7 oz) Mint Creme Oreo Cookies
- Crush the remaining Oreo cookies (plus the other halves from when you separated them, reserve the half with filling on it for later) into fine dirt-like pieces and set them aside for later. * Use either a food processor, food chopper, or a Ziploc bag and a rolling pin to pound them into crumbs.
- In a medium mixing bowl, whisk together the instant pudding mix, milk, and green food dye for 1-2 minutes until it starts to thicken. Let the pudding sit for 5 minutes to thicken even more.1 box (3.3 oz) white chocolate instant pudding mix, 2 cups half and half , 6-8 drops green gel food coloring
- Stir in the Cool Whip until thoroughly combined.8 ounces Cool Whip
- Assemble The Zombie Pudding Cups– Sprinkle about 2 tablespoons of the cookie crumbs into the bottom of each cup. – Add a layer of pudding.– Continue creating layers of crushed cookies and pudding, making sure to end with a cookie layer on top. Chill the pudding cups (covered) for 1 hour to set and thicken.
- When ready to serve, gently press one large and one small eyeball into the exposed Oreo filling of the separated cookies to create the zombies.Press the Oreo cookie (eyeballs and frosting up) on top of each zombie pudding cup right before serving. Stand the cookie upright. If wanted, garnish the cups with sprinkles.12 large candy eyeballs, 12 small candy eyeballs, bone, skeleton, or halloween mix sprinkles
Notes
Did You Make This Recipe?
I’d love to see it! You can share it with me on @togetherasfamilyblog and follow on Pinterest @together-as-family-blog-recipes or Facebook @togetherasfamilyblog for more!


Did you love this recipe?
Make sure to comment below so we can chat about it! Or follow on your favorite social network for even more family recipes.