This post may contain affiliate links, view our disclosure policy.
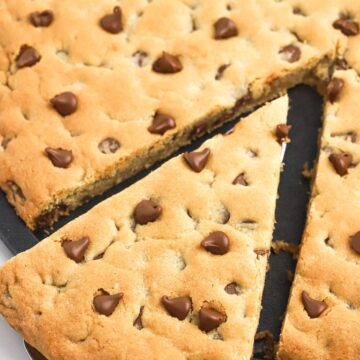
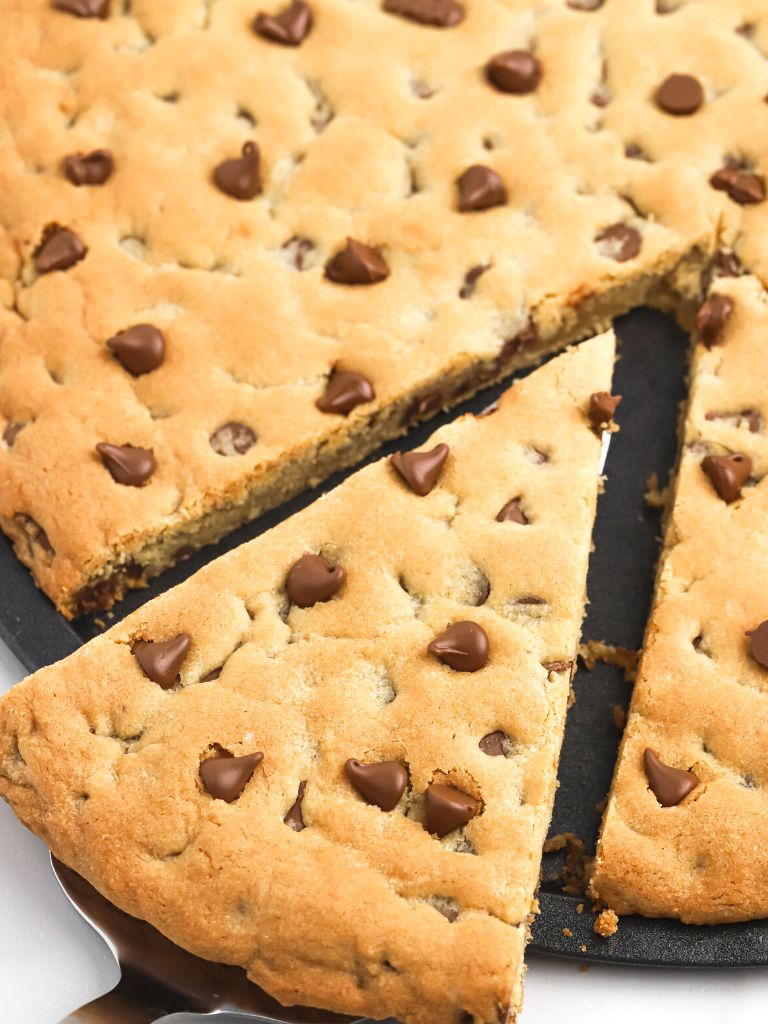
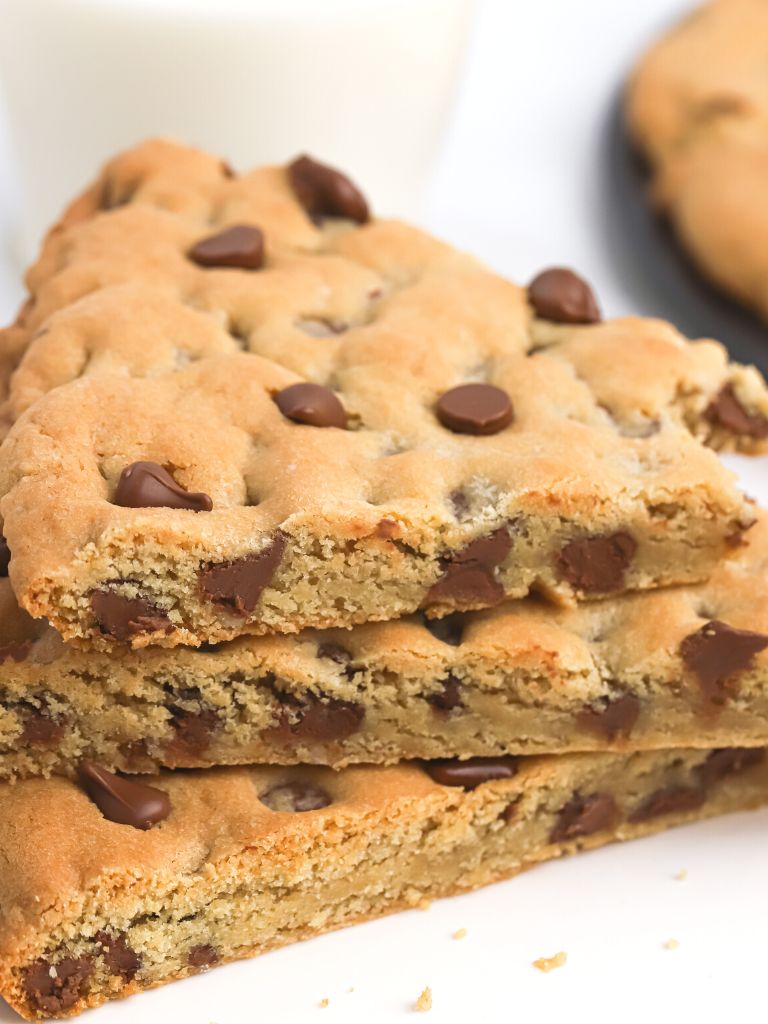
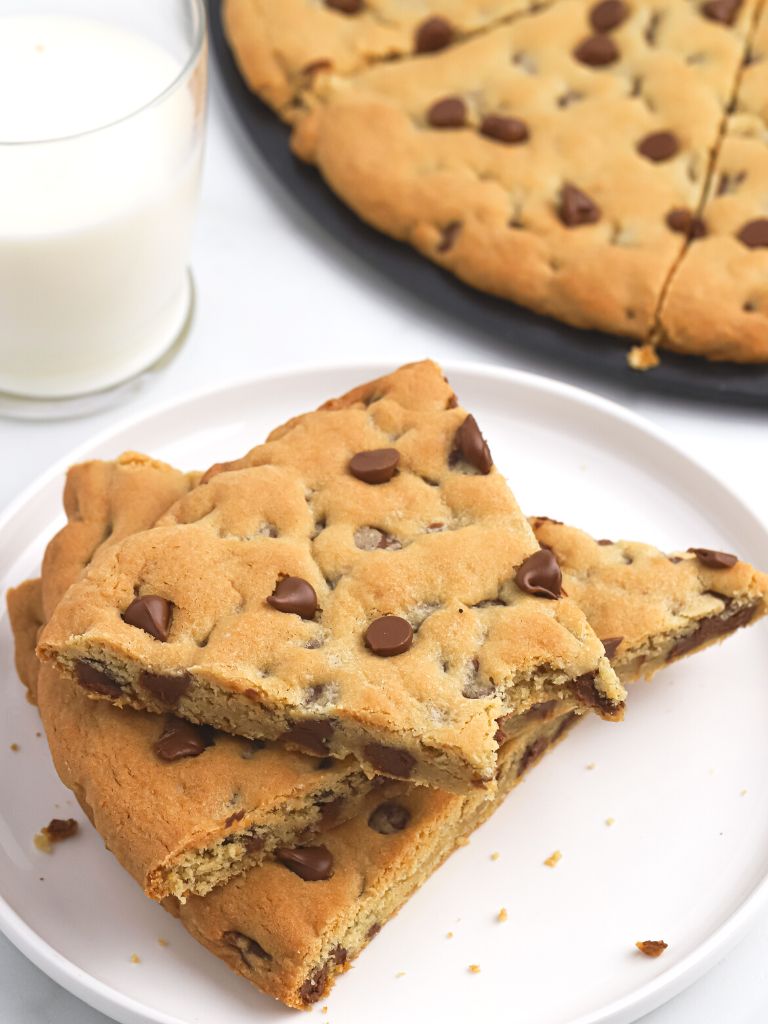
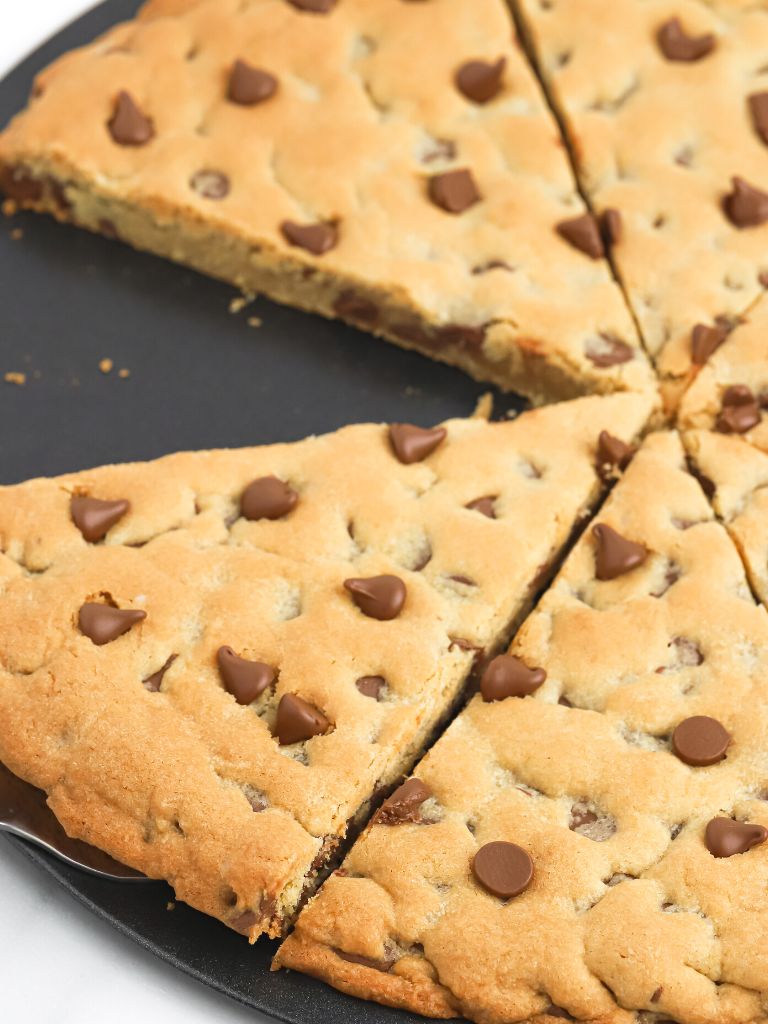
This giant 12-inch Chocolate Chip Cookie Pizza will be on repeat at your house! My kids beg for this for an after-school snack. It’s a soft-baked, thick, chewy chocolate chip cookie made in a pizza pan. So fun and delicious with melted pockets of milk chocolate chips throughout.
For another giant cookie be sure and try my Giant Monster Cookie.
Kids Love This Chocolate Chip Cookie Pizza – Best Sweet Snack!
I am so excited to finally post this giant 12-inch Chocolate Chip Cookie Pizza recipe! To say this is a family favorite recipe would be an understatement. I seem to make it weekly (probably way more than I should be 😂), because my kids love it and who am I to say no to a giant cookie pizza?!
This recipe uses a 12-inch round pizza pan and it’s the most soft-baked, thick, and chewy cookie pizza ever. Lots of milk chocolate chips too! Learn how to make it with all my tips and variation ideas below.
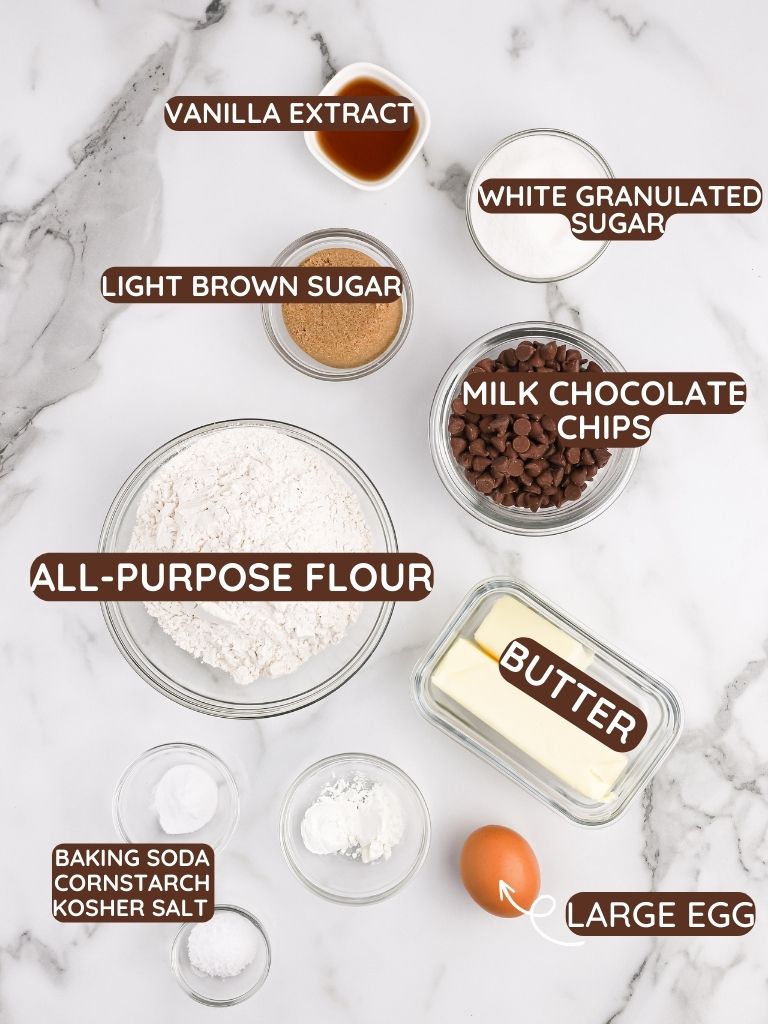
Ingredients to Make a Cookie Pizza
- All-Purpose Flour : I use unbleached all-purpose flour in this recipe.
- Cornstarch : This is what makes the cookie so soft-baked and delicious.
- Baking Soda
- Kosher Salt : This is my preferred salt but sea salt is another great option for cookies.
- Salted Butter : You can use unsalted butter if that’s what you have but increase the salt by 1/4 teaspoon if using.
- Light Brown Sugar
- White Granulated Sugar
- Large Egg
- Vanilla Extract : For the best flavor always use pure vanilla extract instead of imitation.
- Milk Chocolate Chips : I LOVE the Ghiradelli or Guittard brand. They’re noticeably the best!
Step-by-Step Instructions For How To Make a Chocolate Chip Cookie Pizza
Switch up your classic chocolate chip cookie recipe with this fun, giant-sized, 12-inch pizza! Kids love this one and I won’t even admit how many times I make this at my house (like weekly!).
- Prep : Preheat the oven to 350 degrees F. Spray a 12-inch or 13-inch round pizza pan with cooking spray. Set aside.
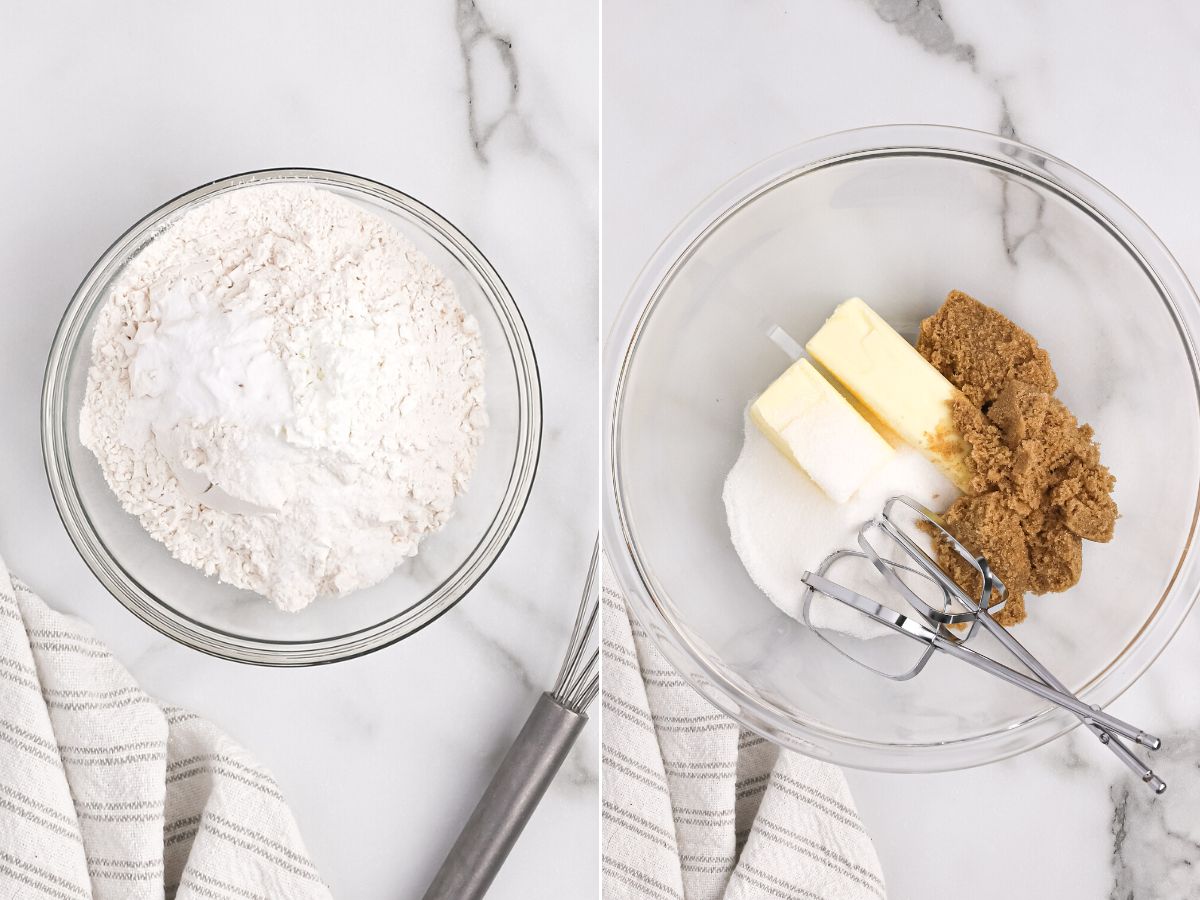
- Dry Ingredients : Combine the dry ingredients into a small mixing bowl and stir with a wire whisk.
- Cream Butter + Sugars : Cream the butter and sugar together in a stand mixer, or use an electric hand mixer and mixing bowl, until pale in color and fluffy looking. This takes about 2 minutes to do it correctly.
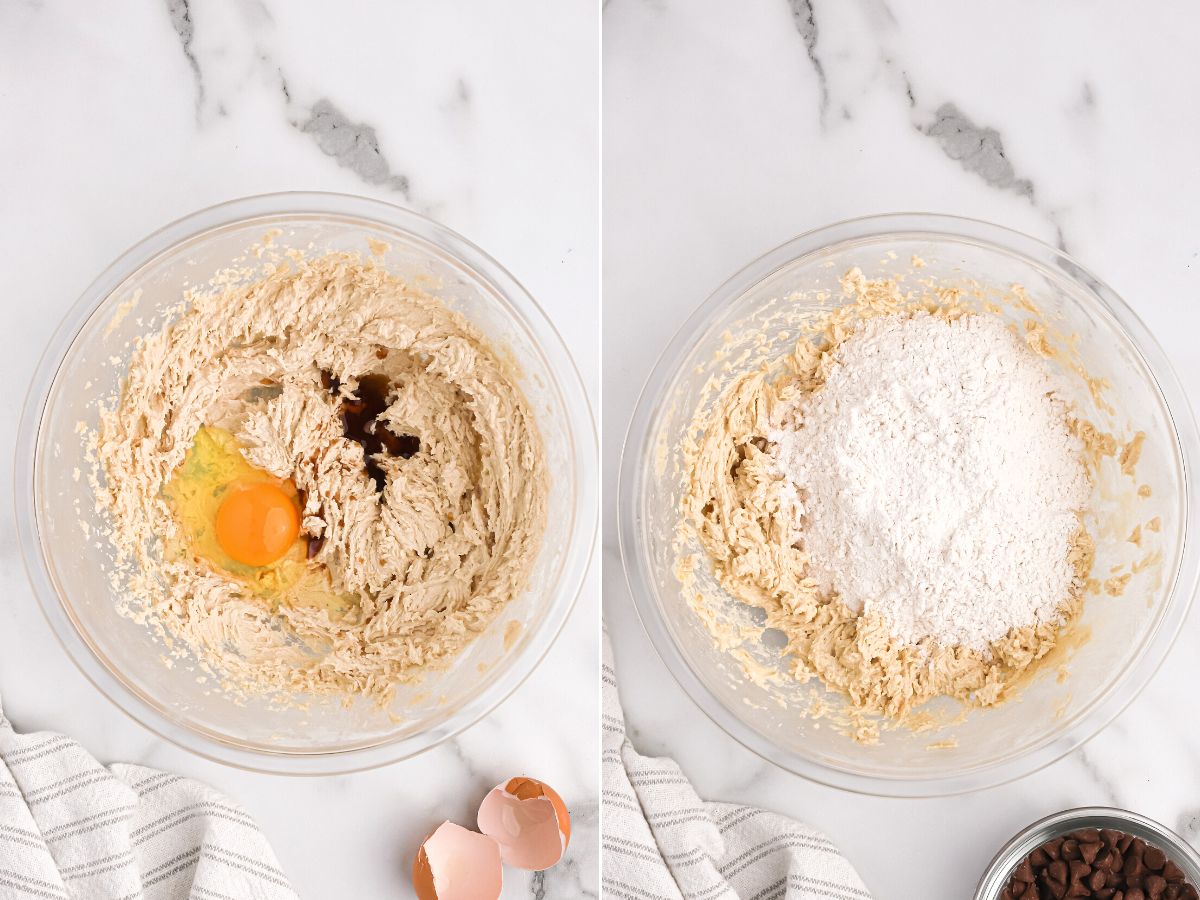
- Egg + Vanilla : Add the egg and vanilla extract. Mix just until combined and no longer.
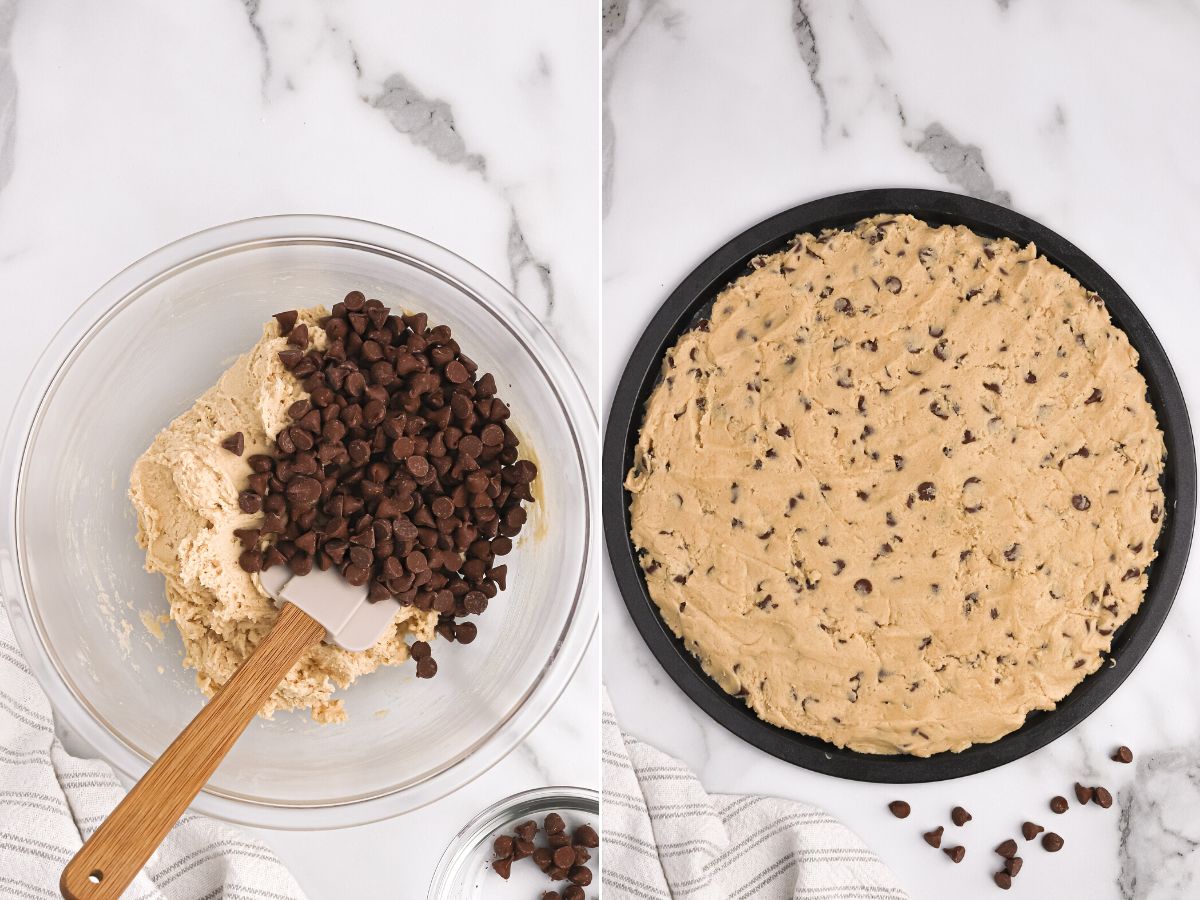
- Cookie Dough : Add the dry ingredients and mix on low speed just until combined and no flour pockets remain in the dough. Add in the milk chocolate chips and stir just until combined.
- Pizza Cookie : Press the cookie dough into the prepared pizza pan until smooth. Gently press the remaining chocolate chips onto the top (if wanted).
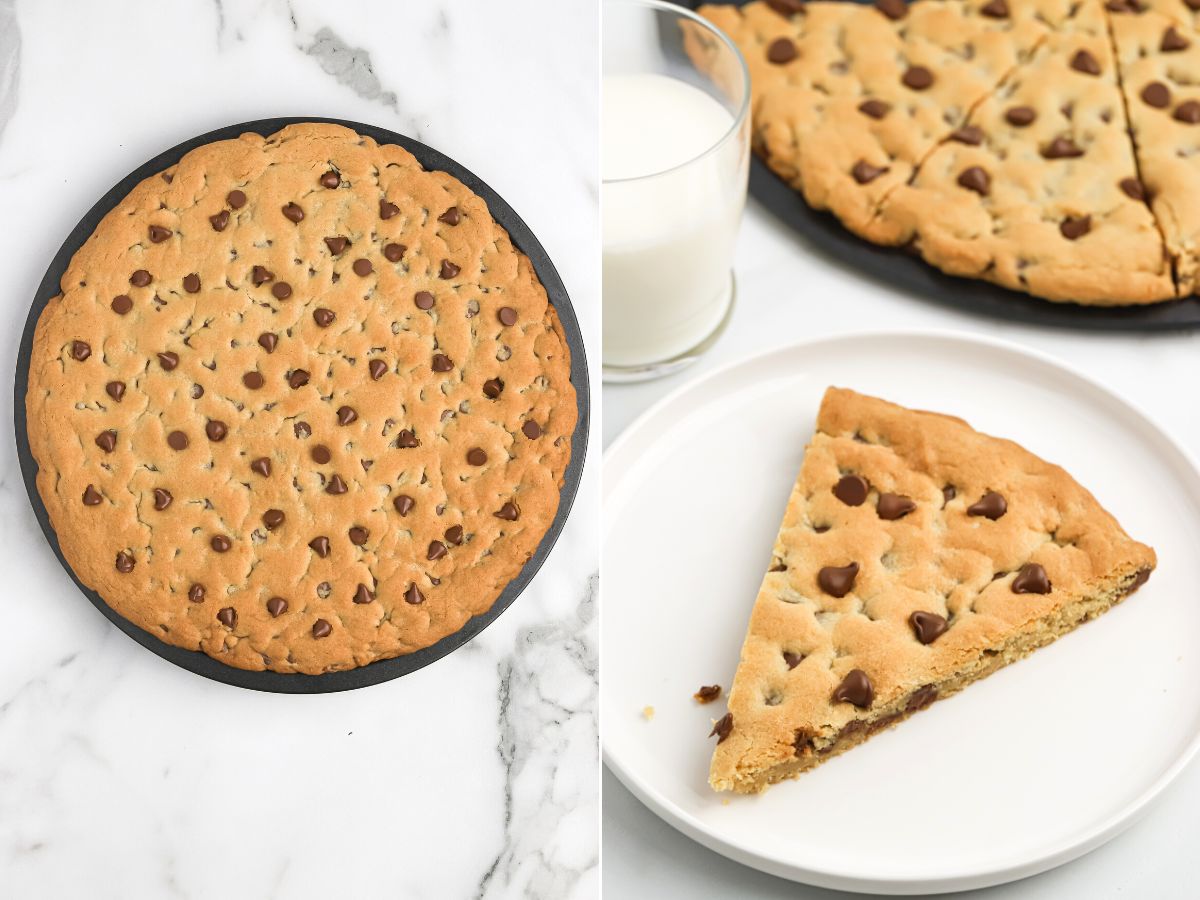
- Bake : Cook for 10-13 minutes or until just the edges are lightly golden brown.
- Cool & Rest : Allow the cookie pizza to rest on the warm pizza pan for about 30 minutes before slicing with a pizza cutter.
Recipe FAQ’s
-
What Else Can I Use Besides a Round Pizza Pan?
- Although I recommend using a 12″round pizza pan, because it is called a cookie pizza after all 😉, there are a couple other things that can be used if wanted.
- 9×13 Baking Dish : This recipe can be pressed into a 9×13 baking dish instead for cookie bars.
- Tart Pan : Use a tart pan (with the removable bottom pan that comes away from the edges) which makes it easy to cut and the edges look pretty and crinkly.
- Individual Pizza Pans : Try making smaller, individual portions inside mini pizza pans. I use these mini cake pans because they have the higher side on them.
- Although I recommend using a 12″round pizza pan, because it is called a cookie pizza after all 😉, there are a couple other things that can be used if wanted.
-
Serving Suggestions
- Eat it as a pizza!
- Serve it with a scoop of ice cream on top, chocolate syrup drizzle, whipped cream, and sprinkles for a cookie pizza sundae.
-
Can I Freeze Leftover Cookie Pizza?
- Yes, you can. I have never had leftovers in order to freeze them.
- Wrap any leftover pizza cookie slices in tin foil and place the wrapped slices inside a freezer-safe Ziploc bag. Freeze for up to 2 months. Let thaw at room temperature, or inside the fridge, until softened and ready to eat.
Recipe Tips & Variations
Here are some of my tips and variation ideas so that you can have success recreating this recipe in your own kitchen ♥
- Yield : Depending on how small or big you cut the slices, you can end up with 8 larger slices OR 12 smaller pieces.
- Storage : Store any leftovers at room temperature, covered either in a Tupperware type container or wrapped in tin foil, for up to 5 days. Leftovers are great at room temperature or try warming it up in the microwave for a few seconds.
- Use a Pizza Cutter : A pizza cutter is the easiest way to cut this cookie pizza.
- Cooling Tip : The cookie pizza needs at least 30 minutes to rest and set once it’s out of the oven. It will be very soft and hot when it comes out, which is why it needs time to cool and set so it will cut nicely.
- Chocolate Chips : Feel free to use anything you want here or a mixture of different ones. Try mini m&m’s, white chocolate chips, semi-sweet chocolate chips, dark chocolate chips, butterscotch chips, or peanut butter chips. The sky is the limit here!
More Variations of Chocolate Chip Cookies You’ll Love
- No Egg Cream Cheese Chocolate Chip Cookies – Perfect for those with an egg allergy! No egg and it uses cream cheese instead for that classic cookie texture.
- Bisquick Chocolate Chip Cookies – A shortcut using bisquick mix.
- Chocolate Chip Cookie Blondies – A brown sugar based blondie bar.
- Chocolate Chip Cookie Dough Fudge – The best treat year-round. Tastes exactly like cookie dough in a sweet and soft fudge.
- Chocolate Chip Cookie Layered Pudding Dessert – Layers of chocolate chip cookie, pudding, no bake cheesecake, and topped with miniature chocolate chips.
- Perfect Chocolate Chip Cookies – Really, they are the best! The secret is how you shape the dough balls for baking.

Chocolate Chip Cookie Pizza
Ingredients
- 2 cups all-purpose flour
- 2 teaspoons cornstarch
- 1 teaspoon baking soda
- ½ teaspoon kosher salt (or sea salt)
- 12 tablespoons salted butter softened
- 1/2 cup packed light brown sugar
- 1/2 cup granulated sugar
- 1 large egg
- 2 teaspoons vanilla extract
- 1 cup milk chocolate chips
Instructions
- Preheat the oven to 350° F. Spray a 12-inch pizza pan with cooking spray. Set aside.
- In a small mixing bowl add the flour, cornstarch, baking soda, and salt. Stir with a wire whisk. Set aside for later.
- In a larger mixing bowl using an electric hand mixer, or you can use a stand mixer, cream the butter, light brown sugar, and sugar together for 2 minutes on medium speed. * It's important to beat it long enough for it to be creamy, fluffy looking, and much paler in color. The mixture will at first appear crumbly but keep mixing and it will form a creamy mixture.
- Add in the egg and vanilla extract. Beat just until combined.
- Add in the dry ingredients and mix on slow speed just until combined, and no flour streaks remain in the dough.
- Stir in the milk chocolate chips.* If wanted, reserve about 1/4 cup of the chocolate chips for the top of the pizza before baking it. This is optional and just makes it look good.
- Press the cookie dough into the prepared pizza pan. Gently press the remaining chocolate chips on top (if you saved some or you can use additional chocolate chips for this).
- Bake for 10-13 minutes.* Don't over bake this! Only the edges should be lightly golden browned and the top of the pizza cookie will look wrinkly, but should still be somewhat paler in color.
- Let the cookie pizza cool on the warm pan for at least 30 minutes before cutting it into slices. * The cool & set time is important because the cookie will come together and set, which makes it easier to cut and hold like a pizza. This is also why it's important to not over bake the cookie because it will continue cooking slightly while cooling.
Notes
- Yield : Depending on how small or big you cut the slices, you can end up with 8 larger slices OR 12 smaller pieces.
- Storage : Store any leftovers at room temperature, covered either in a Tupperware type container or wrapped in tin foil, for up to 5 days. Leftovers are great at room temperature or try warming it up in the microwave for a few seconds.
- Use a Pizza Cutter : A pizza cutter is the easiest way to cut this cookie pizza.
- Cooling Tip : The cookie pizza needs at least 30 minutes to rest and set once it's out of the oven. It will be very soft and hot when it comes out, which is why it needs time to cool and set so it will cut nicely.
- Chocolate Chips : Feel free to use anything you want here or a mixture of different ones. Try mini m&m's, white chocolate chips, semi-sweet chocolate chips, dark chocolate chips, butterscotch chips, or peanut butter chips. The sky is the limit here!
-
What Else Can I Use Besides a Round Pizza Pan?
- Although I recommend using a 12"round pizza pan, because it is called a cookie pizza after all 😉, there are a couple other things that can be used if wanted.
- 9x13 Baking Dish : This recipe can be pressed into a 9x13 baking dish instead for cookie bars.
- Tart Pan : Use a tart pan (with the removable bottom pan that comes away from the edges) which makes it easy to cut and the edges look pretty and crinkly.
- Individual Pizza Pans : Try making smaller, individual portions inside mini pizza pans. I use these mini cake pans because they have the higher side on them.
- Although I recommend using a 12"round pizza pan, because it is called a cookie pizza after all 😉, there are a couple other things that can be used if wanted.
-
Serving Suggestions
- Eat it as a pizza!
- Serve it with a scoop of ice cream on top, chocolate syrup drizzle, whipped cream, and sprinkles for a cookie pizza sundae.
-
Can I Freeze Leftover Cookie Pizza?
- Yes, you can. I have never had leftovers in order to freeze them.
- Wrap any leftover pizza cookie slices in tin foil and place the wrapped slices inside a freezer-safe Ziploc bag. Freeze for up to 2 months. Let thaw at room temperature, or inside the fridge, until softened and ready to eat.
Nutrition
Did You Make This Recipe?
I'd love to see it! You can share it with me on @togetherasfamilyblog and follow on Pinterest @together-as-family-blog-recipes or Facebook @togetherasfamilyblog for more!


Super yummy and cooks up perfectly! Everyone loved it! 🙂
Wonderful! Thanks for commenting!