
This post may contain affiliate links, view our disclosure policy.
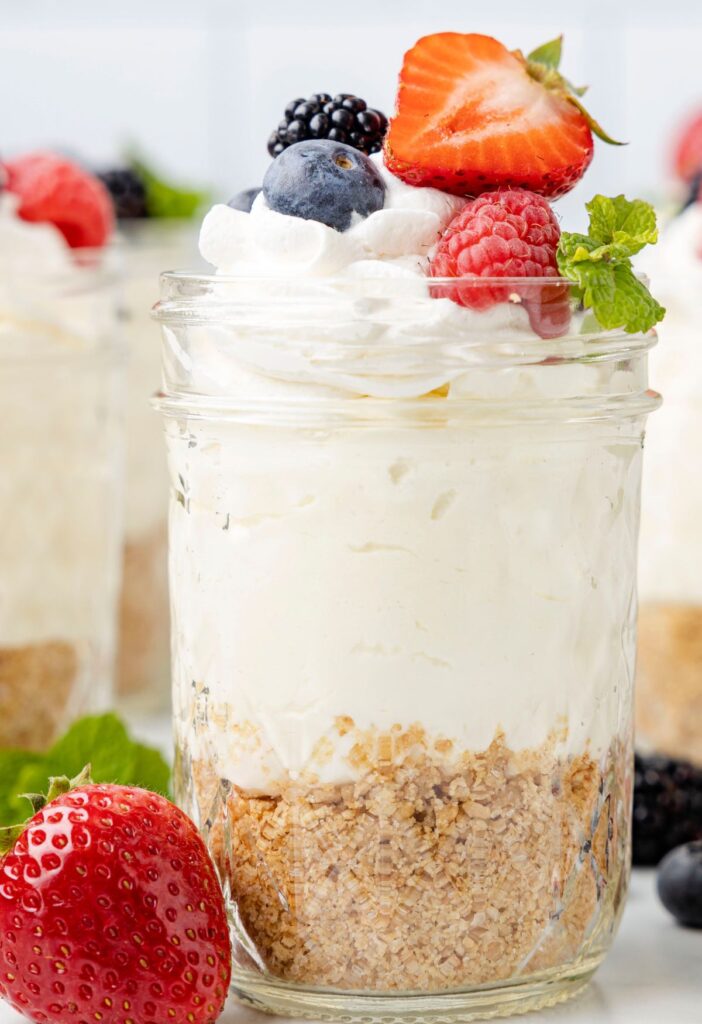
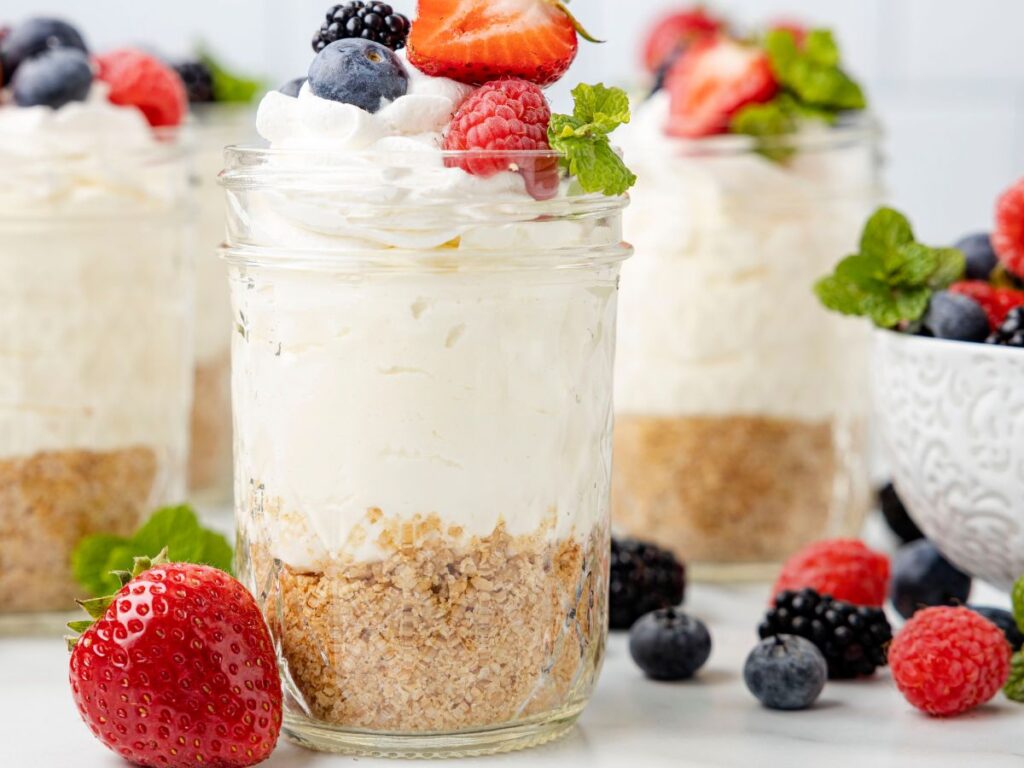
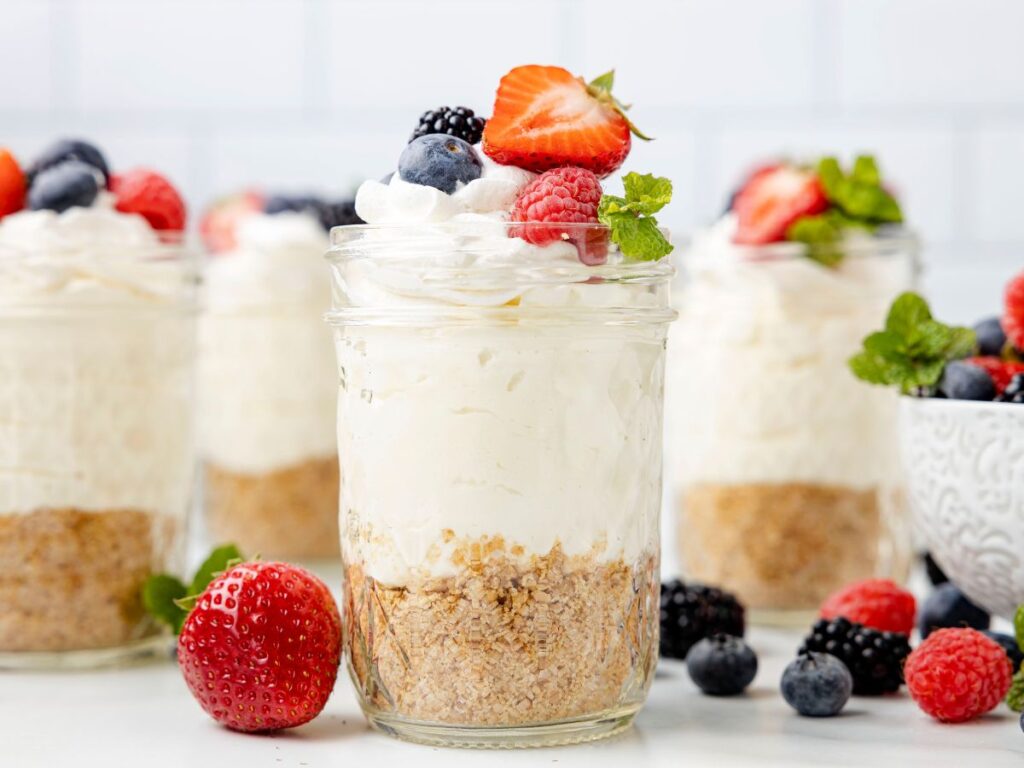
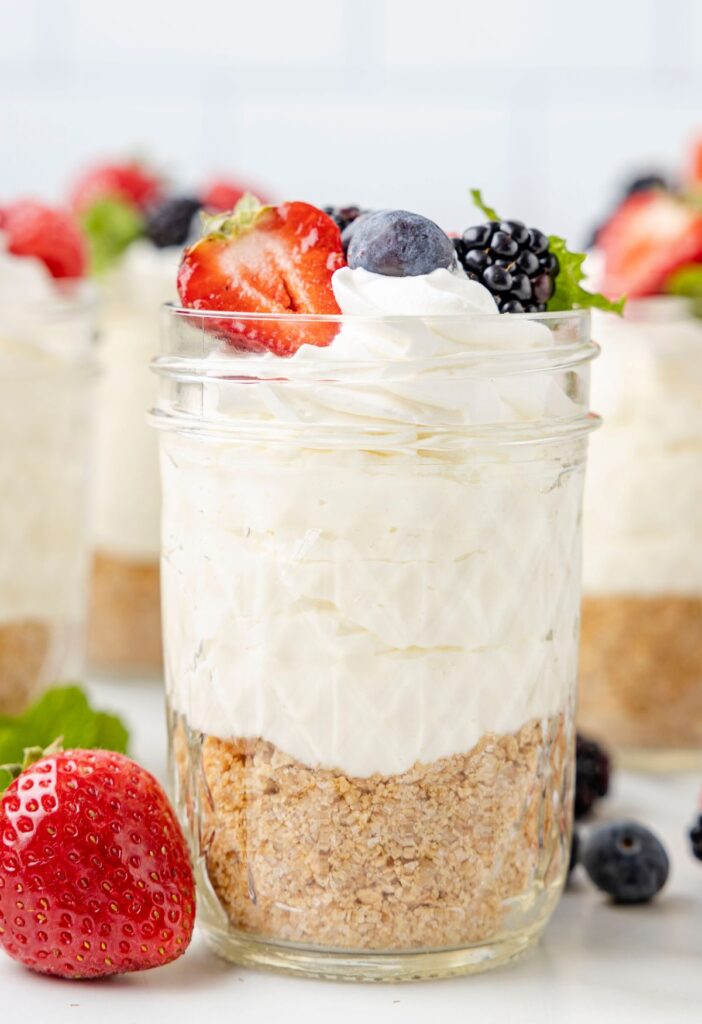
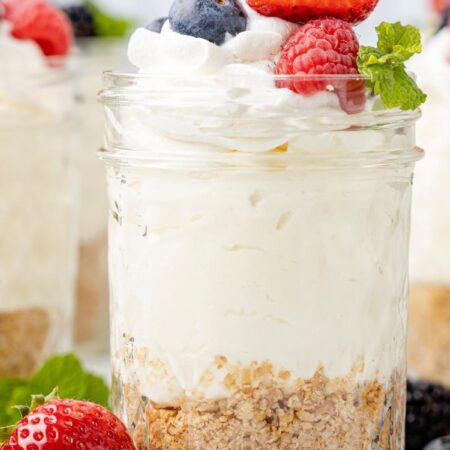
These no bake Cheesecake In A Jar are the perfect individual treat for a cheesecake lover! Pretty layers of a buttery graham cracker crust, a creamy and smooth cheesecake layer, and topped with your favorite fresh berries. This easy dessert is made in mini mason jars for individual portions.
For more individual desserts try these Banana Pudding Parfaits and Banana Split Dessert Cups
No Bake Cheesecake Jars Recipe (Individual Cheesecakes)
These mini desserts (also called mason jar desserts) have layers of traditional cheesecake recipe, buttery graham cracker crust, and finished off with your favorite toppings like cherry pie filling, blueberry pie filling, chopped chocolate sandwich cookies, mini chocolate chips, chocolate shavings, fresh fruit, or whipped cream.
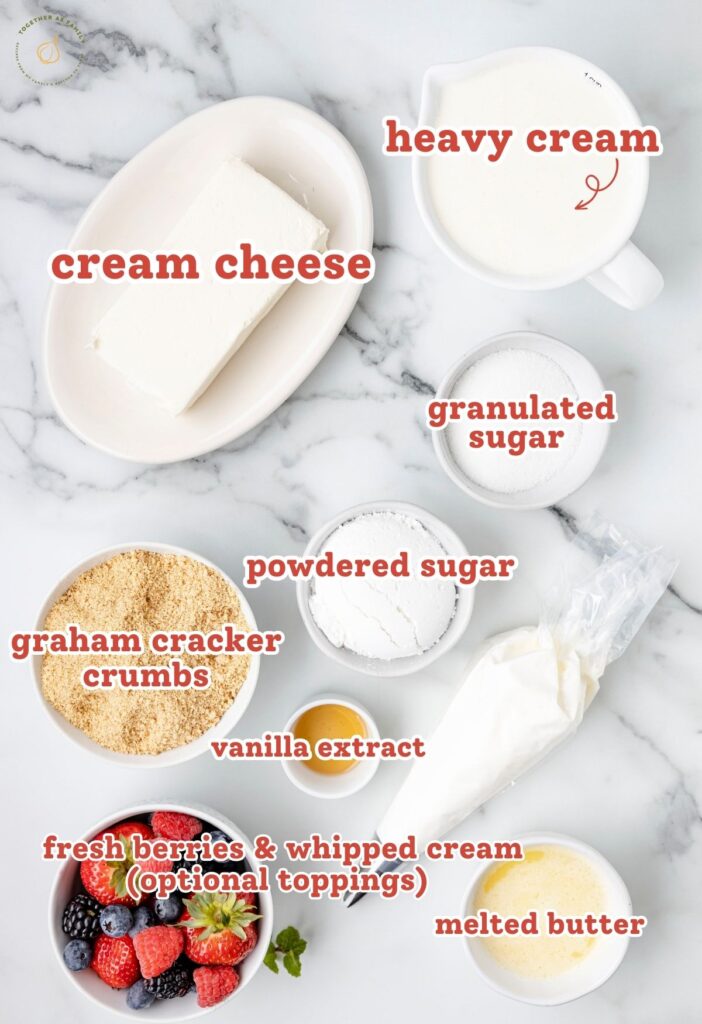
Ingredients Needed To Make Mason Jar Cheesecakes
- Graham Cracker Crumbs – Buy a box of graham cracker crumbs or use whole graham cracker sheets and process them in a food processor to get them very finely ground up.
- Melted Butter – I prefer using salted butter but unsalted butter can be used.
- Granulated Sugar – 1/4 cup sugar is the sweetener for the graham cracker crust.
- Cream Cheese – For the best thick & rich texture use full-fat cream cheese only for the cream cheese filling. It provides a really creamy texture that you just can’t get the watered down reduced-fat or fat-free cream cheese varieties.
- Powdered Sugar
- Vanilla Extract
- Heavy Cream
How To Make Classic Cheesecake In A Mason Jar (Full Recipe & Printable Recipe Card Below)
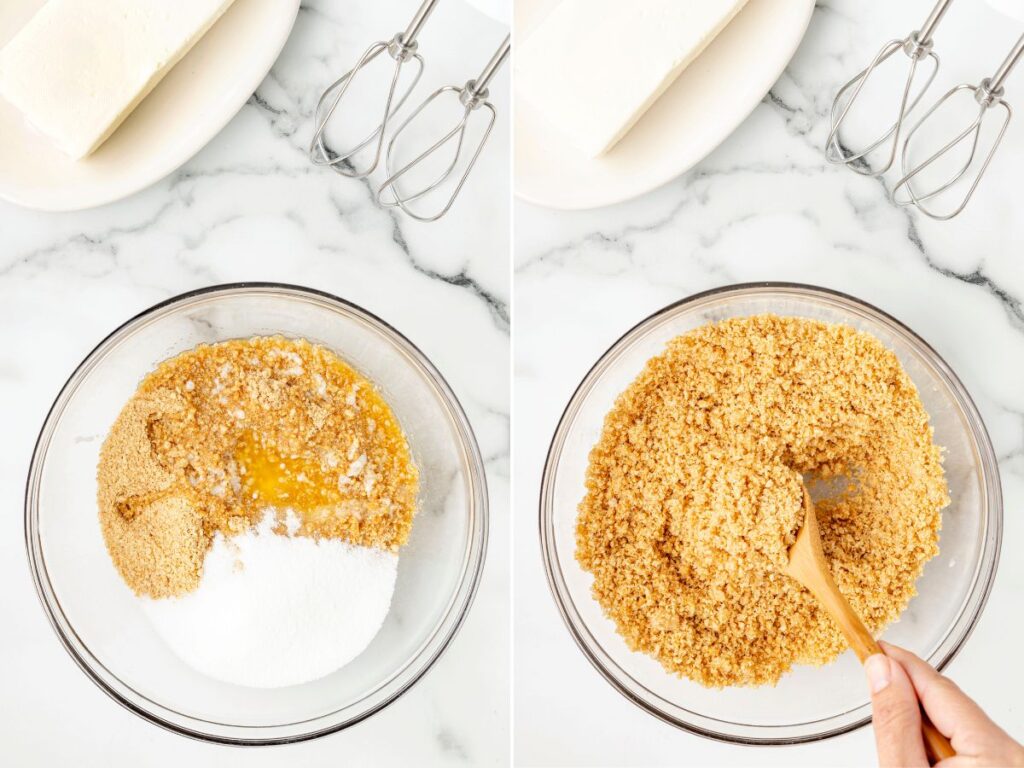
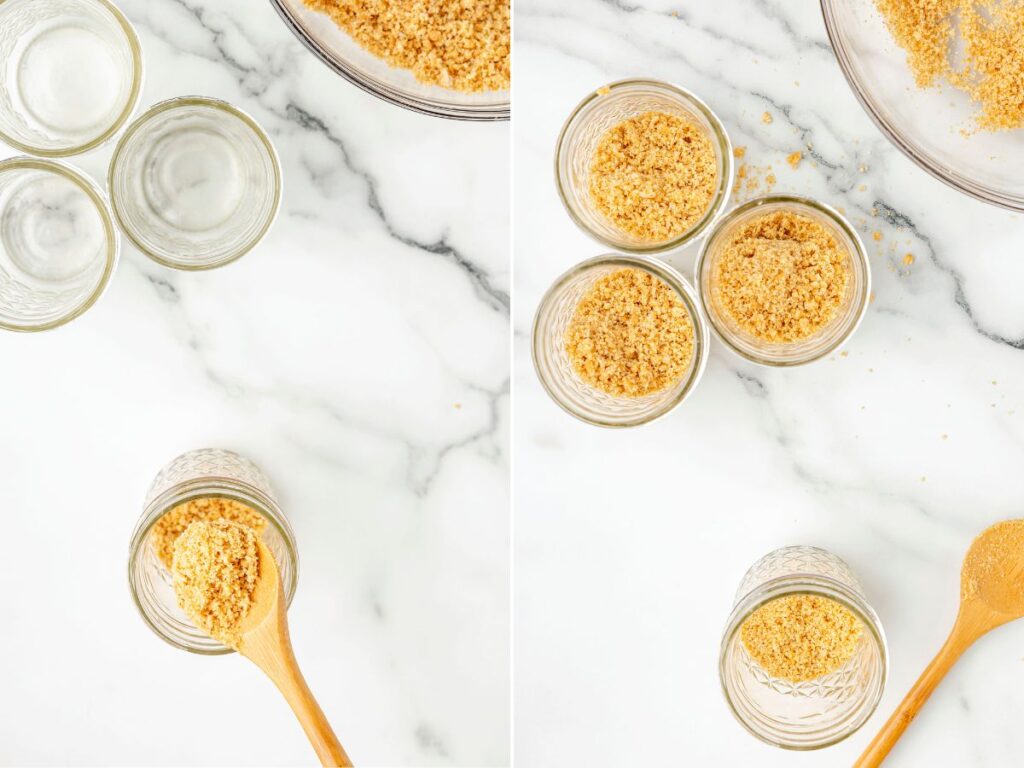
Combine the graham cracker crumbs, melted butter, and granulated sugar in a medium bowl until the mixture resembles wet sand. Divide the crust mixture into the bottom of the jars (six 8-ounce glass mason jars), and use the back of a spoon to firmly press the crust into an even layer.
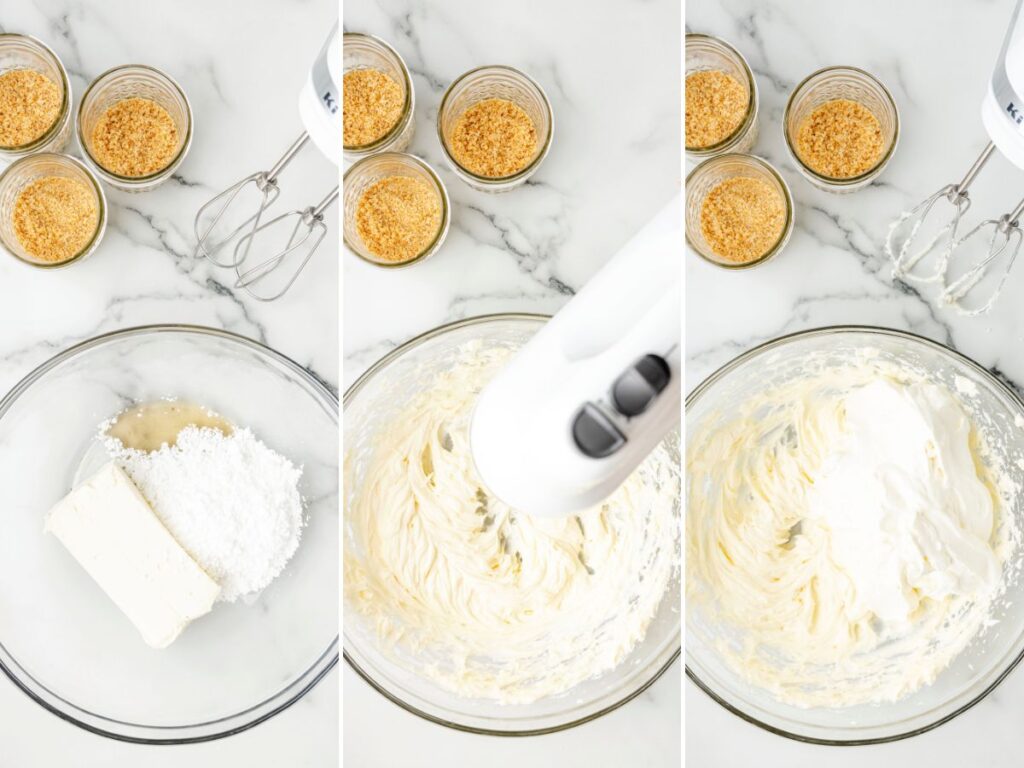
Make the creamy cheesecake filling by adding the cream cheese, powdered sugar, and vanilla extract into a mixing bowl. Use an electric hand mixer to beat unit it’s soft and creamy. Beat on medium-high speed for 1-2 minutes.
In a separate bowl beat the heavy cream on high speed (start at low speed to avoid splashing) until soft peaks form.
Fold the whipped cream into the cheesecake mixture and stir gently, with a rubber spatula, to combine.
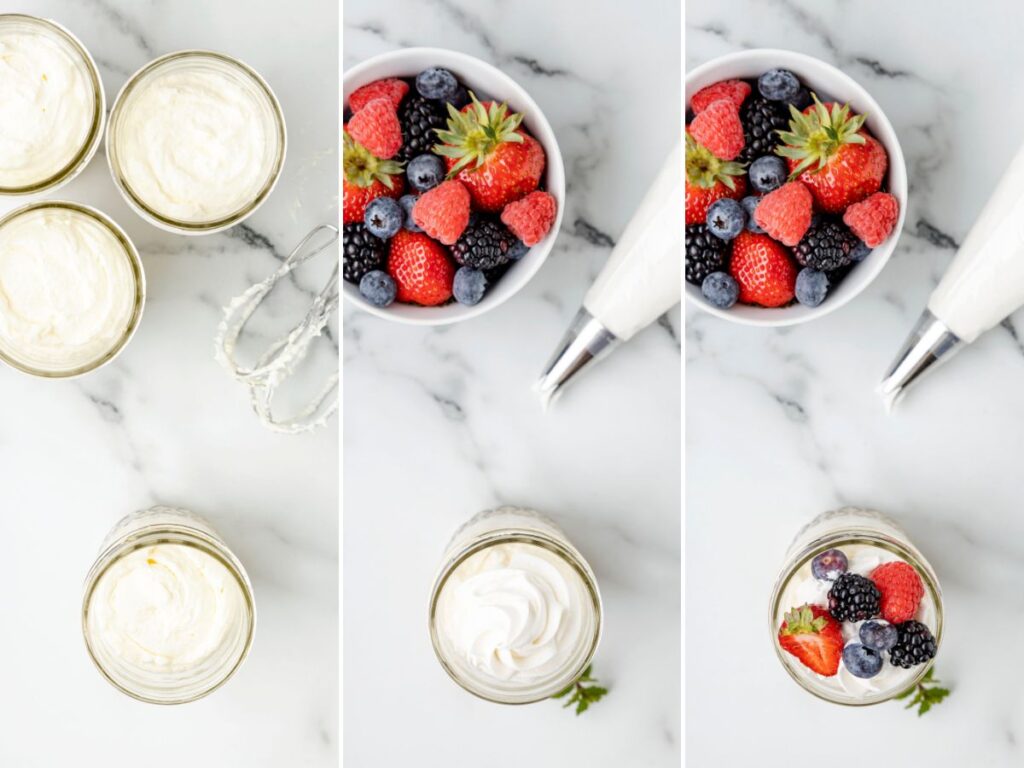
Place the no bake cheesecake filling inside a piping bag or a gallon-sized Ziploc bag. Snip the corner off and pipe it into each jar.

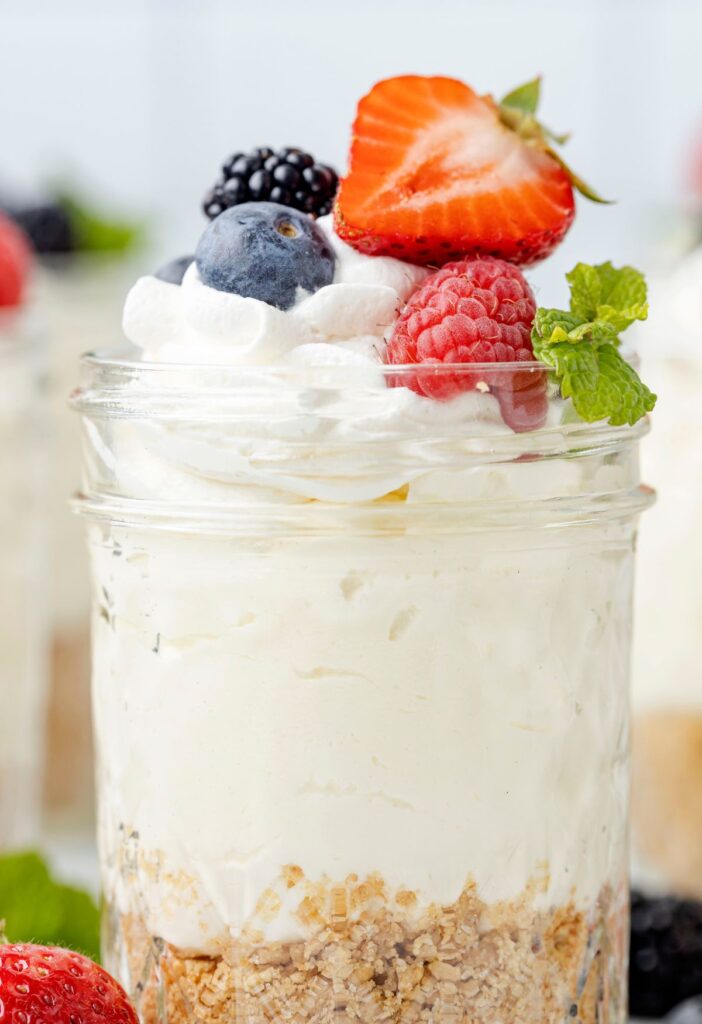
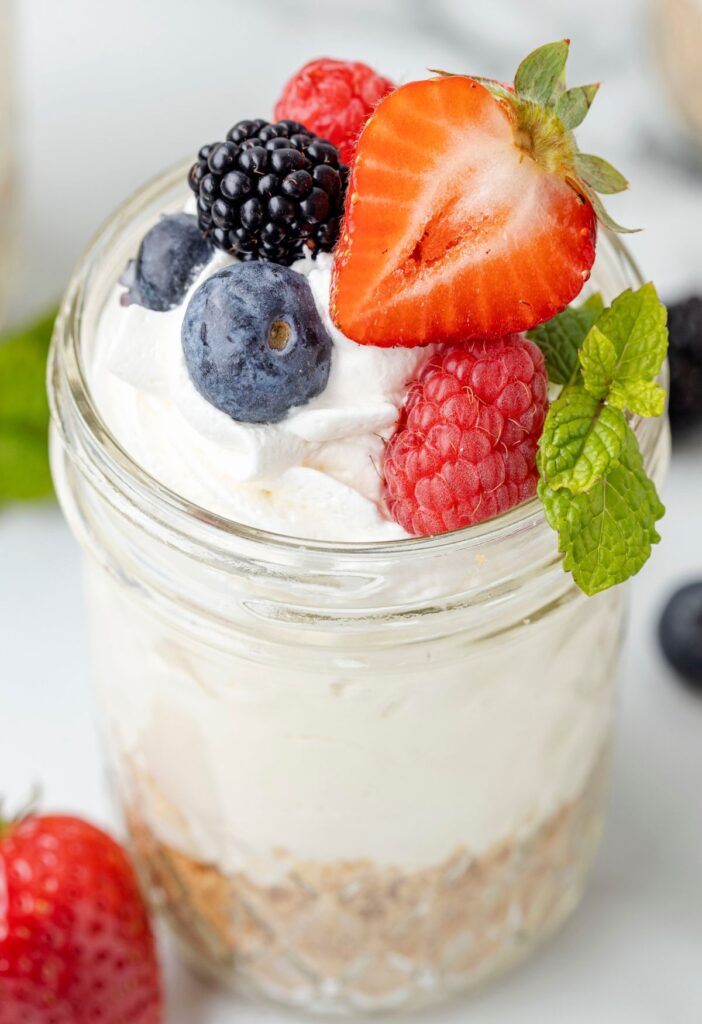
Top each cheesecake in a jar with additional whipped cream and any toppings you want. Read below for topping ideas!
Do I Need To Refrigerate These Before Serving?
This depends on the texture and temperature that you want for your cheesecakes. If you want a lighter, fluffier, more mousse-like cheesecake filling then serve them right away. If you prefer a chilled temperature and more of a denser, thicker cheesecake filling then refrigerate them for 2-4 hours before serving. My preferred way to serve these are after they have chilled in the fridge for at least 2 hours.
I don’t recommend making these the night before as the crust might get softer and soggier the longer they sit in the fridge. Also, it’s best to not refrigerate or store leftovers with the toppings on. Only add the topping right before serving.
Changes & Substitution Ideas
- Crust : There are so many ways to switch up the crust by simply using different crackers or cookies. The measurement will be the same no matter what you choose to use. Other great ideas are crushed Nilla wafer cookies, Oreo cookies, Chips Ahoy, Chocolate Chip Teddy Grahams or Honey Teddy Grahams, Chessmen Cookies, animal crackers, etc.
- Jars : If you don’t have mason jars, don’t worry! Use any clear glass cup you have or stemless wine glasses are really pretty too for this recipe. You could even make really mini desserts by using a shot glass or those small clear plastic condiment containers! I’ve also used the Chinet brand of clear plastic cups (9 ounce in size). The recipe has been tested using six 8-ounce mason jars.
- Toppings : Top these individual cheesecake desserts with whatever you want. I love to make a cheesecake bar and have bowls of different toppings so that way each person can create their own. Here are some ideas – pie filling (any variety), chocolate sauce, hot fudge sauce, homemade caramel sauce, mini chocolate chips, chocolate shavings, chopped Oreo cookies, crumbled graham cracker crumbs, sprinkles, fresh fruit, and whipped cream (spray or homemade).
- Cool Whip : Instead of beating the 1 cup heavy cream for the cheesecake filling, use an 8-ounce tub of thawed Cool Whip instead.
How To Store Leftovers
Leftover cheesecakes in a jar can store for up to 5 days in the refrigerator. Make sure to cover each jar with plastic wrap or foil before storing it in the fridge. The crust will soften the longer it’s in the fridge.
What Glass Jars Should I Use For Cheesecake In a Jar?
This recipe has been tested using 8-ounce glass mason jars. If you want smaller portions, or larger portions, then use smaller or larger mason jars. You can easily find the Mason jars at retailers or look online. These are the Glass Mason Jars I use when I make these cheesecakes in a jar.
Recipe Tips
- Piping Tip : If you don’t want to pipe the cheesecake mixture into the glass jars there is another option. Simply spoon the cheesecake into each jar but please be aware that doing it this way (without piping it) will result in a messier looking cheesecake jar, and you won’t get the pretty layers you see in the photos. Spooning the cheesecake layer into the jars usually results in the sides of the glass jar getting some mess on them. For the best presentation, I highly recommend piping it into each mason jar. You don’t even need a tip or a piping bag! Simply put it inside a gallon-sized Ziploc bag, snip the bottom corner off, and pipe it in. Easy peasy!
- Graham Cracker Crumbs : You can buy a box of already crushed graham cracker crumbs in the baking aisle. You can also process graham crackers in a food processor until they’re in very fine crumbs. The other way is to add the graham cracker sheets into a Ziploc bag and use a rolling pin or meat pounder to crush them. I prefer buying a box of graham cracker crumbs at the store or using a food processor – as that’s what will yield the finest crumbs for these cheesecake jars.
Try These Other No Bake Cheesecake Dessert Recipes
- No Bake Strawberry Cheesecake
- No Bake Black Forest Cheesecake
- No Bake Banana Pudding Cheesecake
- No Bake Lemon Cheesecake
- No Bake Pumpkin Cheesecake

Cheesecake In A Jar
Ingredients
- 1¼ cups graham cracker crumbs
- 1/4 cup granulate sugar
- 1/4 cup butter melted
- 8 ounces full-fat cream cheese room temperature
- 1/2 cup powdered sugar
- 1 teaspoon vanilla extract
- 1 cup heavy whipping cream
Toppings & Garnish Ideas
- whipped cream, mini chocolate chips, chocolate shavings, pie filling, sundae sauce or syrups, sprinkles, chopped nuts, chopped cookies, fresh fruit
Instructions
- Make The Crust : Combine the graham cracker crumbs, melted butter, and granulated sugar in a medium bowl until the mixture resembles wet sand. Divide the crust mixture into the bottom of the jars (six 8-ounce glass mason jars), and use the back of a spoon to firmly press the crust into an even layer.1¼ cups graham cracker crumbs, 1/4 cup granulate sugar, 1/4 cup butter
- Divide the crust mixture into the bottom of the jars (six 8-ounce glass mason jars), and use the back of a spoon to press the crust into an even layer.
- Make The Cheesecake Filling : Add the cream cheese, powdered sugar, and vanilla extract into a mixing bowl. Use an electric hand mixer to beat unit it's soft and creamy. Beat on medium-high speed for 1-2 minutes.8 ounces full-fat cream cheese, 1/2 cup powdered sugar, 1 teaspoon vanilla extract
- In a separate bowl beat the heavy cream (start at low speed to avoid splashing, and increase as needed) until soft peaks form.1 cup heavy whipping cream
- Fold the whipped cream into the cheesecake mixture and stir gently, with a rubber spatula, to combine.
- Assemble Cheesecake Jars : Place the no bake cheesecake filling inside a piping bag or a gallon-sized Ziploc bag. Snip the corner off and pipe it into each jar.
- Top each cheesecake jar with additional whipped cream, fresh berries, and any other toppings.whipped cream, mini chocolate chips, chocolate shavings, pie filling, sundae sauce or syrups, sprinkles, chopped nuts, chopped cookies, fresh fruit
- Optional Chill Time : If you prefer a mousse-like, fluffier cheesecake texture then serve the cheesecake jars right away. For a chilled, more dense cheesecake – cover the jars with plastic wrap and refrigerate for 2-4 hours before serving. Do not refrigerate the cheesecake jars with the toppings on them. Wait to add whipped cream and toppings until right before serving.
Video
Notes
Nutrition
Did You Make This Recipe?
I’d love to see it! You can share it with me on @togetherasfamilyblog and follow on Pinterest @together-as-family-blog-recipes or Facebook @togetherasfamilyblog for more!


Did you love this recipe?
Make sure to comment below so we can chat about it! Or follow on your favorite social network for even more family recipes.