
This post may contain affiliate links, view our disclosure policy.
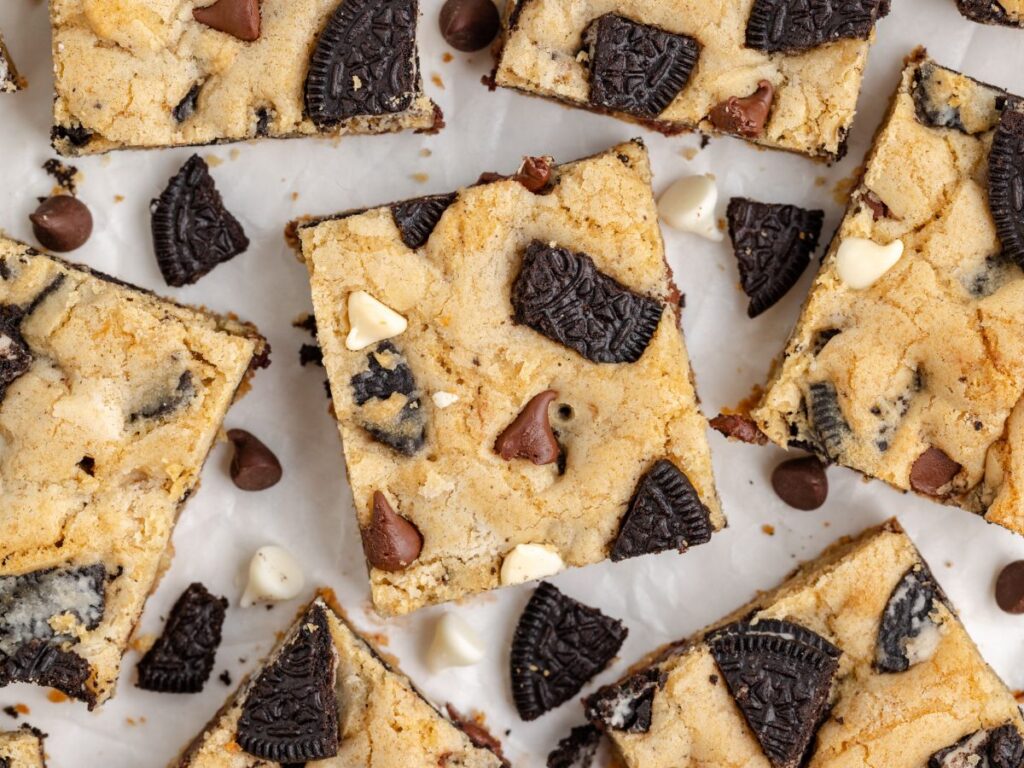
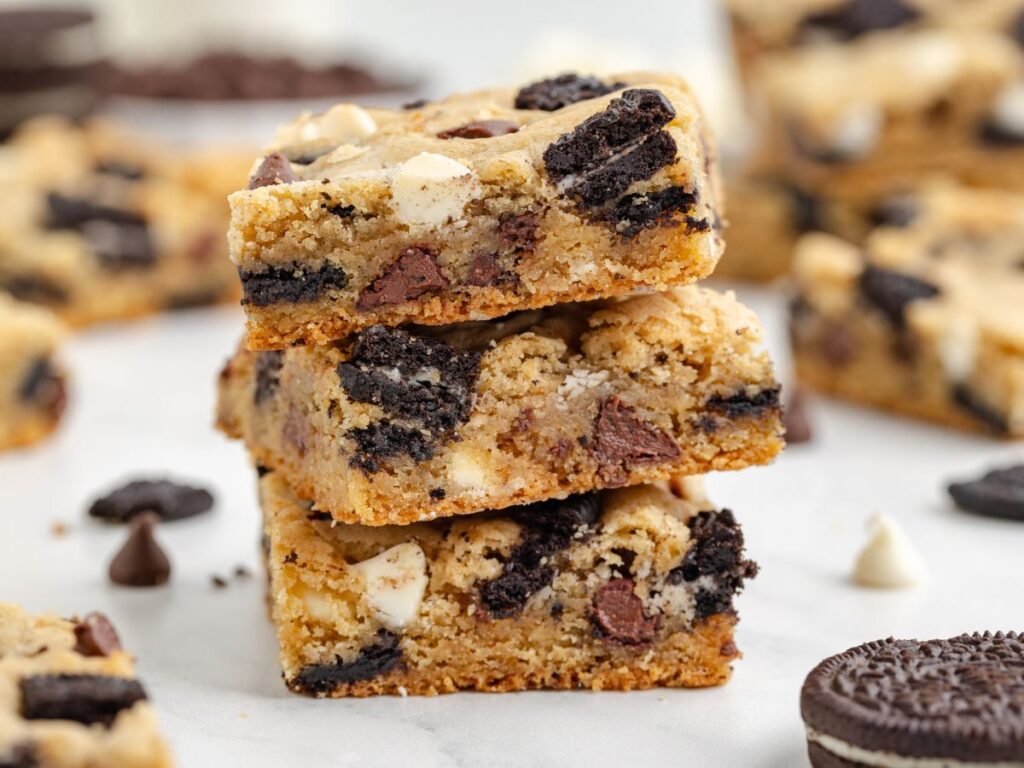
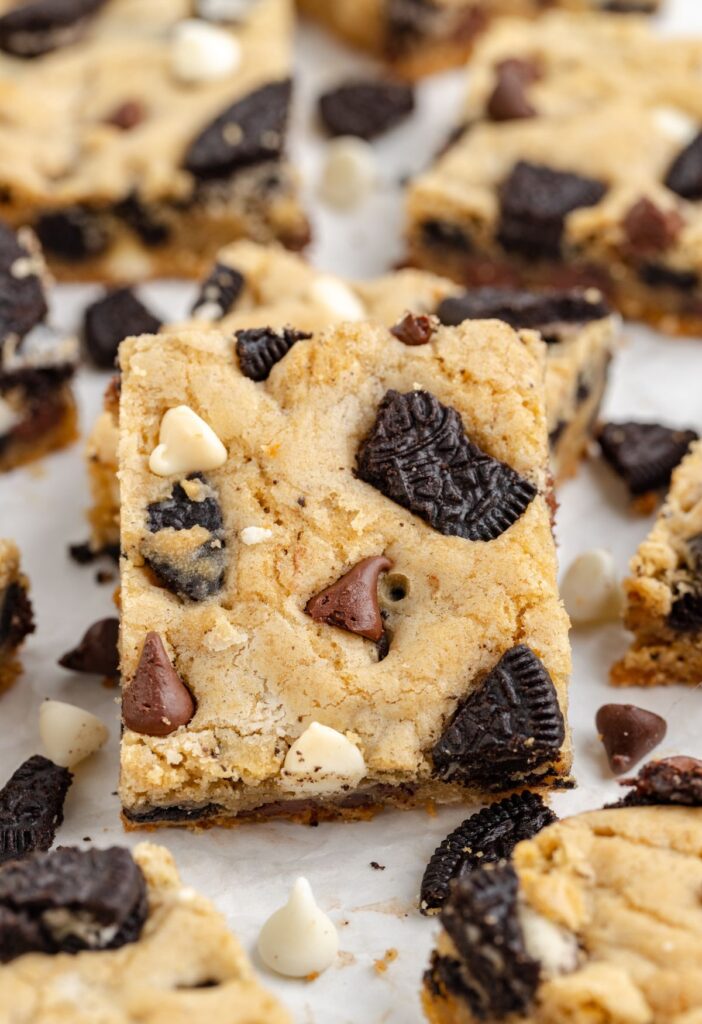
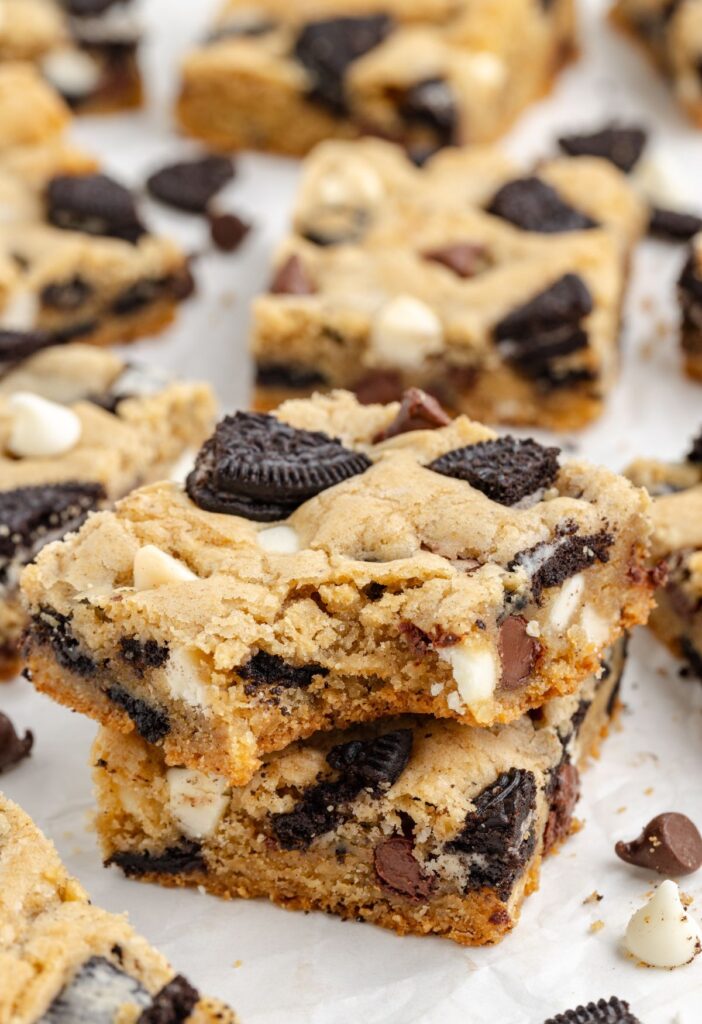
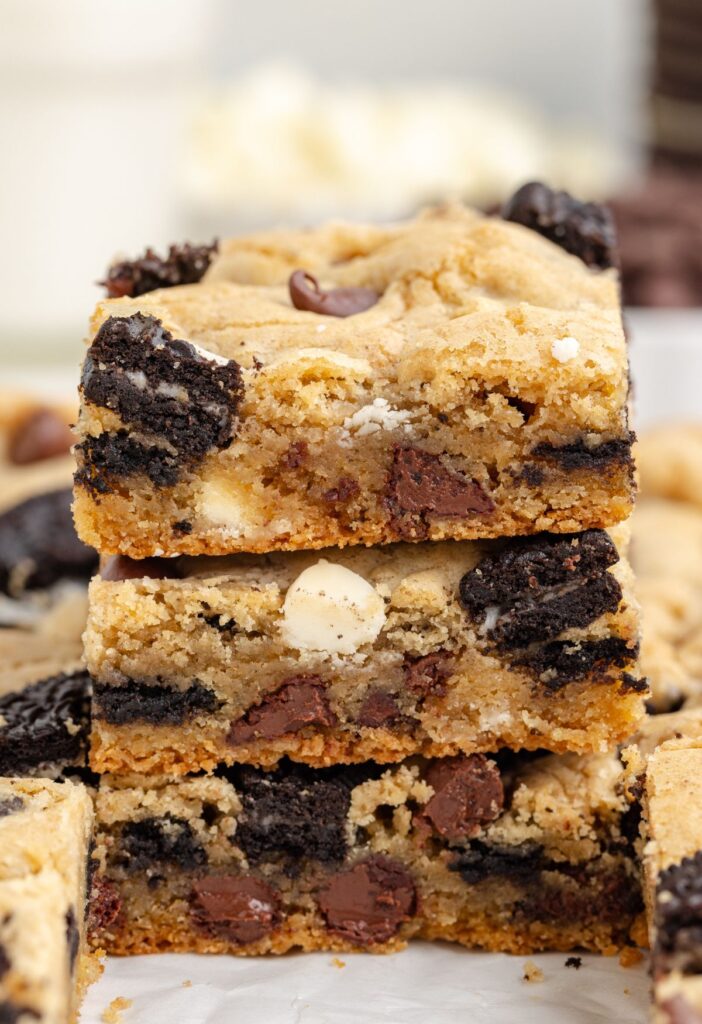
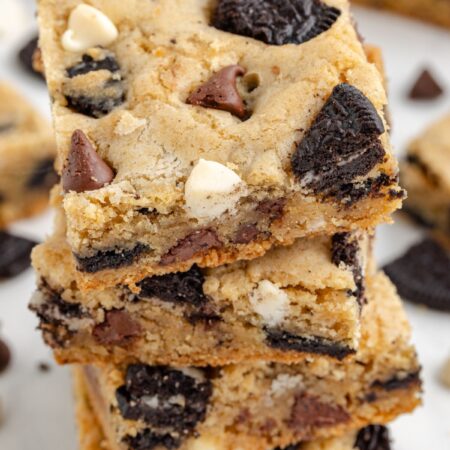
Oreo Cookie Bars are the ultimate cookies and cream cookie bar dessert. Made with a soft, chewy cookie base, crunchy Oreo cookie pieces, and two kinds of chocolate – chocolate chips and white chocolate chips.
If you are looking for an easy Oreo dessert that everyone will love – these chewy Oreo cookie bars deserve a spot on your baking list ♥
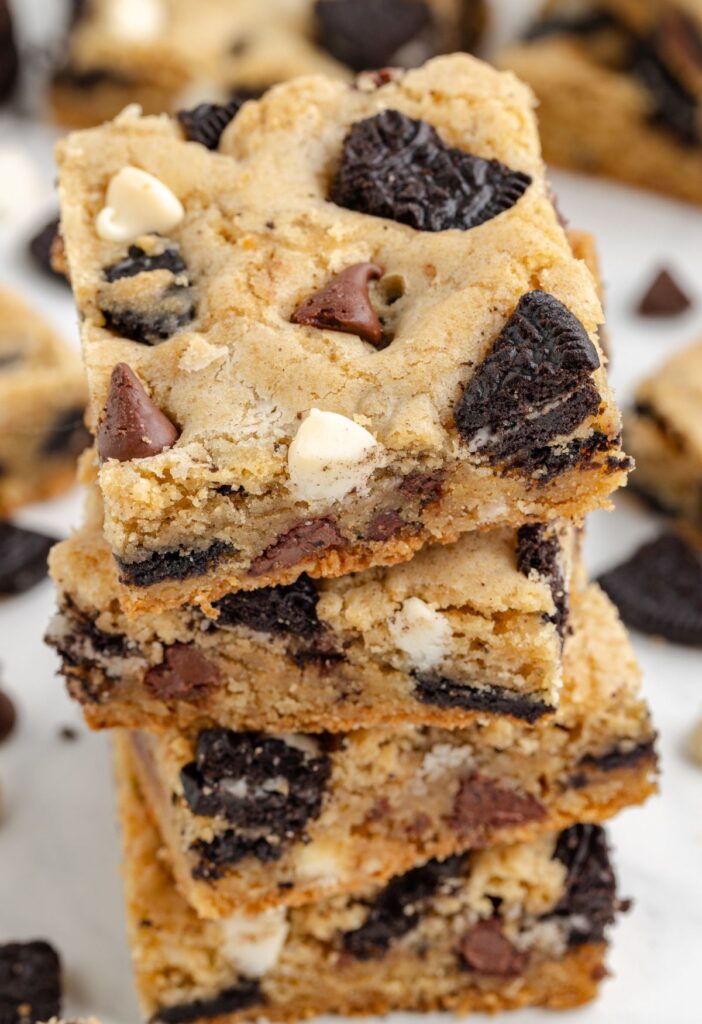
Chewy Soft Oreo Cookie Bars
If you love Oreo cookies, you are going to fall in love with these easy Oreo cookie bars. They combine everything you love about classic chocolate chip cookie bars with the irresistible flavor of the classic chocolate sandwich cookies.
Every bite is chewy, soft, chocolatey, and packed with crunchy Oreo cookie pieces. These cookies and cream bars are perfect for a fun after school treat, family dessert, potlucks and gatherings, or whenever you need a sweet treat.
One of the best things about this Oreo cookie bar recipe is how simple it is to make. There is no need to roll individual cookies or spend time scooping cookie dough onto baking sheets. Simply mix the ingredients, spread the dough into the baking pan, and let the oven do the work.
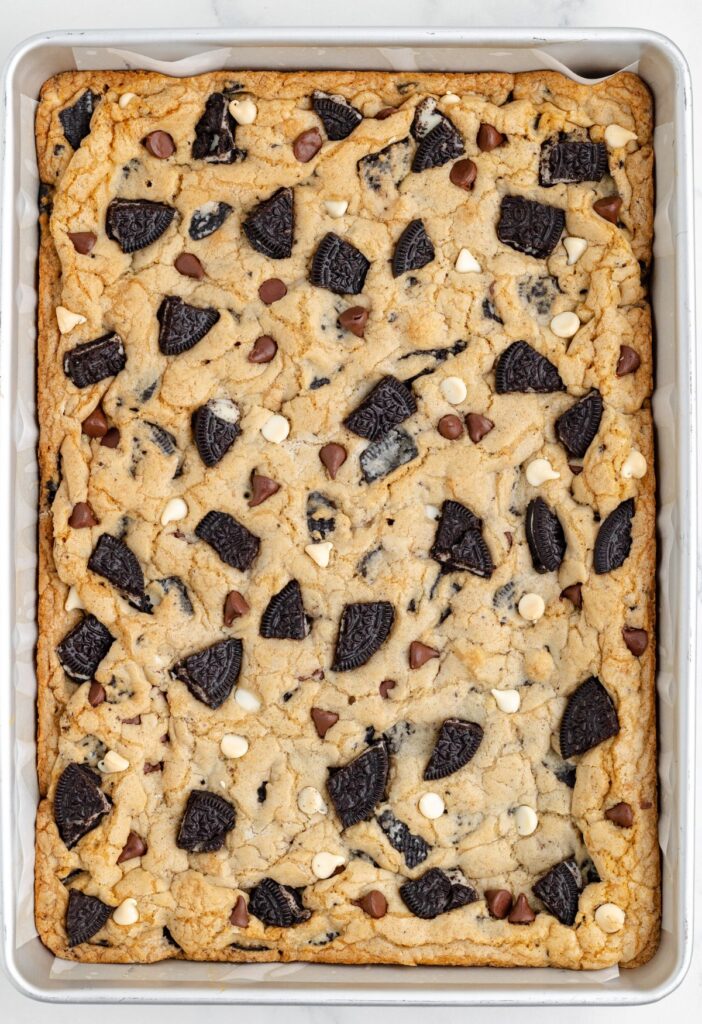
Why You’ll Love These Oreo Cookie Bars
- ♥ Easy To Make : Everything comes together in one mixing bowl with simple baking ingredients.
- ♥ Soft and Chewy : The cookie bar base has a deliciously tender texture with those slightly crispy, golden brown edges.
- ♥ Packed With Oreos : Crushed chocolate sandwich cookies add plenty of chocolatey cookies and cream flavor.
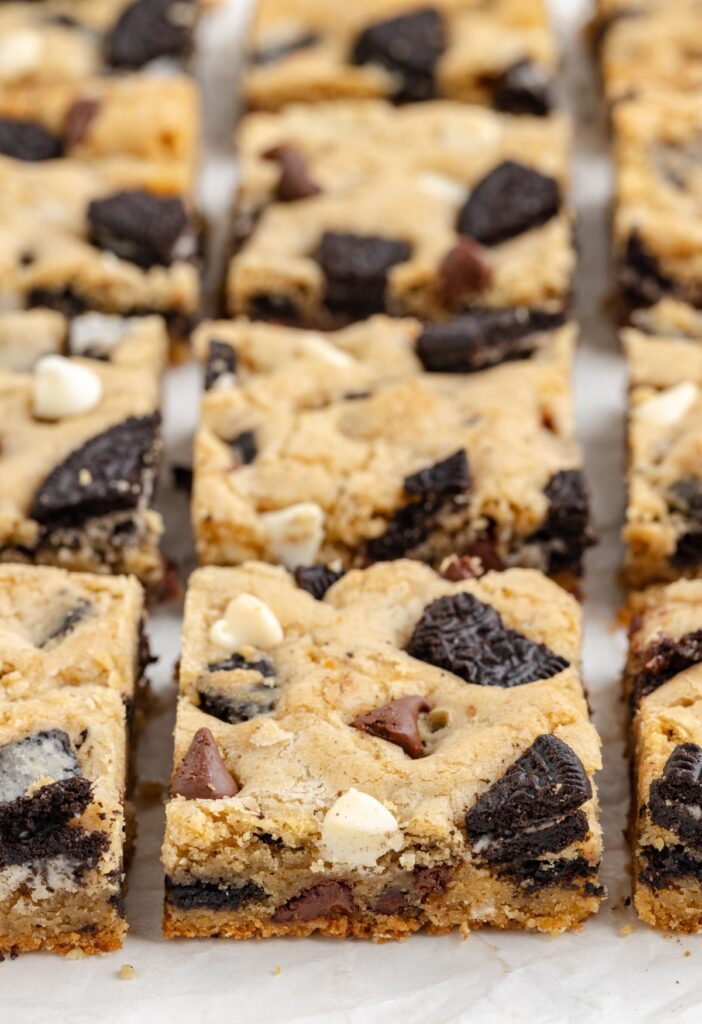
- ♥ Perfect For Sharing : Slice them into squares for parties, potlucks, gatherings, and bake sales.
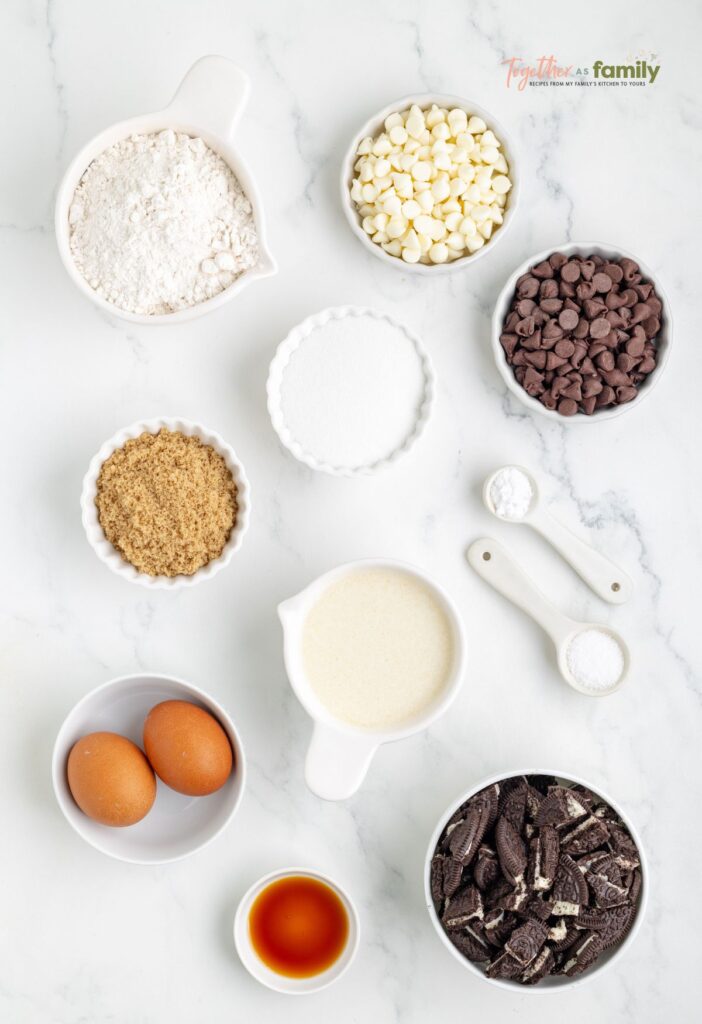
Simple Baking Ingredients Needed
- Butter : 1 cup of butter (2 sticks) melted
- Light Brown Sugar : 1 cup of packed light brown sugar
- Granulated Sugar
- Large Eggs : 2 large eggs
- Pure Vanilla Extract
- All-Purpose Flour : I use unbleached all-purpose flour
- Baking Soda
- Sea Salt
- Oreo Cookies : 18 whole Oreo cookies that have bee roughly chopped
- Semi-Sweet Chocolate Chips : You can use chocolate chip morsels or chop up a baking bar or other chocolate bar
- White Chocolate Chips : Use white chocolate chip morsels or chop up a baking bar or white chocolate bar into chunks
How To Make Oreo Cookie Bars (Printable Recipe Card)
Preheat your oven to 350°F. Spray a 9×13-inch baking pan with nonstick spray; for easy removal I like to also line the pan with parchment paper (optional).
In a large mixing bowl using an electric hand mixer, or use the bowl of stand mixer with the paddle attachment, beat the melted butter, light brown sugar, and granulated sugar until smooth and well combined; about 1 to 2 minutes, until it looks light and fluffy.
Add in the large eggs and vanilla extract, and beat just until combined.
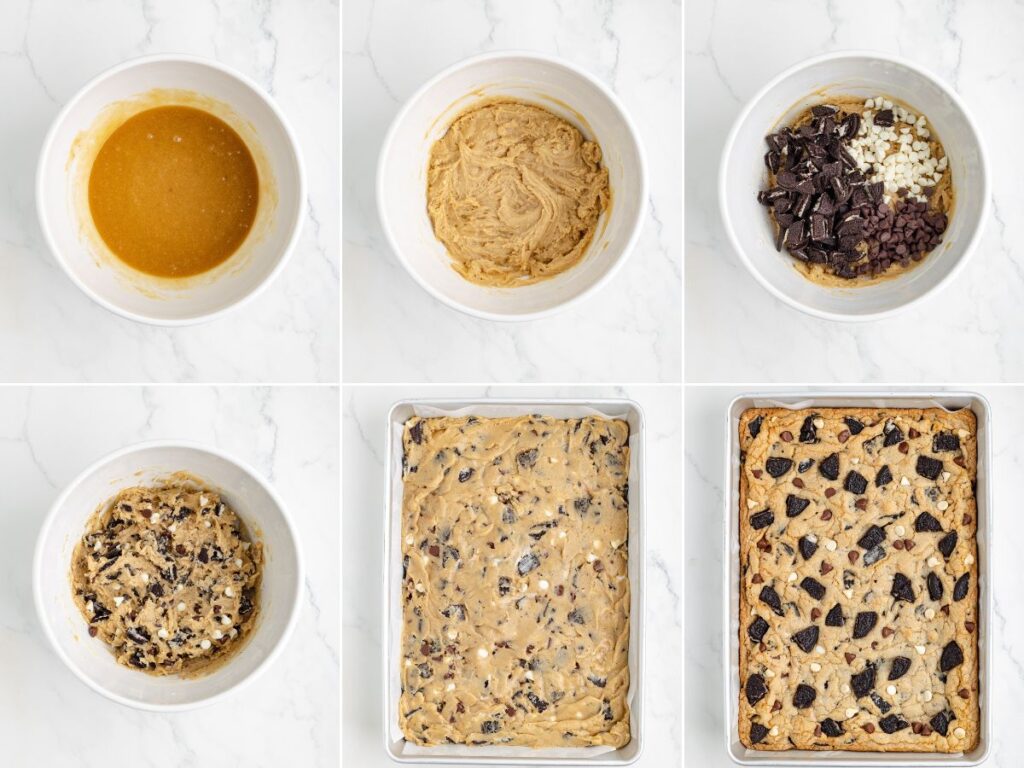
In a separate small bowl, whisk together the all-purpose flour, baking soda, and salt. Add the dry ingredients into the larger bowl of wet ingredients. Mix on low speed just until combined and no flour streaks remain in the dough (scrape down the sides of the bowl as needed).
Gently stir in the chopped Oreo cookie pieces, semi-sweet chocolate, and white chocolate until evenly distributed through the dough.
Spread the cookie dough evenly into the prepared pan, using a spatula or the back of a spoon to smooth out the top.
Bake for 25-20 minutes or until the top and sides of the bars are lightly golden brown and a toothpick inserted into the center comes out clean or with moist crumbs.
Remove the cookie bars from the oven and allow them to cool completely, about 30 minute to 1 hour, inside the pan before cutting into squares.
How To Store Leftover Oreo Cookie Bars
Store leftover bars inside a covered pan, Ziploc bag, or airtight container, at room temperature, for up to 3 to 4 days. Eat at room temperature or microwave one cookie bar for a few seconds for a warm treat.
To freeze, wrap each individual bar in plastic wrap and then place the wrapped bars inside a freezer-safe container or bag. Freeze for up to 3 months. Thaw at room temperature for a few hours or warm in the microwave.
Pro Tips From The Test Kitchen
- Avoid Overbaking : To keep the bars chewy and soft-baked, it’s important to avoid overbaking them. I always suggest setting the timer for the minimum time and going from there. Watch closely towards the end of the cook time; the edges should be lightly golden brown, the center of the cookie bar should look set and cooked (not wet like raw dough), and a toothpick inserted into the center should come out clean without any raw dough on it. As the bars cool at room temperature, they will continue baking slightly more and will set and come together nicely.
- Chocolate Chips : The recipe calls for semi-sweet chocolate chips and white chocolate chips. You can use chocolate chip morsels, or my preference is to use baking bars or chocolate bars, roughly chopped into chunks, and use those instead of the morsels. I think the chocolate baking bars taste better in the recipe. Another great idea is to chop up a cookies and cream chocolate bar (Lindt brand) into chunks and use that in place of the two kinds of chocolate chip morsels. Feel free to use milk chocolate or dark chocolate if you prefer that over semi-sweet chocolate.
- Use Parchment Paper : Lining the pan with parchment paper helps the bars cook more evenly and avoids the bottom of the bars from browning. I spray the pan first and then line it with parchment paper; the cooking spray helps the paper adhere to the pan and not move.
- Butter : I prefer using salted butter in this recipe. However, if you prefer unsalted butter or want to control the salt amount, then that is fine. Just use whichever butter you prefer baking with.
- Melted & Cooled Butter : Place the unwrapped butter into a microwave-safe bowl. Microwave for about 40 to 50 seconds. You should end up with half melted butter and half soft chunks of butter. Remove from the microwave and stir with a fork until everything is melted and smooth. The butter is ready to use! Doing it this way helps the butter not be piping hot because you didn’t melt it all the way.


More Must Try Oreo Desserts
- Oreo Truffles (Oreo Balls)
- Oreo Fudge
- Oreo Cheesecake Bars
- Oreo Dirt Pie
- Oreo Poke Cake
- Layered Oreo Dessert
- Oreo Cream Pie
- Oreo Rice Krispie Treats
- Easy Oreo Dirt Cake
- Cookies & Cream Oreo Brownies
- No Bake Oreo Pudding Pie
- No Bake Oreo Cheesecake

Oreo Cookie Bars
Equipment
Ingredients
- 1 cup (2 sticks) butter melted & cooled
- 1 cup packed light brown sugar
- ¾ cup granulated sugar
- 2 large eggs
- 1 tablespoon pure vanilla extract
- 3 cups all-purpose flour
- 1 teaspoon baking soda
- ½ teaspoon sea salt
- 18 Oreo cookies roughly chopped
- ½ cup semi-sweet chocolate chips
- ½ cup white chocolate chips
Instructions
- Preheat your oven to 350°F. Spray a 9×13-inch baking pan with nonstick spray; for easy removal I like to also line the pan with parchment paper (optional).
- In a large mixing bowl using an electric hand mixer, or use the bowl of stand mixer with the paddle attachment, beat the melted butter, light brown sugar, and granulated sugar until smooth and well combined; about 1 to 2 minutes, until it looks light and fluffy.1 cup (2 sticks) butter, 1 cup packed light brown sugar, ¾ cup granulated sugar
- Add in the large eggs and vanilla extract, and beat just until combined.2 large eggs, 1 tablespoon pure vanilla extract
- In a separate small bowl, whisk together the all-purpose flour, baking soda, and salt. Add the dry ingredients into the larger bowl of wet ingredients. Mix on low speed just until combined and no flour streaks remain in the dough (scrape down the sides of the bowl as needed).3 cups all-purpose flour, 1 teaspoon baking soda, ½ teaspoon sea salt
- Gently stir in the chopped Oreo cookie pieces, semi-sweet chocolate, and white chocolate until evenly distributed through the dough.18 Oreo cookies, ½ cup semi-sweet chocolate chips, ½ cup white chocolate chips
- Spread the cookie dough evenly into the prepared pan, using a spatula or the back of a spoon to smooth out the top.
- Bake for 25-30 minutes or until the edges of the bars are lightly golden brown and a toothpick inserted into the center comes out clean or with moist crumbs.
- Remove the cookie bars from the oven and allow them to cool completely, about 30 minute to 1 hour, inside the pan before cutting into squares.
Notes
- Avoid Overbaking : To keep the bars chewy and soft-baked, it’s important to avoid overbaking them. I always suggest setting the timer for the minimum time and going from there. Watch closely towards the end of the cook time; the edges should be lightly golden brown, the center of the cookie bar should look set and cooked (not wet like raw dough), and a toothpick inserted into the center should come out clean without any raw dough on it. As the bars cool at room temperature, they will continue baking slightly more and will set and come together nicely.
- Chocolate Chips : The recipe calls for semi-sweet chocolate chips and white chocolate chips. You can use chocolate chip morsels, or my preference is to use baking bars or chocolate bars, roughly chopped into chunks, and use those instead of the morsels. I think the chocolate baking bars taste better in the recipe. Another great idea is to chop up a cookies and cream chocolate bar (Lindt brand) into chunks and use that in place of the two kinds of chocolate chip morsels. Feel free to use milk chocolate or dark chocolate if you prefer that over semi-sweet chocolate.
- Use Parchment Paper : Lining the pan with parchment paper helps the bars cook more evenly and avoids the bottom of the bars from browning. I spray the pan first and then line it with parchment paper; the cooking spray helps the paper adhere to the pan and not move.
- Butter : I prefer using salted butter in this recipe. However, if you prefer unsalted butter or want to control the salt amount, then that is fine. Just use whichever butter you prefer baking with.
- Melted & Cooled Butter : Place the unwrapped butter into a microwave-safe bowl. Microwave for about 40 to 50 seconds. You should end up with half melted butter and half soft chunks of butter. Remove from the microwave and stir with a fork until everything is melted and smooth. The butter is ready to use! Doing it this way helps the butter not be piping hot because you didn’t melt it all the way.
Nutrition
Did You Make This Recipe?
I’d love to see it! You can share it with me on @togetherasfamilyblog and follow on Pinterest @together-as-family-blog-recipes or Facebook @togetherasfamilyblog for more!







Did you love this recipe?
Make sure to comment below so we can chat about it! Or follow on your favorite social network for even more family recipes.