This post may contain affiliate links, view our disclosure policy.
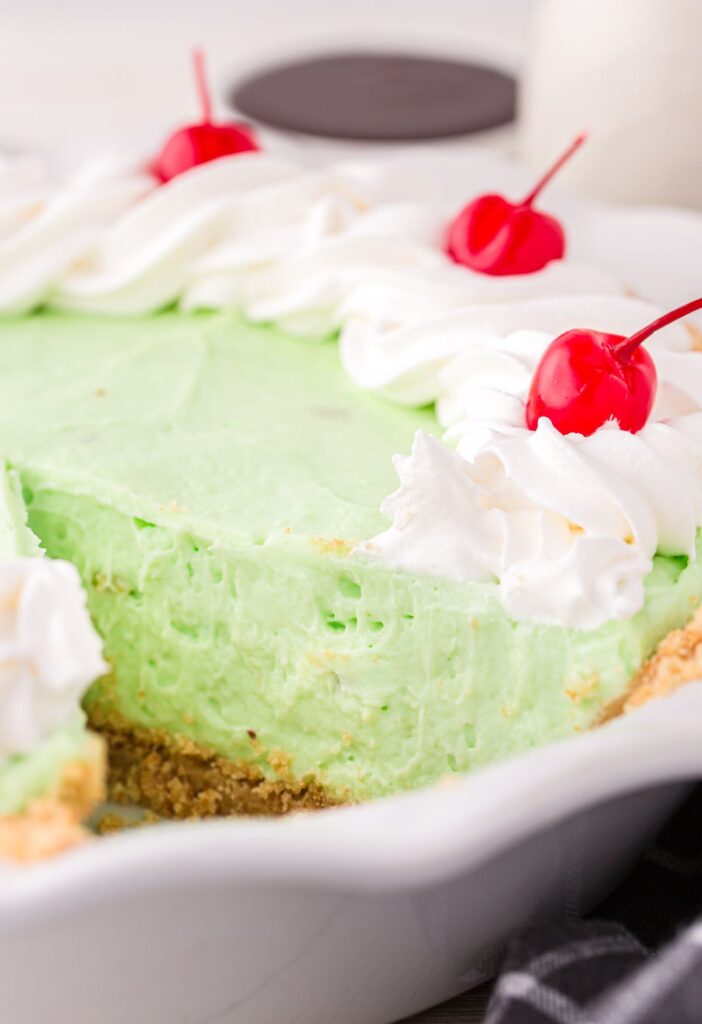
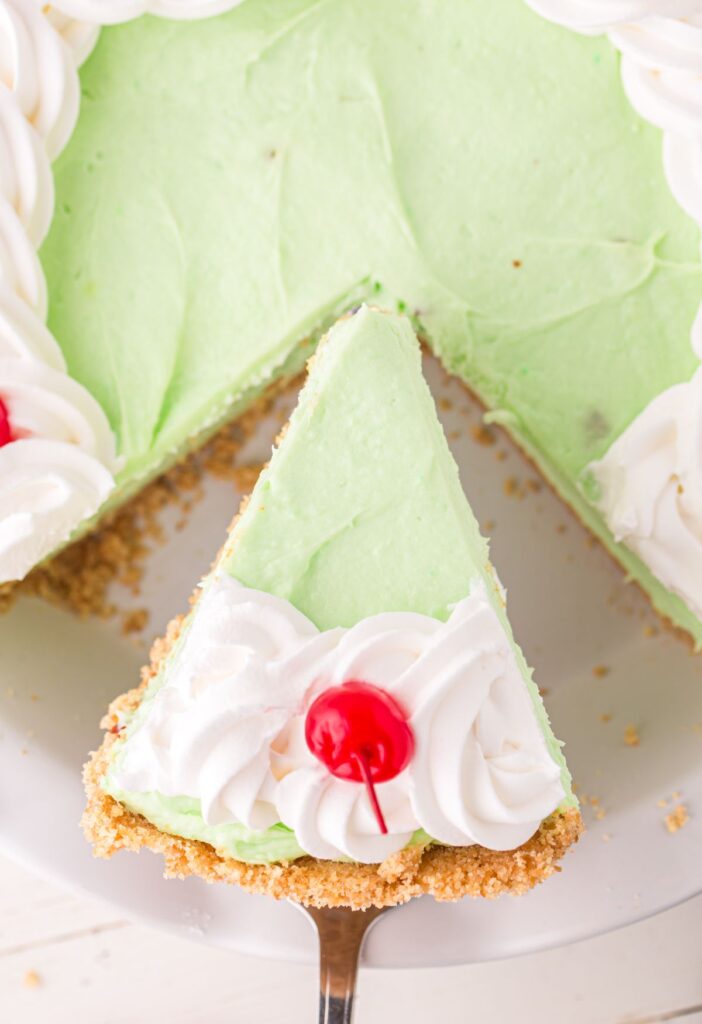
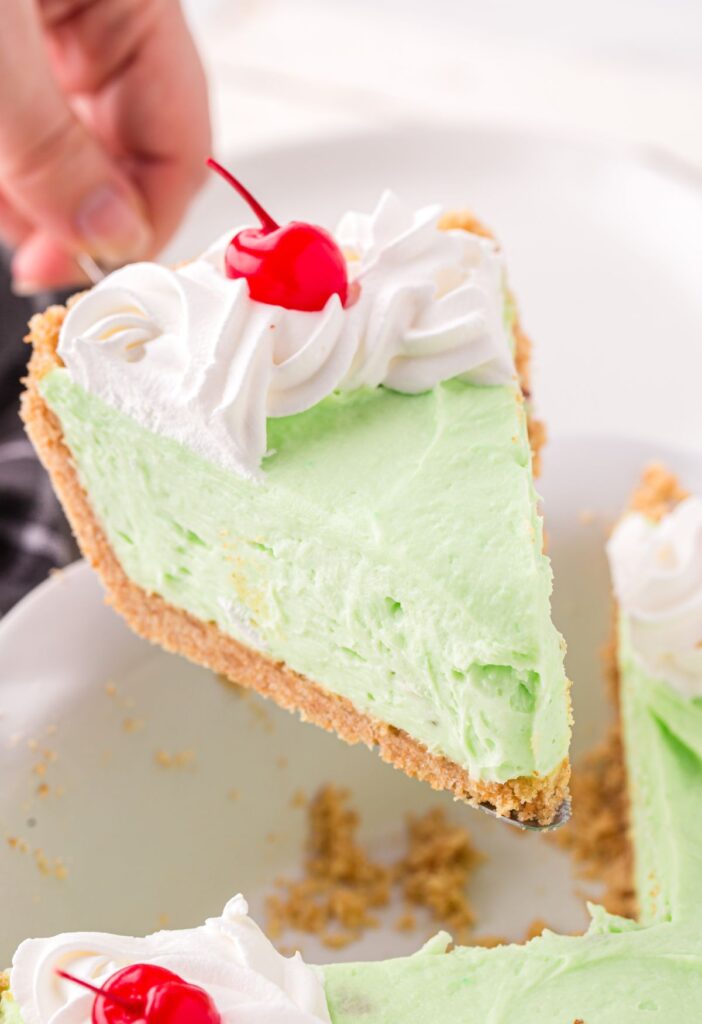
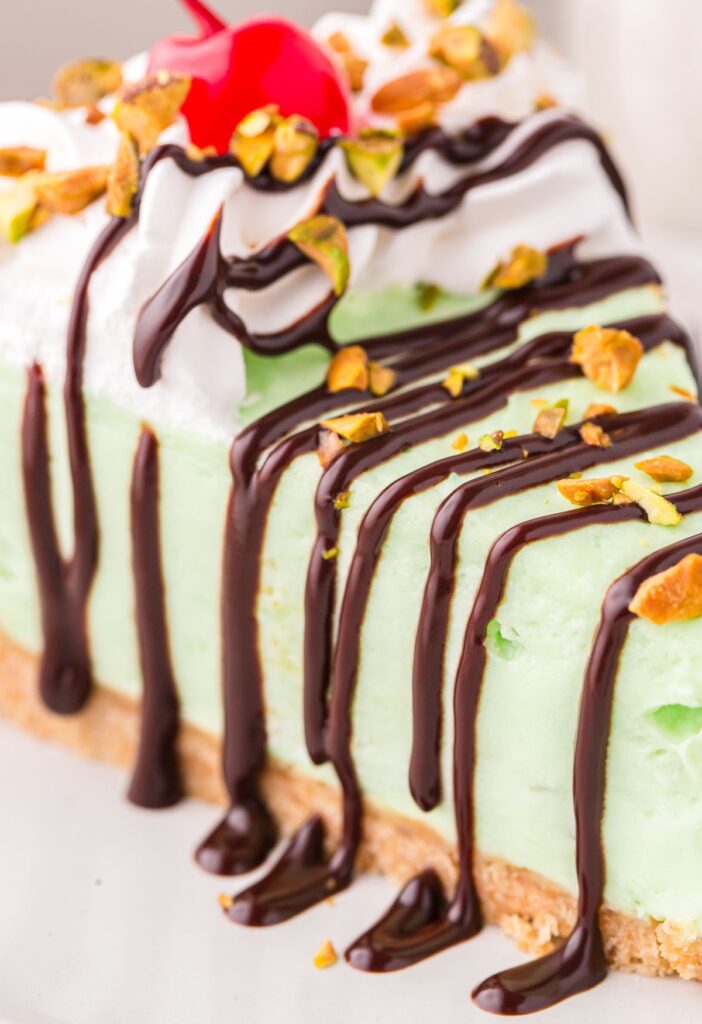
You’ll love the delicious pistachio flavor and the creamy & fluffy texture of this Pistachio Pie – This easy pistachio cream pie has a creamy pistachio filling inside a Nilla wafer crust, and then it’s topped with whipped cream and crunchy pistachios.
Love pistachio desserts? Be sure and also make my Pineapple Pistachio Cake or this layered Pistachio Pudding Dessert.
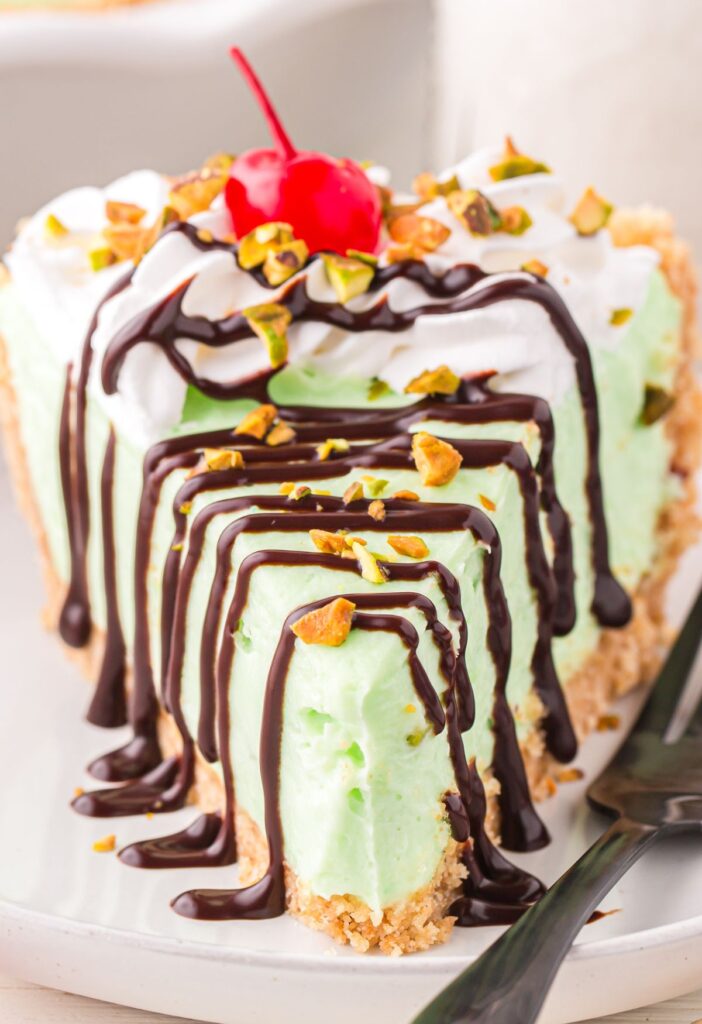
No Bake Pistachio Pie Recipe
This creamy pie is extra easy to make and so completely irresistible with it’s nutty flavor and creamy filling! It’s a perfect make ahead dessert that is always a popular choice for gatherings, picnics, potlucks, and summertime BBQ’s with its light & fluffy flavor and texture. If you’re a pistachio lover then this easy no bake pie is a must-make!
The pretty pale green color makes it perfect for St. Patrick’s Day – I don’t know about you, but growing up, my mom always served us green food on that day 🙂
I love the fluffy and light taste that creamy pistachio pudding adds to recipes – like in this fluffy Watergate Salad with marshmallows, pistachio pudding, and pecans, as well as this no bake dessert Pistachio Cheesecake Pie inside a store-bought graham cracker pie crust – it literally takes just minutes to prep!
Ingredient List For Easy Pistachio Pie
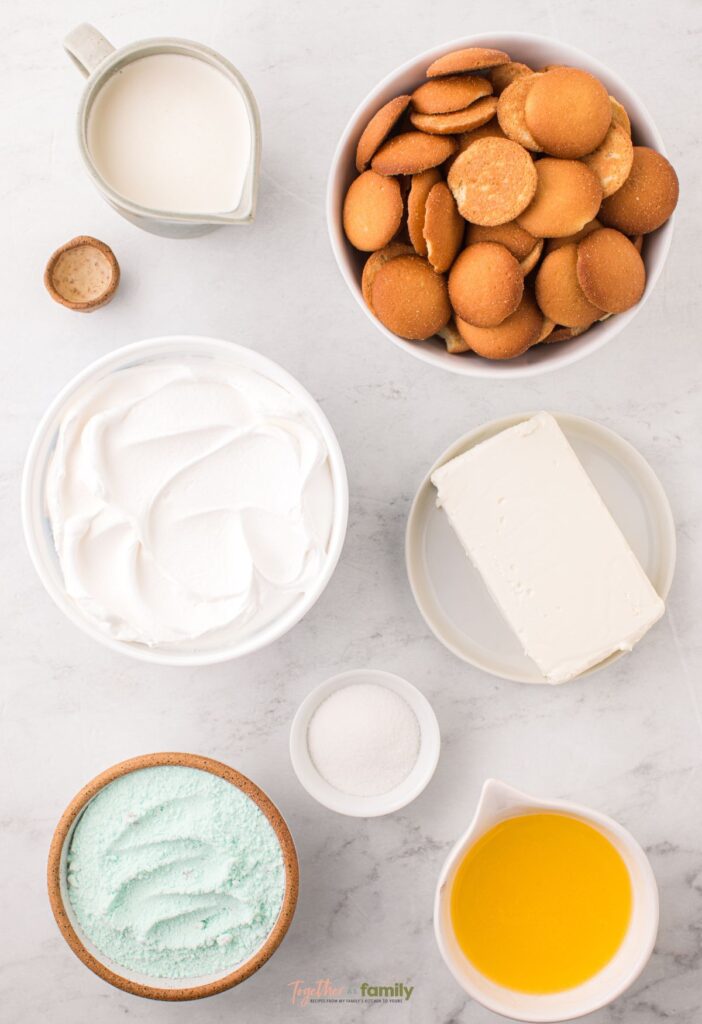
- Vanilla Wafers
- Granulated Sugar
- Butter
- Cream Cheese
- Instant Pistachio Pudding Mix
- Heavy Cream
- Almond Extract : Almond extract compliments the pistachio flavor beautifully however vanilla extract is a good substitute if needed.
- Cool Whip
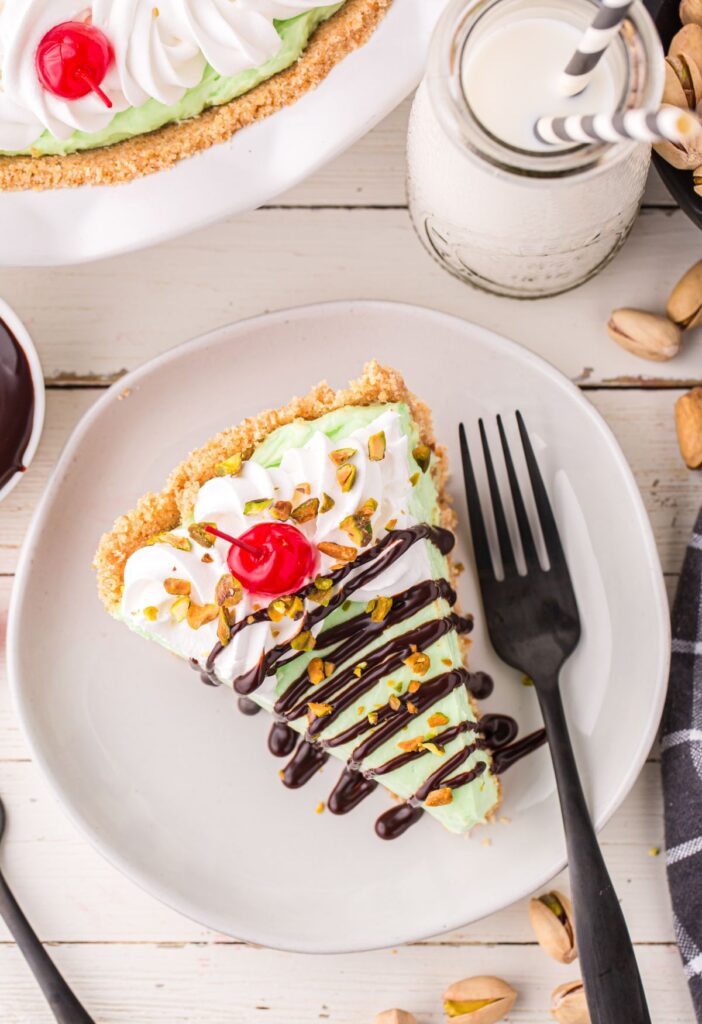
- Chopped Pistachios, Maraschino Cherries, Chocolate Syrup : These are optional garnishes for the top of the no bake pie if wanted, or top each slice with garnishes before serving.
How To Make Pistachio Pudding Pie
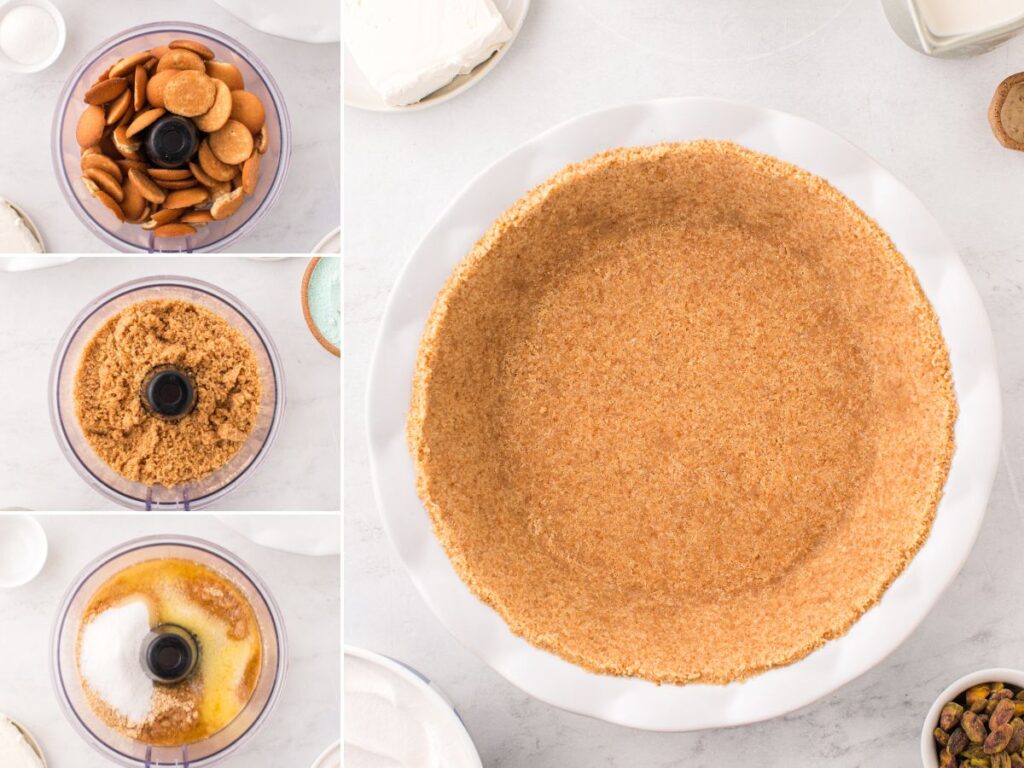
Add the Nilla wafers into a food processor and process on high until well crumbled and in fine crumbs. Add in the melted butter and granulated sugar, and process until well combined and the mixture resembles wet sand, and it should hold together when pressed firmly.
If you don’t have a food processor try using a food chopper or put the wafers inside a Ziploc bag and use something heavy to crush them into fine crumbs. Dump the crumbs into a medium bowl, add the melted butter and sugar, and stir to combine.
Firmly press the crust mixture into the bottom and up the sides of a 9-inch pie plate. Cover the pie plate with plastic wrap and place it in the refrigerator to chill while you make the filling.
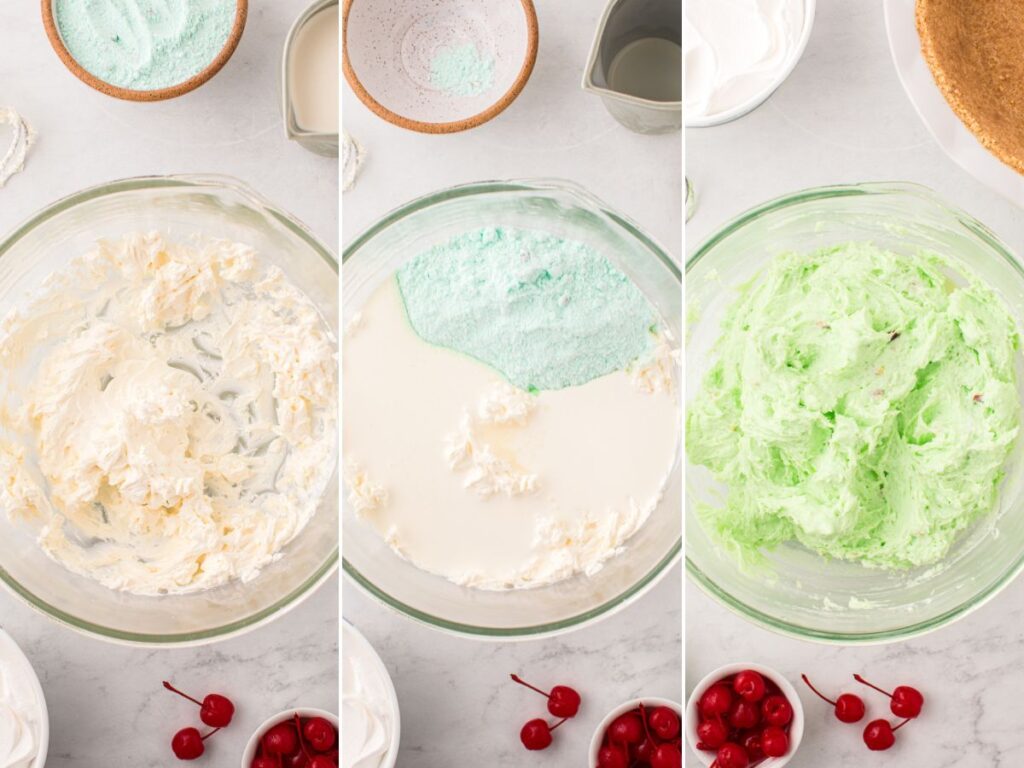
In a large mixing bowl using an electric mixer, or use a stand mixer with the paddle attachment, beat the softened cream cheese until it’s creamy and fluffy. Add in the instant pudding mix, heavy cream, and almond extract. Beat on low speed for about 1 minute, and then gradually increase the speed and beat for 2-4 minutes or until the mixture is well whipped and thickened. Scrape does the sides and bottom of the bowl as needed.
Add in 2 cups of the Cool Whip and beat on low speed just until combined.
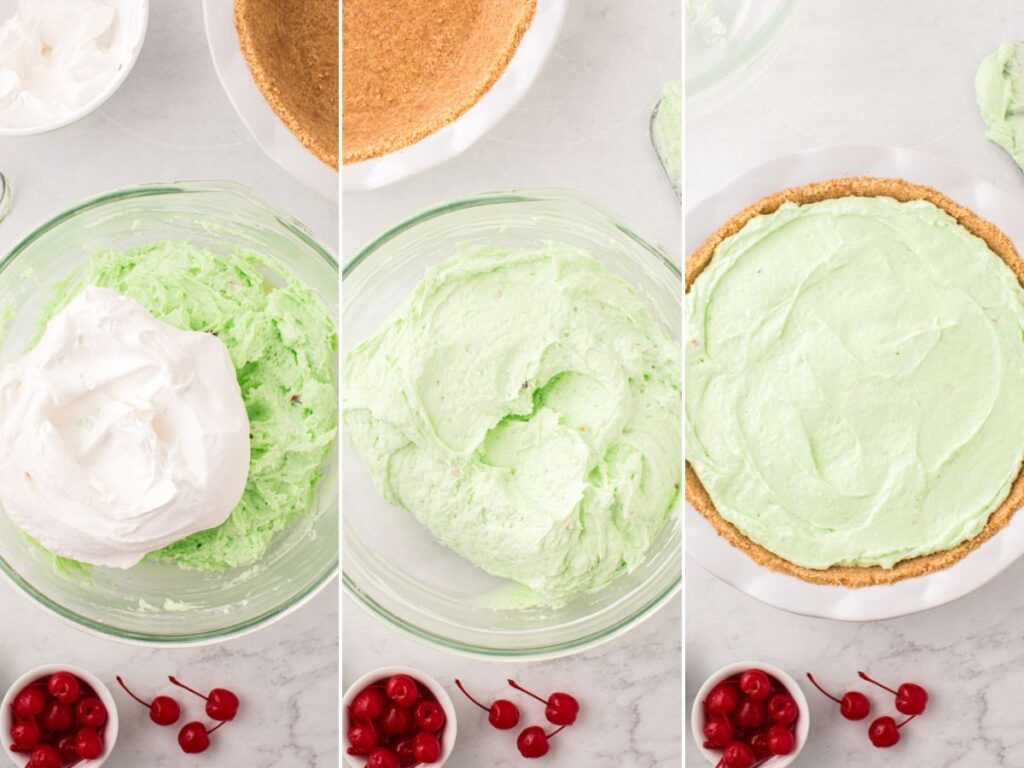
Spread the pistachio mixture evenly into the prepared pie crust. Cover the pie with plastic wrap or a lid, and refrigerate for at least 6 hours, or up to overnight is even better (I prefer overnight).
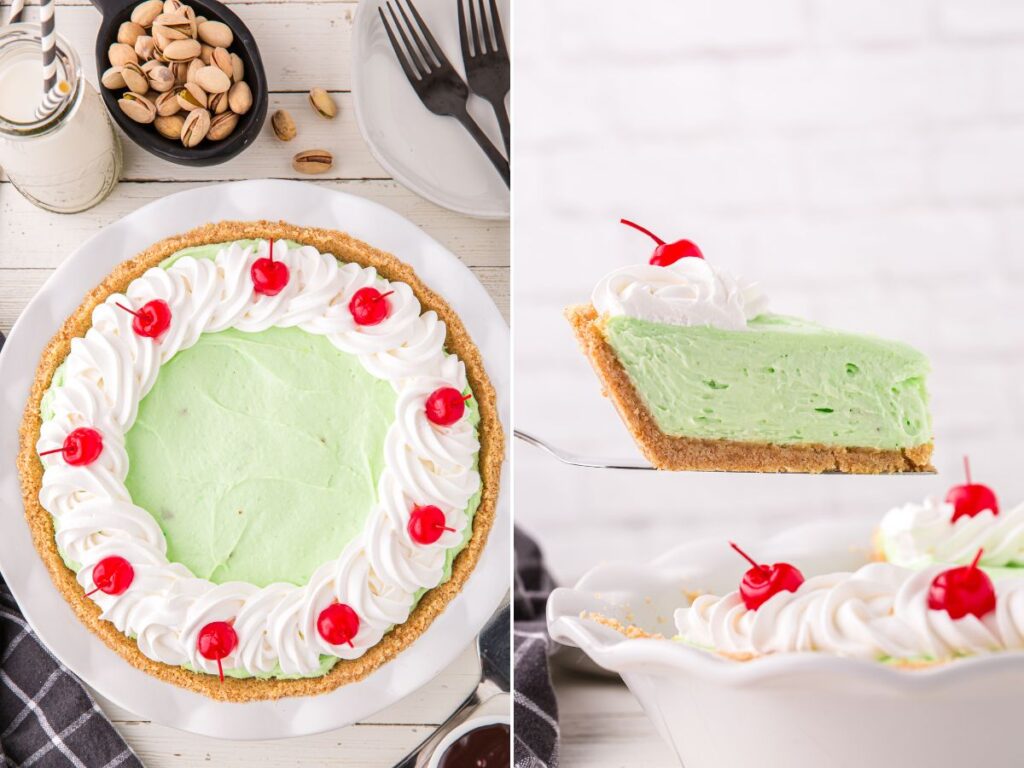
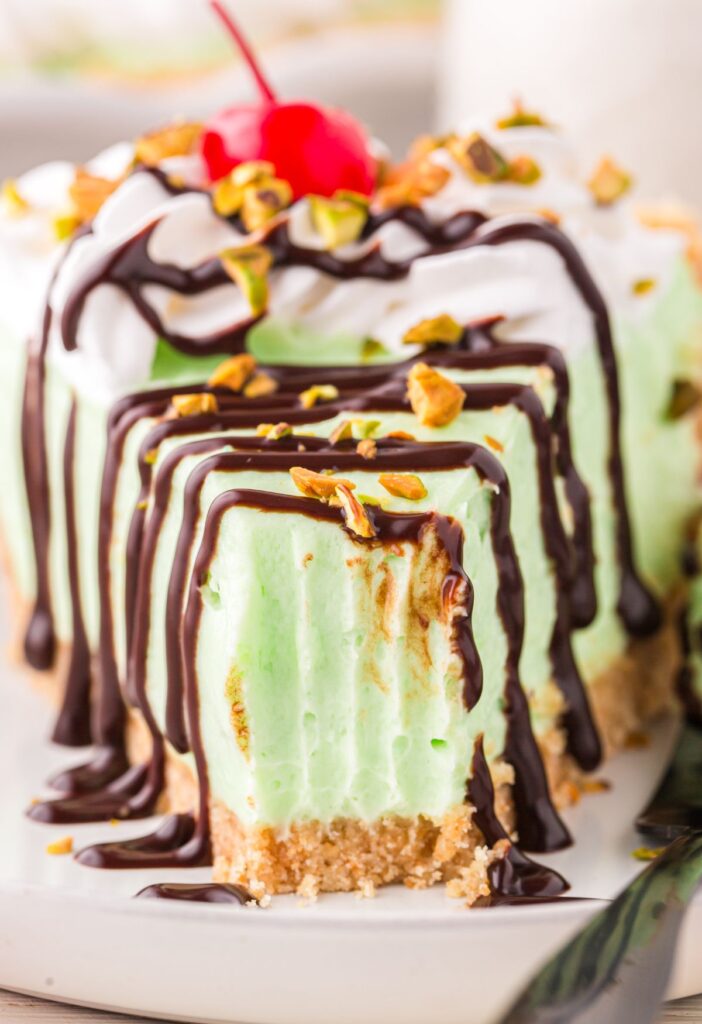
When you are ready to serve, garnish the pie with the remaining Cool Whip, by either piping it around the edges or spread it into an even layer on top of the pie. Garnish with chopped pistachios. When serving, add a chocolate sauce drizzle and/or maraschino cherry.
How To Store Pistachio Pie
Pistachio pie is best stored in the refrigerator, in an airtight container or covered with plastic wrap or lid, for up to 3-4 days. It is not recommend to freeze this pie as the flavor and consistency can change when thawed.
Helpful Tips For This Recipe
- Room Temperature Cream Cheese : Be sure to use room temperature softened cream cheese in this recipe so that it smoothly combines with the the other ingredients. Cold cream cheese is more likely to give you a lumpy pie filling. Set the cream cheese out at room temperature no longer than 2 hours before making the recipe. In a pinch, you can unwrap the cream cheese from the foil wrapper and place it on a microwave-safe plate, heat for about 15 seconds in the microwave just until softened but not hot at all.
- Use Cold Heavy Cream : The heavy cream should be kept cold and inside the fridge up until you need to add it into the mixing bowl. Once added into the bowl, immediately start beating the heavy cream along with the other ingredients so that the pudding mixture does not lump up.
- Serving Tips : The pie needs refrigeration time to properly set and thicken but I recommend taking it out of the fridge about 30 minutes before serving it. This will give you time to decorate and garnish the pie before serving. 30 minutes is adequate time for the pie to reach the ideal temperature for serving – the pie straight out of the fridge tends to have a slightly thick and gluey texture, however, it becomes light and airy as it is slightly warms up closer to room temperature. Do not heat the pie.
- Crust : Instead of making the Nilla wafer crust you could use a Homemade Graham Cracker Crust or a ready-made graham cracker crust from the store, or switch it up completely and use an Oreo Cookie Crust (any flavor Oreo will work) or a store-bought chocolate cookie crust or chocolate graham cracker crust.
More No Bake Pies You’ll Love
- Triple Layer Pistachio Pudding Pie
- No Bake Snickers Cheesecake Pie
- Black Forest Pie
- Jello Pie
- No Bake Lemon Cheesecake Pie
- Easy Nutella Pie
- No Bake Key Lime Pie

Pistachio Pie
Ingredients
Nilla Wafer Crust
- 4 cups Nilla Wafers
- 1/2 cup (1 stick) salted butter melted
- 3 tablespoons granulated sugar
Creamy Pistachio Filling
- 1 bar (8 oz) cream cheese room temperature
- 2 boxes (3.4 oz each) instant pistachio pudding mix
- 2½ cups heavy whipping cream
- ½ teaspoon almond extract
- 8 ounces Cool Whip divided
- chopped pistachios, chocolate syrup, and/or maraschino cherries optional garnishes
Instructions
- Add the Nilla wafers into a food processor and process on high until well crumbled and in fine crumbs. Add in the melted butter and granulated sugar, and process until well combined and the mixture resembles wet sand.* See notes below if you don't have a food processor.4 cups Nilla Wafers, 1/2 cup (1 stick) salted butter, 3 tablespoons granulated sugar
- Firmly press the crust mixture into the bottom and up the sides of a 9-inch pie plate. Cover the pie plate with plastic wrap and place it in the refrigerator to chill while you make the filling.
- In a large mixing bowl using an electric mixer, or use a stand mixer with the paddle attachment, beat the softened cream cheese until it's creamy and fluffy.1 bar (8 oz) cream cheese
- Add in the instant pudding mix, heavy cream, and almond extract. Beat on low speed for about 1 minute, and then gradually increase the speed and beat for 2-4 minutes or until the mixture is well whipped and thickened.* Scrape does the sides and bottom of the bowl as needed.2 boxes (3.4 oz each) instant pistachio pudding mix, 2½ cups heavy whipping cream, ½ teaspoon almond extract
- Add in 2 cups of the Cool Whip and beat on low speed just until combined.8 ounces Cool Whip
- Spread the pistachio mixture evenly into the prepared pie crust. Cover the pie with plastic wrap or a lid, and refrigerate for at least 6 hours, or up to overnight is even better (I prefer overnight).
- When you are ready to serve, garnish the pie with the remaining Cool Whip by either piping it around the edges or spread it into an even layer on top of the pie. Garnish with chopped pistachios. When serving, add a chocolate sauce drizzle and/or maraschino cherry. * I recommend removing the pie from the fridge about 20-30 minutes before serving it. This gives you time to decorate it, and for the pie to reach the ideal temperature for serving – the pie straight out of the fridge tends to have a slightly thick and gluey texture, however, it becomes light and airy as it is slightly warms up closer to room temperature.chopped pistachios, chocolate syrup, and/or maraschino cherries
Notes
Nutrition
Did You Make This Recipe?
I’d love to see it! You can share it with me on @togetherasfamilyblog and follow on Pinterest @together-as-family-blog-recipes or Facebook @togetherasfamilyblog for more!


Did you love this recipe?
Make sure to comment below so we can chat about it! Or follow on your favorite social network for even more family recipes.